

1
Install the app
Open the PitchPrint listing on the 3DCart app store, click the green Install App button, enter your secure store URL and proceed.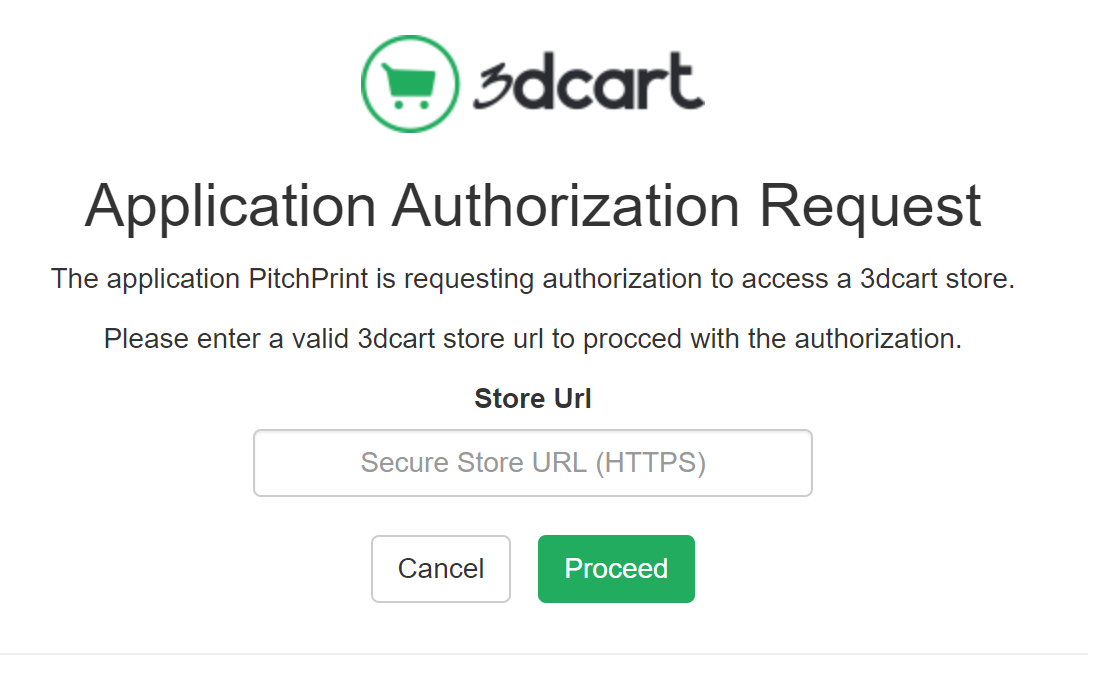
2
Get your login details
PitchPrint installs itself and emails your login credentials to your 3DCart admin email address.
3
Create your design templates
On the Designs page, build templates from scratch or import them from our design store.
4
Assign designs to products
On the Products page, hover over a product and pick a design from the dropdown (a business card design for the business card product you sell, for example).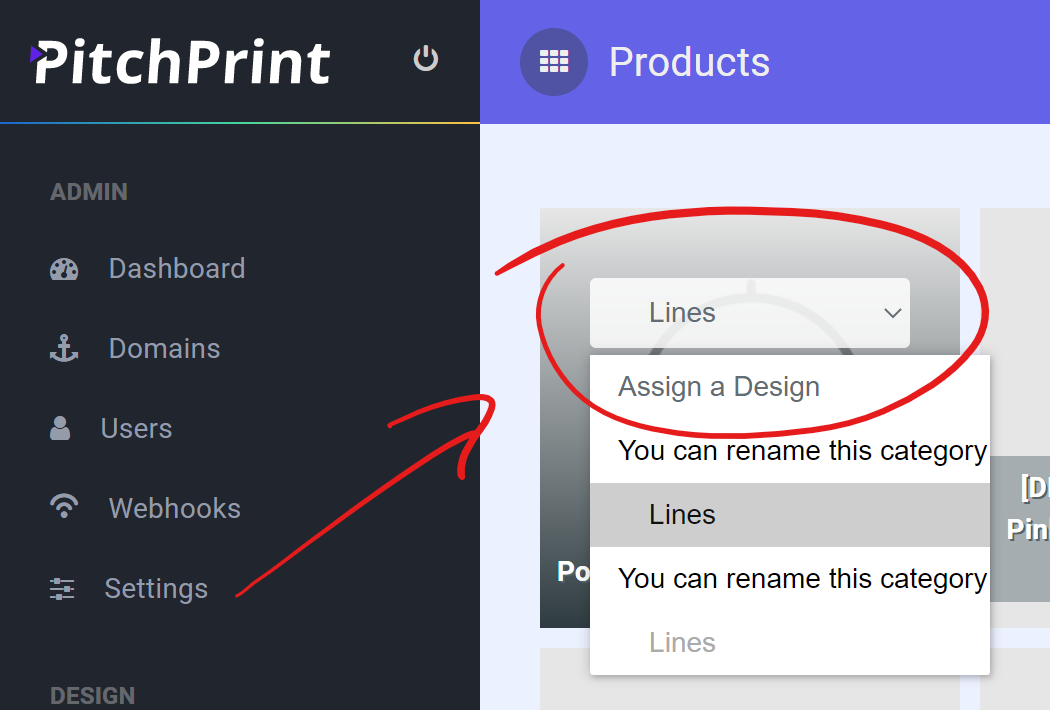
5
Place a test order
Open that product on your storefront and look for the Customize Product button. Clicking it launches the editor with your assigned template.
6
Download the print files
Grab the print-ready PDF from the Orders page. You can also reload the project there to modify it and regenerate the file.
If you are new to the platform, Getting Started with PitchPrint walks through the concepts and workflow in full.
Related articles
Which shopping cart framework should I pick?
Suggestions to help you choose the right shopping cart platform for your store.
Browser Compatibility
See which browsers PitchPrint supports and the requirements for the app to run.
Getting started with PitchPrint
An overview of PitchPrint’s features, workflows and best practices for new users.