

1
Open the app listing
2
Log in or register
Click Get This App. You’ll be prompted to log in to BigCommerce or create an account.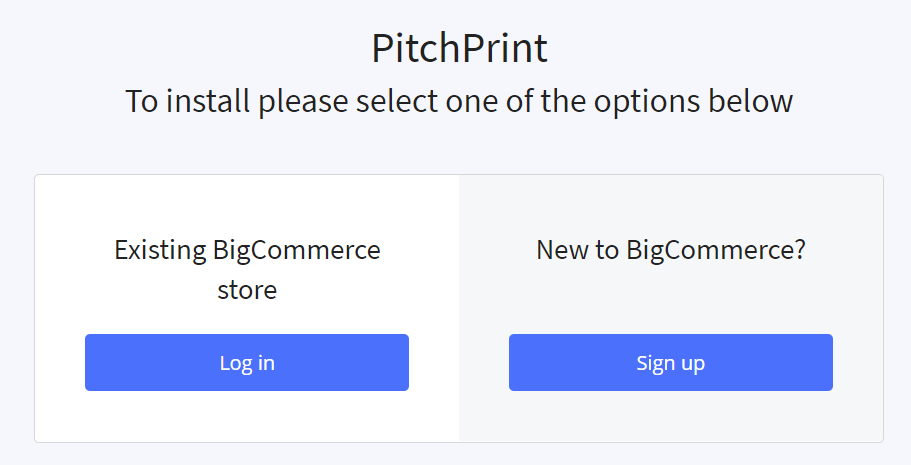
3
Install the app
The PitchPrint installation page loads. If it doesn’t, click the app link again now that you’re logged in. Click the blue Install button.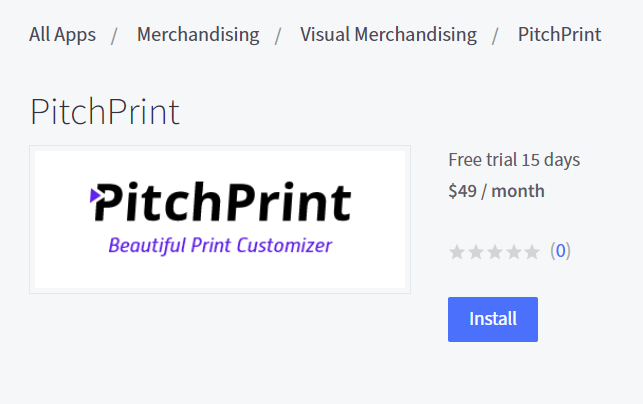
4
Log in to the PitchPrint admin
Installation ends at the PitchPrint login page. Your credentials were emailed to the address you registered with BigCommerce.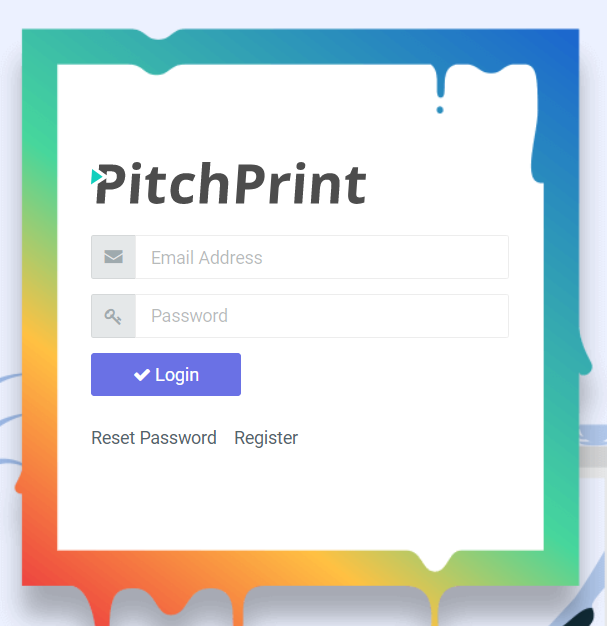
5
Create a product in BigCommerce
In your BigCommerce admin open Products and click Add (a business card, banner or t-shirt, for example).
6
Assign a design to the product
Open the Products page in the PitchPrint admin, hover over your product and assign a design. The default Lines design is fine for a test.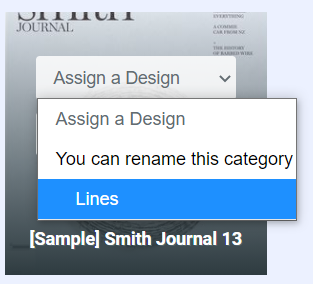
7
Test it on your storefront
Open the product on your store. You should see the Customize this Design button. Click it to launch the editor, personalize the design, then add to cart to complete a test order.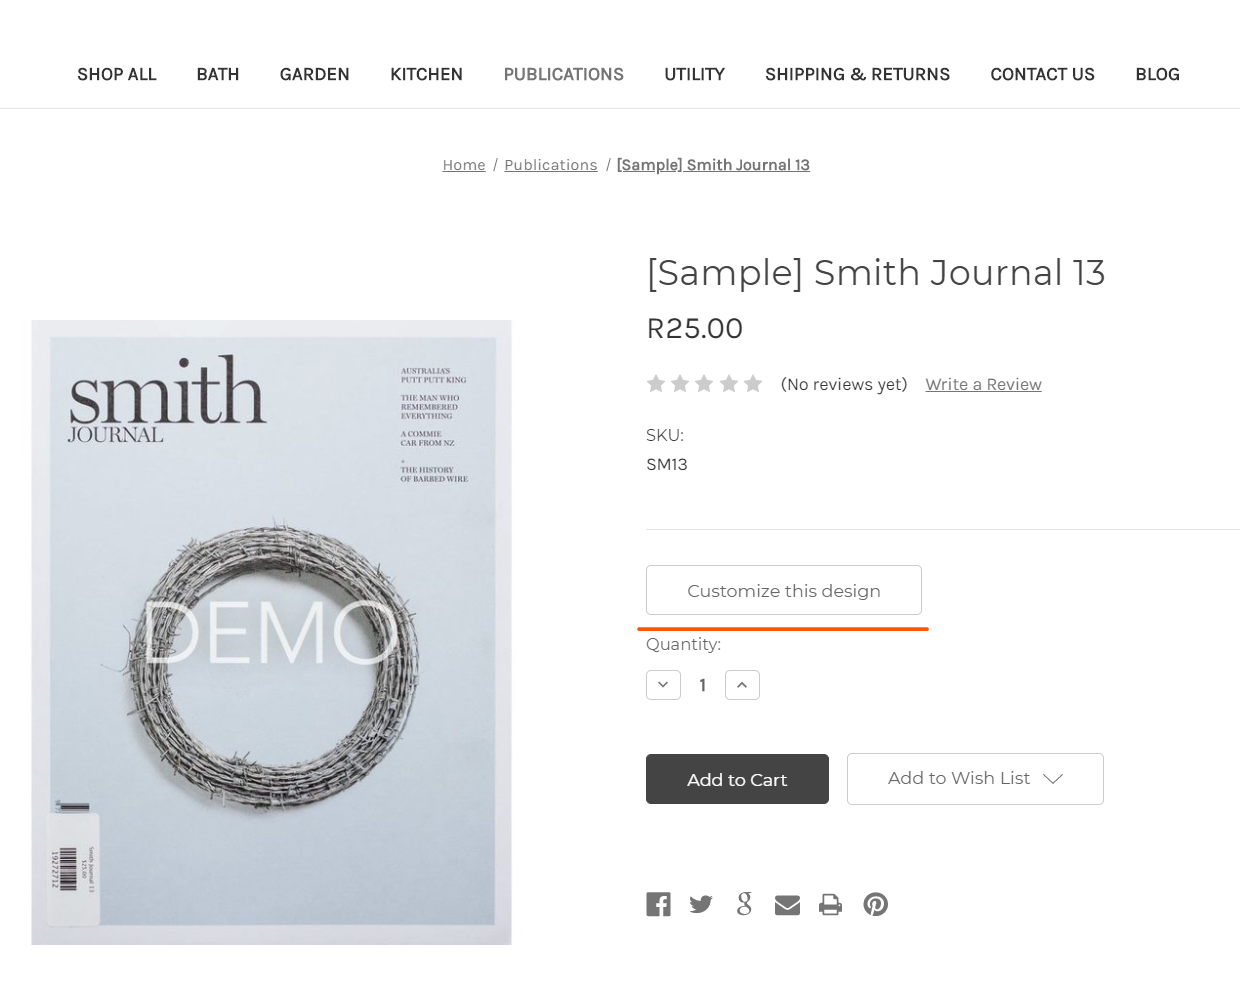
8
Download the print files
Open Orders in your PitchPrint admin to download the print-ready files for each order.
If you get stuck at any point, reach us by email or live chat.
Related articles
Which shopping cart framework should I pick?
Suggestions to help you choose the right shopping cart platform for your store.
Browser Compatibility
See which browsers PitchPrint supports and the requirements for the app to run.
Getting started with PitchPrint
An overview of PitchPrint’s features, workflows and best practices for new users.