

How to implement your own mesh into your store
Every 3D model needs to have a customized artwork that will be stamped on the model’s surface. The artwork will be your customer’s project customization design will be assigned to the model. Click here to test out a sample: 3D mug demo product Click on 3D Studio, click on Upload a mesh button and select the model you want to upload. Change picture allows you to change the default artwork which will be display on the model. Remember, the artwork is going to be replaced by your customer’s personalized design. For additional models, you can reach out to us to create and for you.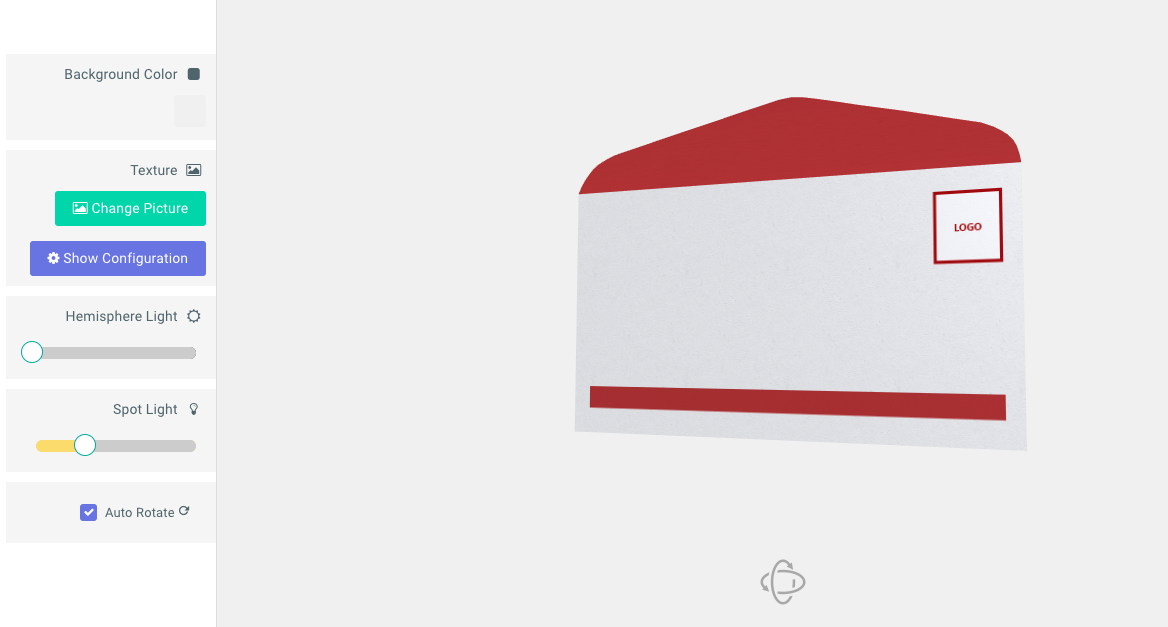
Configuring a model
Click on the show configuration button. This helps to set the artwork boundaries to the area of where you want the design to be displayed on the model. The configuration will vary according to different models. Once the configuration is set you can save your model.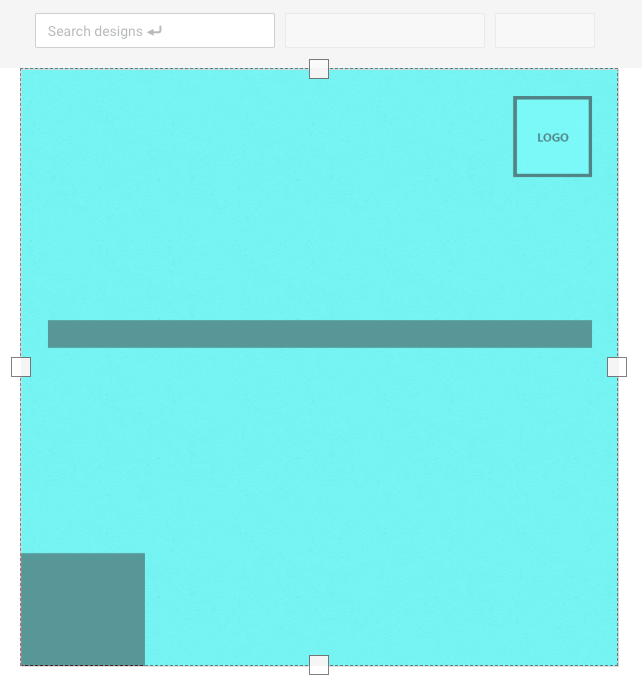
Assigning a design to the 3D model
Click designs. Select a design you want to assign to the 3D model click on the configuration icon on the design, select 3D view from the options and select the 3D model you want to assign the design to and save.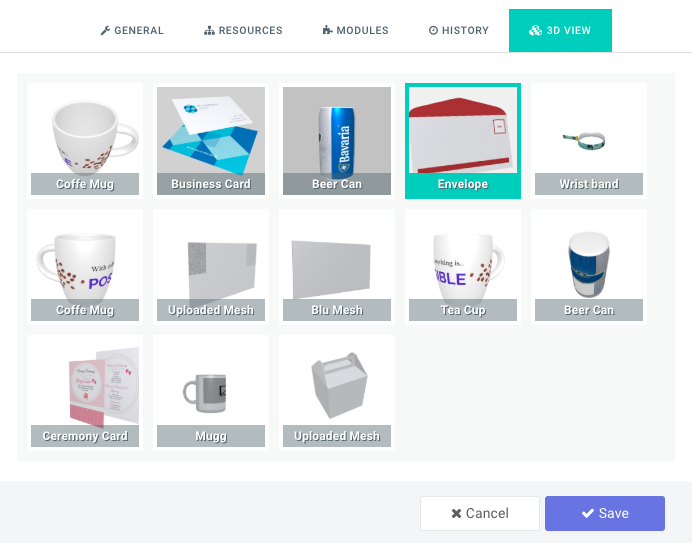
Related articles
3D Studio
Learn what 3D Studio is and which model file types you can upload.
3D Views
End-to-end tutorial on creating a 3D model and assigning it to a design.
3D UV Mapping
How to UV map a model so your design displays correctly on its surface.
3D Business card
Build a two-page design and texture for a 3D business card model.