

1
Install the app
Create a store at shopify.com if you don’t have one, then install PitchPrint from the Shopify App Store. You can also search “PitchPrint” under Apps in your Shopify admin.
2
Log in to the PitchPrint admin
Installation takes you to admin.pitchprint.com/login. Use the credentials emailed to the address linked to your Shopify store. If you can’t find the email, check your spam and promotions folders.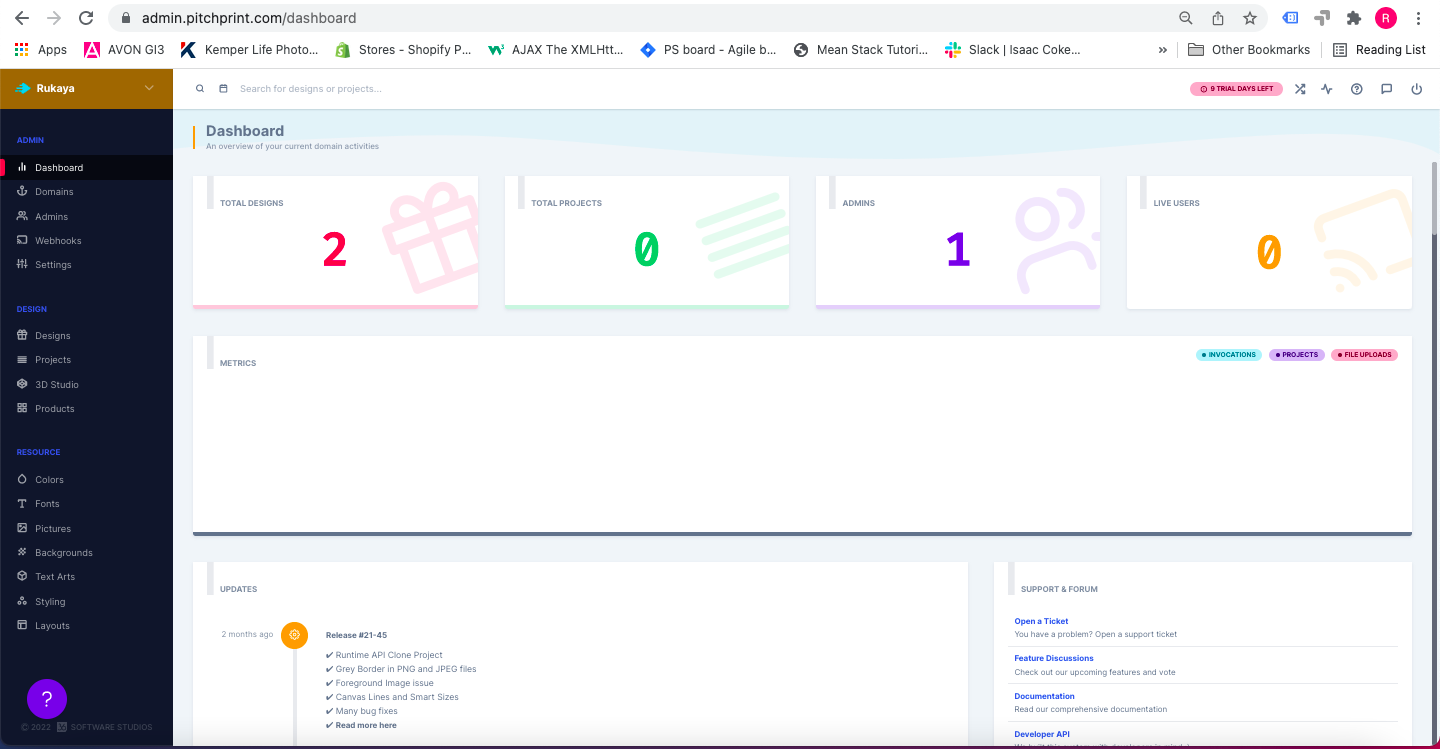
3
Create or import designs
Click Designs in the left panel. Build your own templates, or click Import Designs in the top-right of a category to pull ready-made ones from our design store.
4
Assign a design to a product
Go to Products and hover over a product. Four options appear: Assign a Design, Full Window, Upload and Required.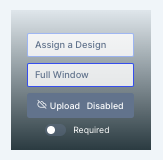
5
Test it on your storefront
Open the product on your store. You should see a Customize this design button.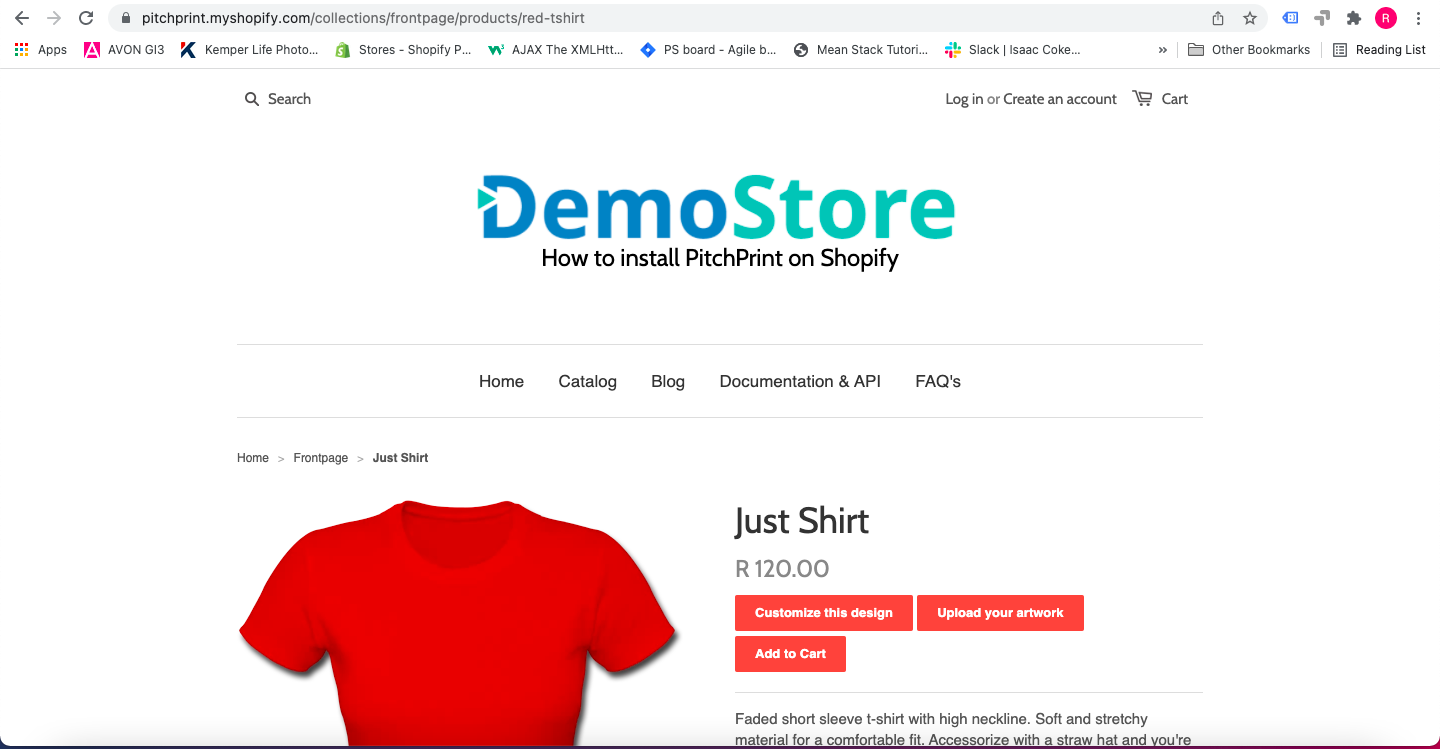
6
Download the print files
Open the order in your Shopify admin, click the context menu in the top-right and choose Download PitchPrint Files.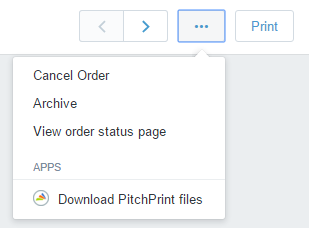
Related articles
Which shopping cart framework should I pick?
Suggestions to help you choose the right shopping cart platform for your store.
Browser Compatibility
See which browsers PitchPrint supports and the requirements for the app to run.
Getting started with PitchPrint
An overview of PitchPrint’s features, workflows and best practices for new users.