

Why, What, How
If you sell customizable products or want your customers to personalize their orders or to make digital designs on your website or online store, PitchPrint is your solution. You may have an existing website or not, the thing is standard websites don’t provide that capability to design products online and that’s where PitchPrint comes in. It’s basically a ” light-photoshop” you install on your store that will allow your customers to create personalized designs like Business Cards with their unique details, Mugs, TShirts, Phone Casings and what not, all in the convenience of their web browser. It seamlessly plugs into your web-store and kicks in where customers need to personalize any of your products.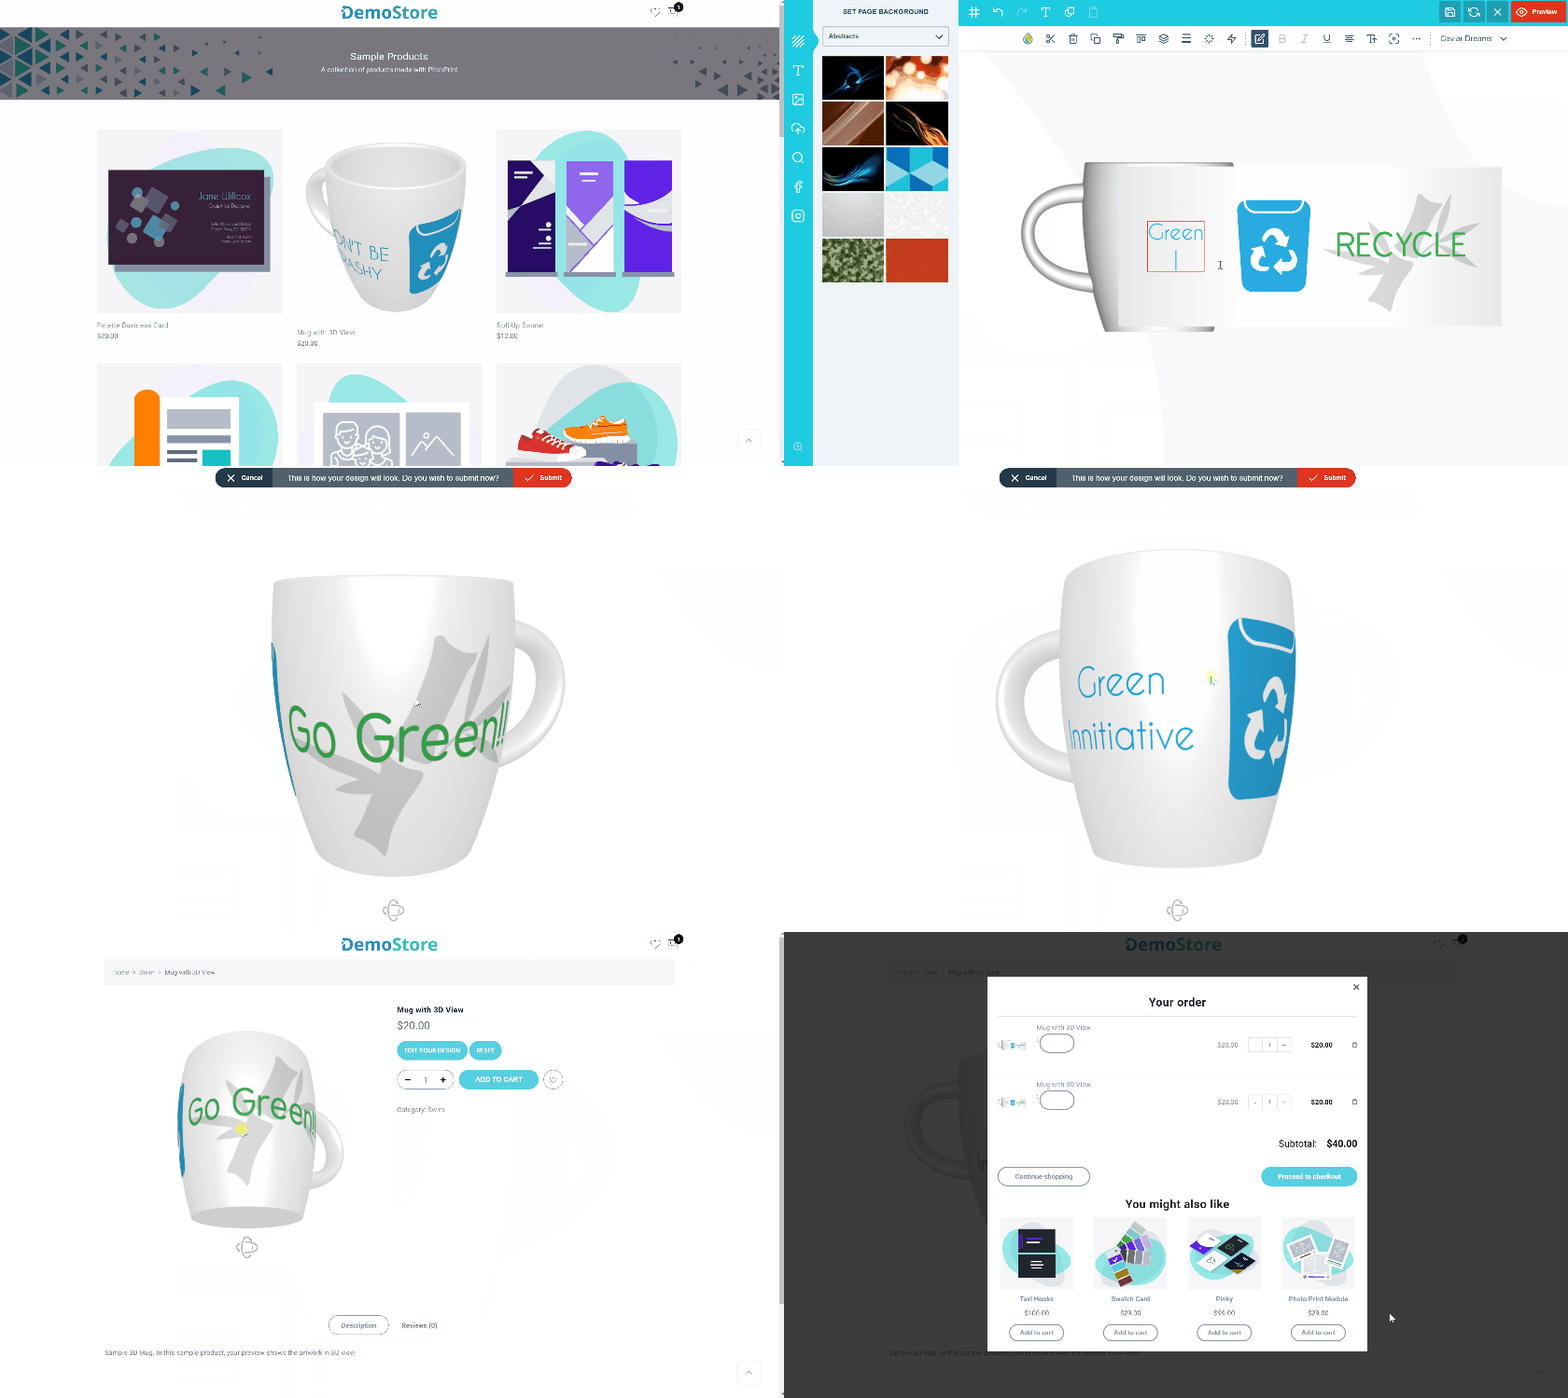
Key terms & what they refer to
concept
A pre-made template your customers edit. Each product you want customized should point to one or more designs.
concept
A design that a customer has personalized, such as their edited business card.
concept
The cart engine powering your website: WordPress, Shopify, OpenCart, PrestaShop and so on.
concept
The unique identifier we issue you, so we can recognise every request coming from your store.
concept
This is the companion to the APIKey.
Setting things up
If you’ve decided to go with PitchPrint, you will need to take certain steps to set things up. We have outlined these in more detailed articles and we’ll basically link them here:- Register on PitchPrint and generate a domain. Click here to register if you do not have an account with us or go straight and login to your PitchPrint admin.
- Install PitchPrint plugin on your website. Here are links to Install the plugin on your store based on the Framework you have on your current site: WordPress + WooCommerce, OpenCart, PrestaShop, Shopify, BigCommerce, Ecwid, 3DCart or a Custom Site If you do not have a site yet, you can read this article to make a decision on which to pick.
-
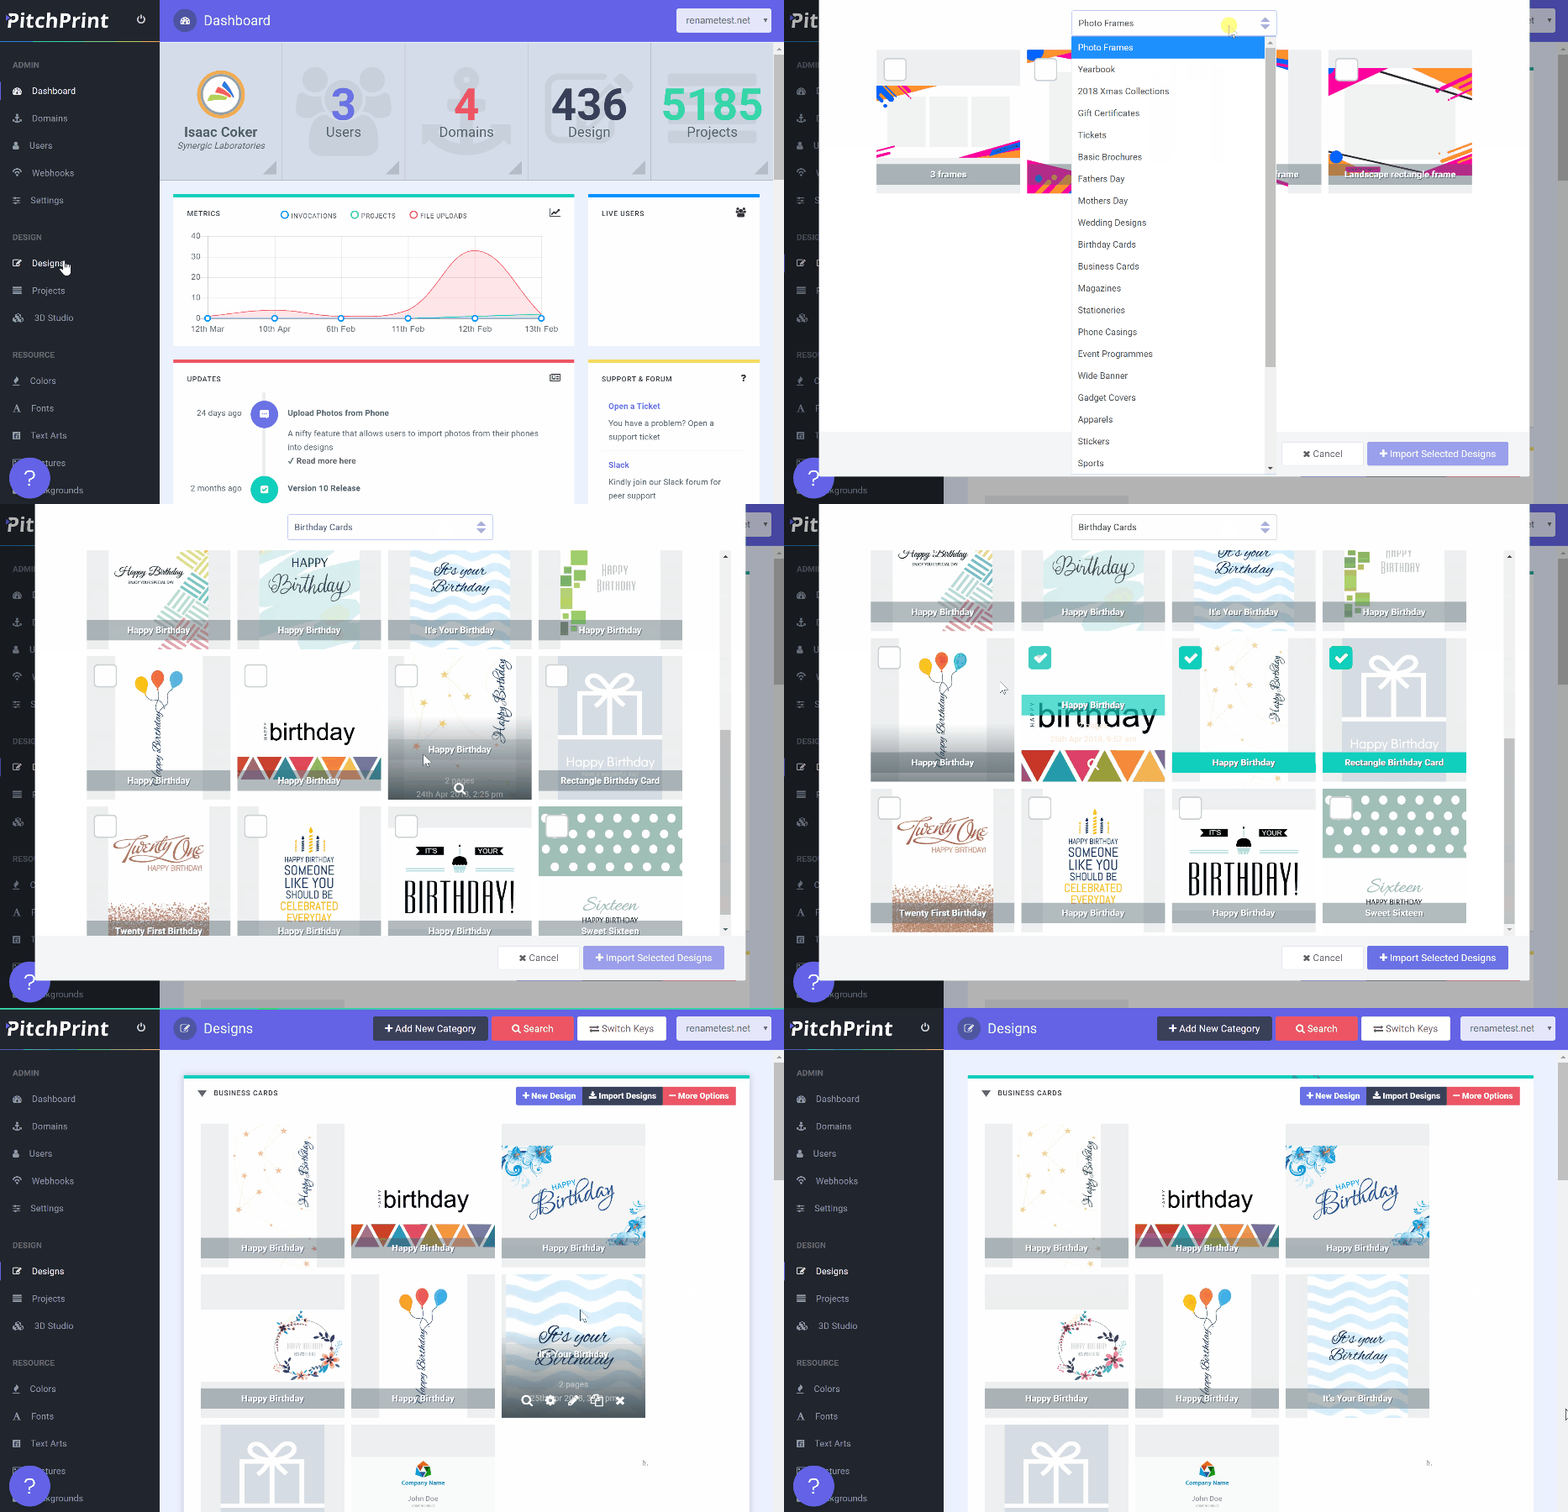
Create or Import a Design. You have to create a design for each product you need your customers to personalize. You can create from scratch or import from our store. For expediency and to quickly test things, you can import right away into your own domain. To do this, navigate to your Designs Page in PitchPrint Admin
-
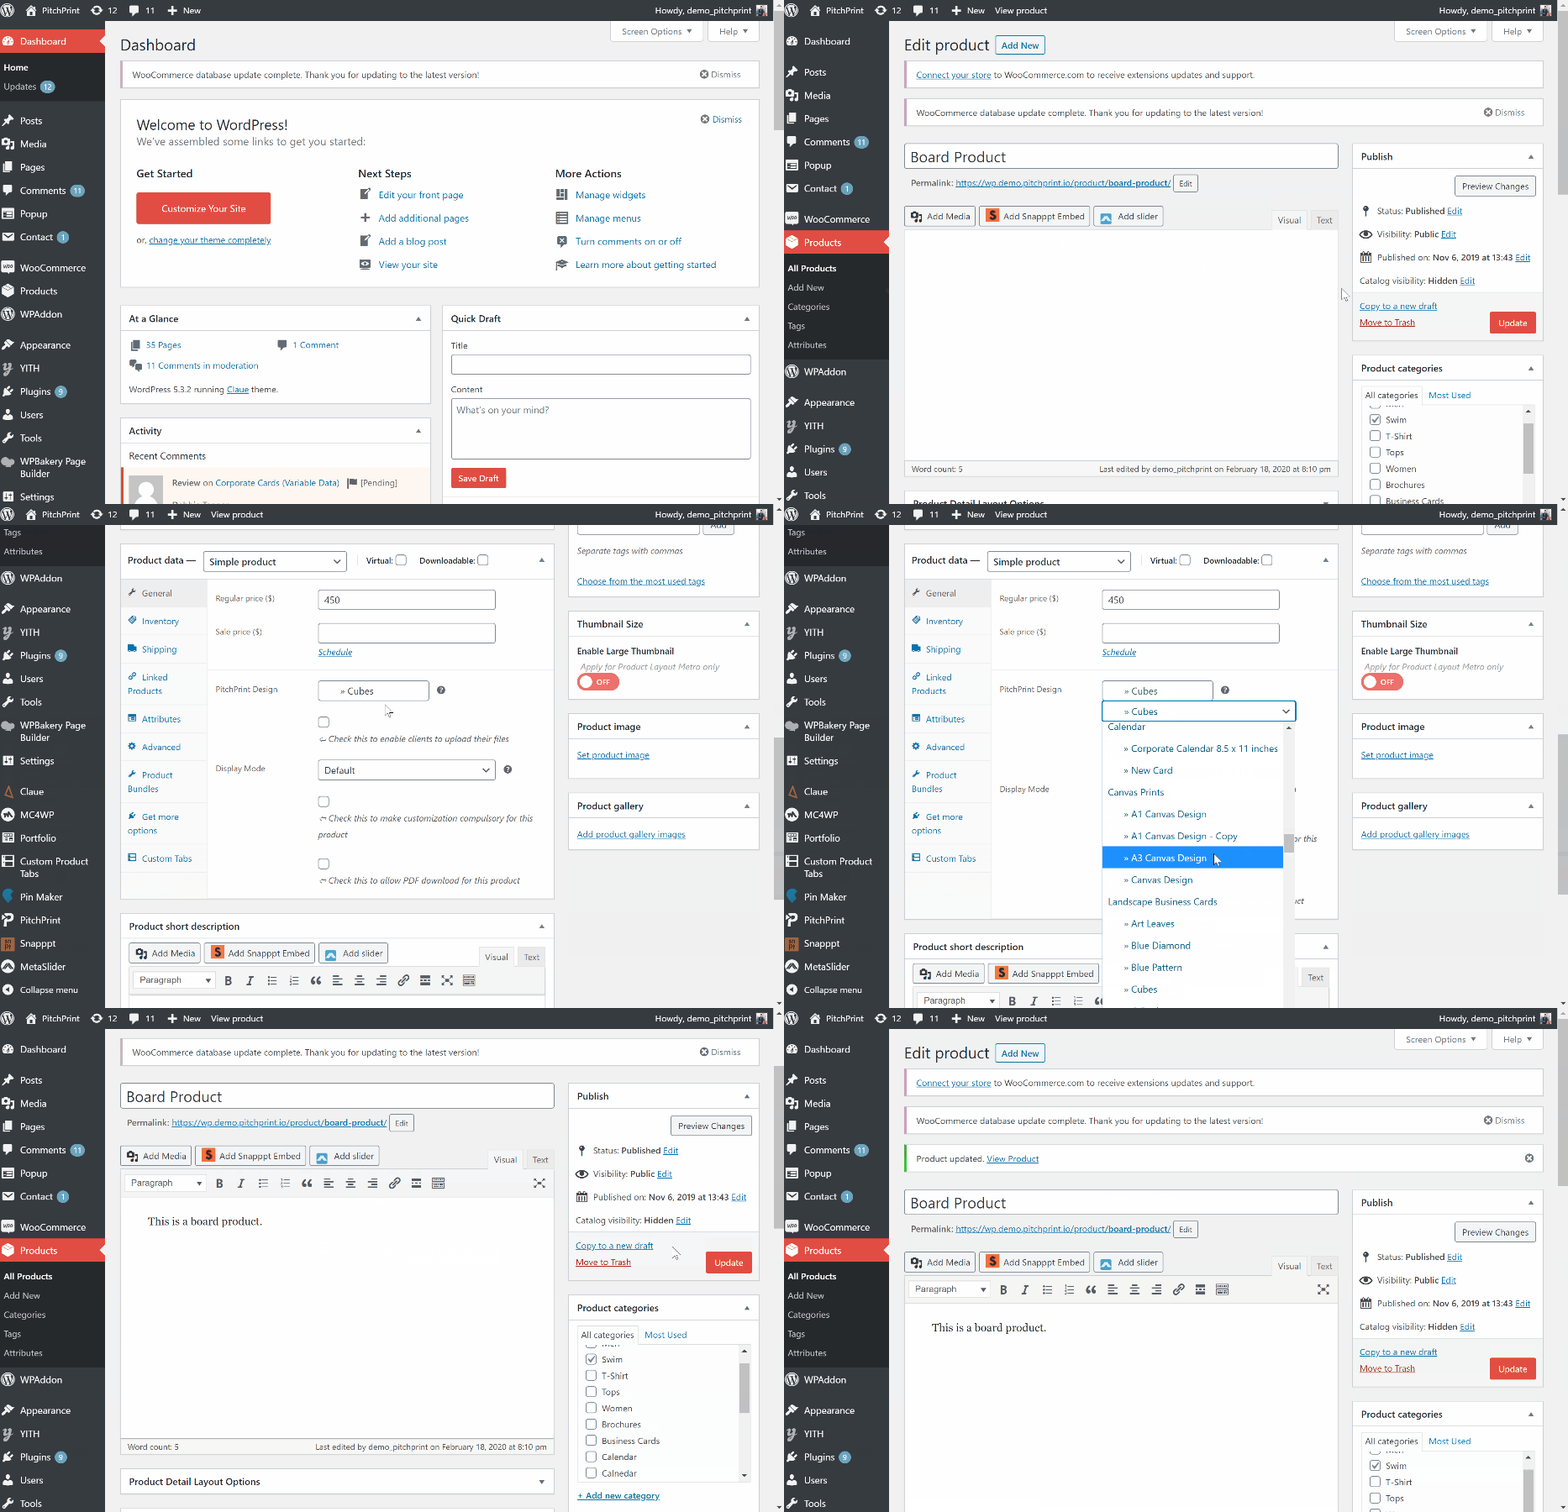
Assign Design to a Product. Next, you need to link the design to one of the products on your page. Having install our plugin, some sections of your store is linked to our PitchPrint. So go to any of your products or create one on your store admin. And you will find PitchPrint depending on your store framework. A preview is shown below
Test your product
Once you have assigned a design to one of your products, you should find the Customize Button on your product page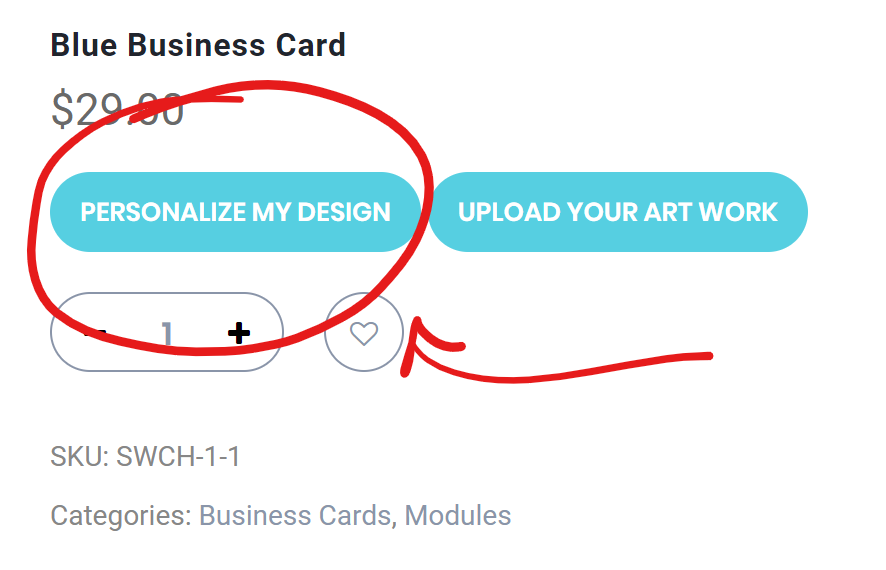 Clicking this should load the PitchPrint editor displaying your design template, ready for customization. Go ahead and customize the design to your taste.