

Update:
Single text elements can now be exported as a Text Style. So step 2 below is optional

1
Lay out your text and shapes
Add Text and Shape to form a coherent design on the canvas and group select them.
2
Group the items
Group them together by clicking the Group icon (Update: If the item is a text on the canvas, you can export it without grouping) :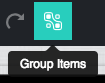
3
Find the export Text Style icon
Once they have been grouped, look at the secondary menu list and you will find the export Text Style icon enabled: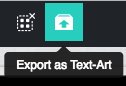
4
Open the export dialog
Click this to pop open the dialog for exporting Text Styles as shown: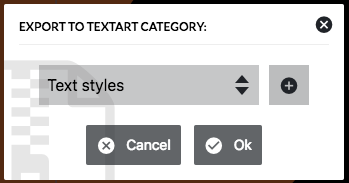
5
Choose a category and confirm
You can click the plus sign to create a new category or you can export to the selected category, Now click ‘Ok’.
- Keep it simple and less cluttered as customers might need to edit them.
- Use only a combination of shapes and texts. It takes to long to load images.
- Make use of fonts that will be available for that design. If the font is not loaded for a particular design, then the app will resort to default fonts.
- TextBox does not scale well in grouped items so kindly use default TextArea only.
- Be creative!
Related articles
Creating Text Art
Create a Text Style while building or editing your designs.
Text Box Formatting
Choose between standard, text-wrapping, and curved text box formatting options.
How to add your own fonts
Upload your own custom TTF or Woff font files to expand the fonts available to customers.
Add Fonts - Inside Editor
Add Google Fonts directly from within the design editor.