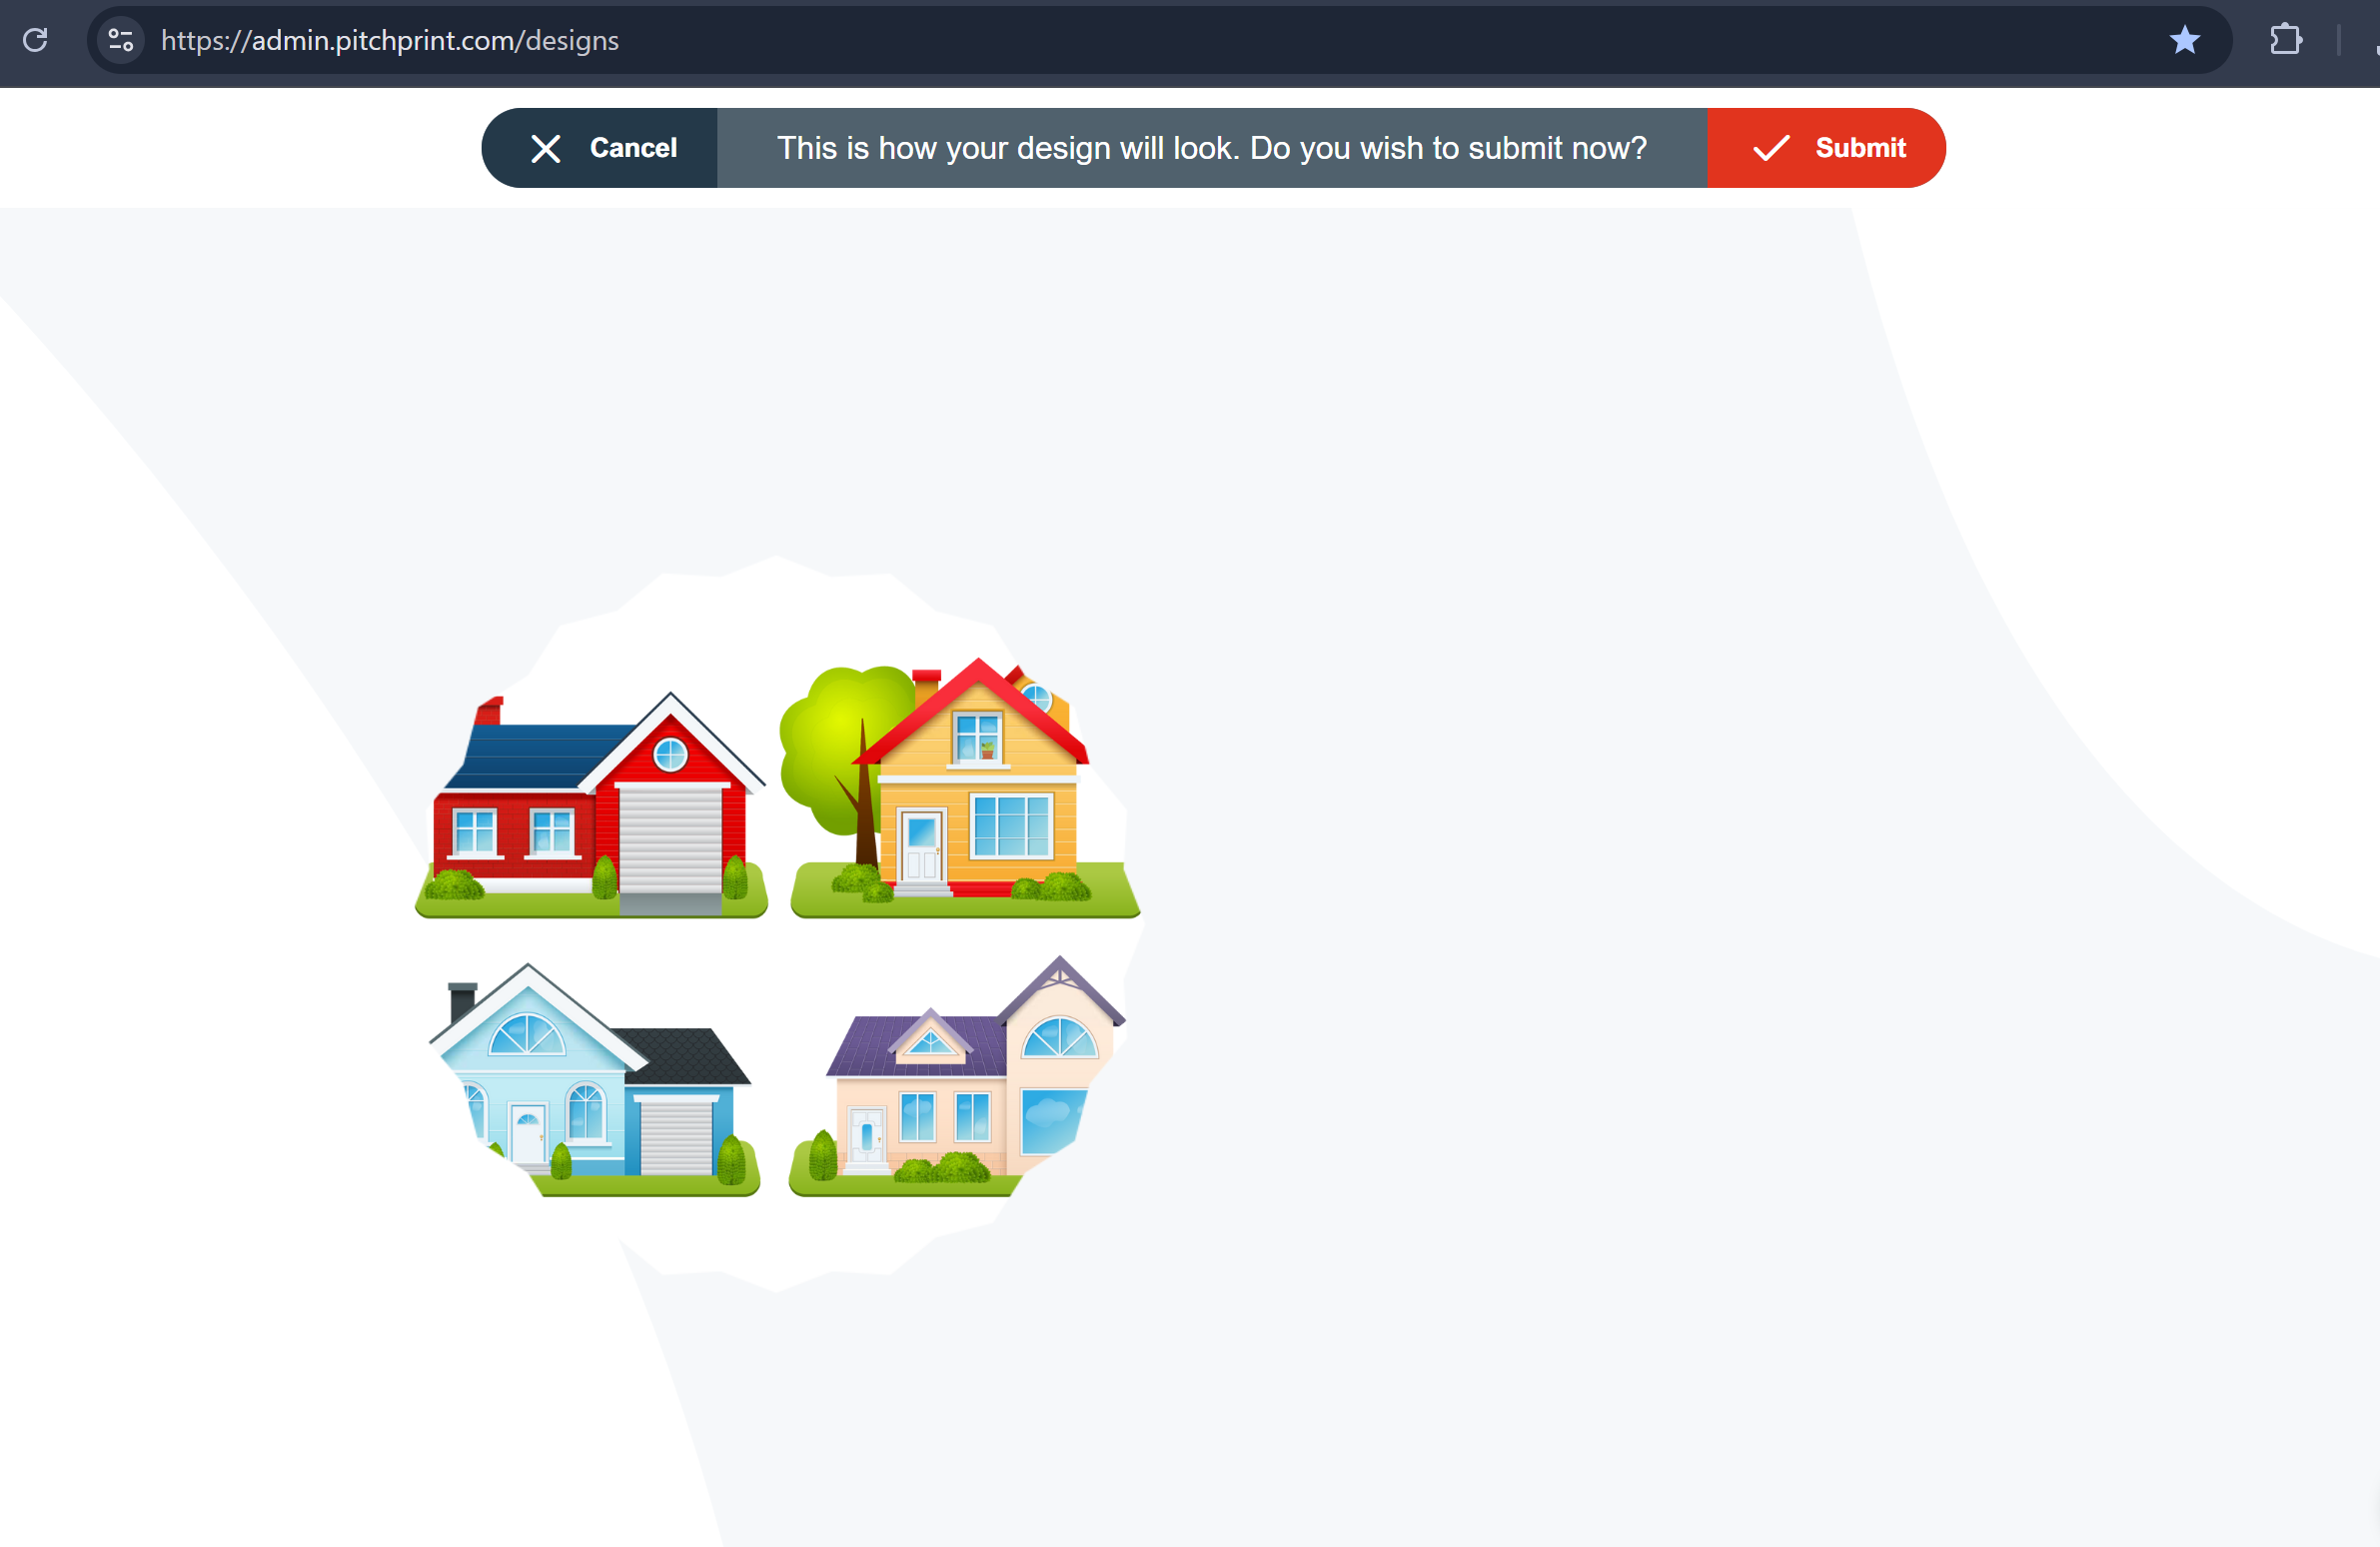
This feature allows you to add any shape to the canvas and use it as a clipping area for the final PDF. Previously, the canvas was limited to rectangles or squares, which made it challenging to accommodate specific design needs. With this functionality, admins can add custom shapes, ensuring that anything within the shape is printed according to the desired specifications, while everything outside the shape is automatically trimmed.

How to Enable the Shape Clipping Feature

1

Open your design

Go to Designs and open the design you want to edit.
2

Add the shape

Add the desired shape to the canvas.
3

Open the Item panel

Once the shape is added, go to Item.
4

Add the Page-Clip tag

Click Add Page-Clip inside Tags.
5

Enable Make Reference

Enable Make Reference as shown in the screenshot below.
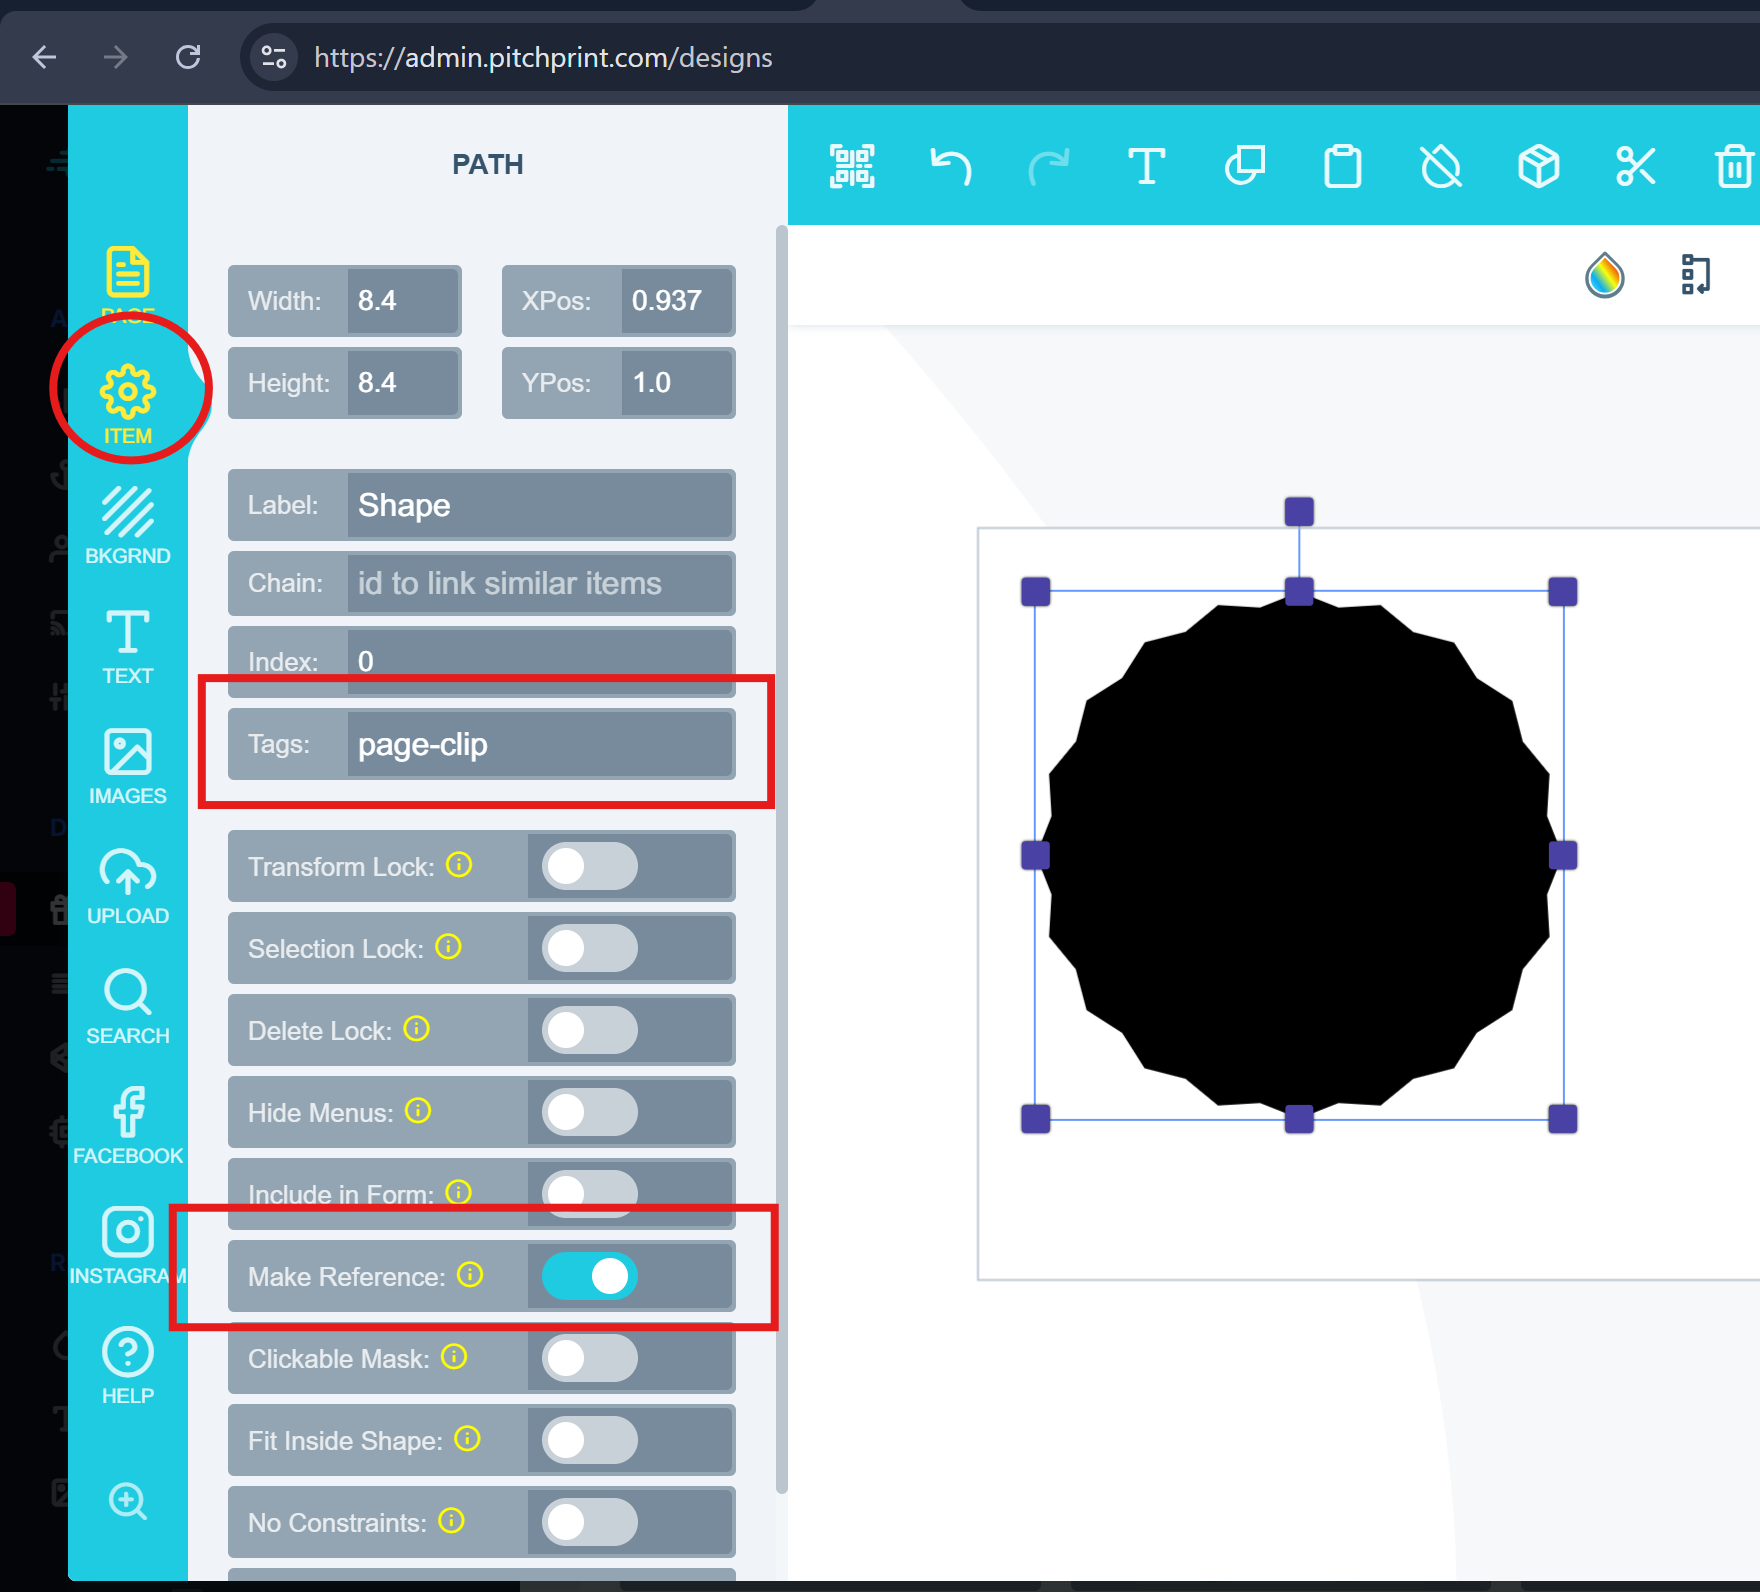
Item panel with the Page-Clip tag added and Make Reference switched on
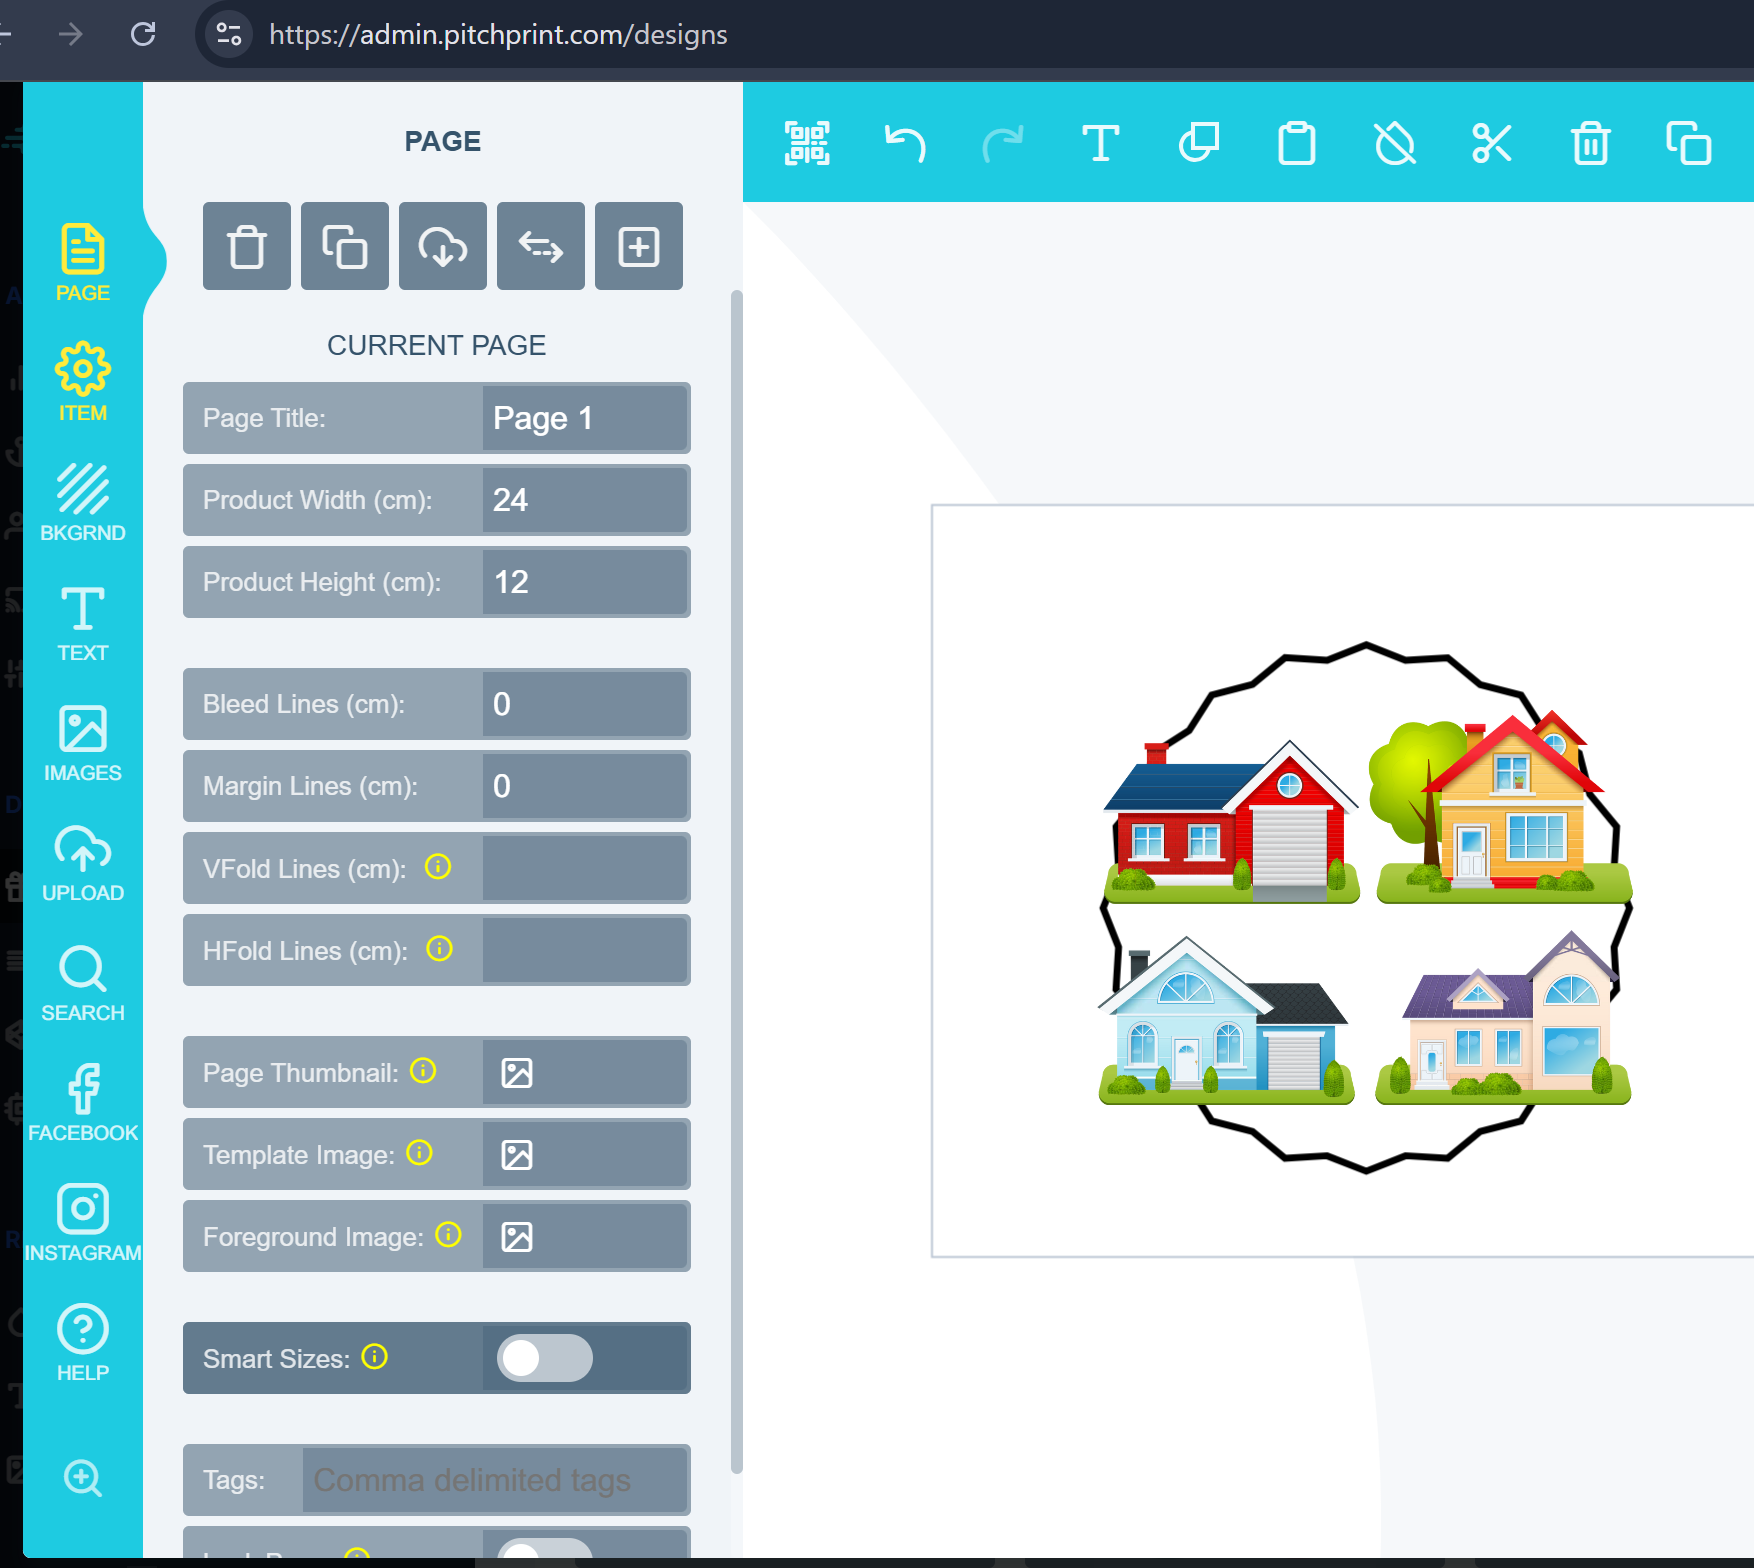
In the preview, only the content within the shape will be displayed, while everything outside will be automatically trimmed. Remember to save the design after applying these changes. See the images below for reference:
Design canvas with the custom shape placed over the artwork
Preview showing only the content inside the shape, with the rest trimmed away
For any issues or assistance, please contact us at support@pitchprint.com

How to create a clickable mask

Turn a shape into an image placeholder customers can click to insert images.

How to Add a Placeholder image for Mask Shapes

Set a guide image that prompts clients to click a mask shape.

How to create an SVG for use as a Mask

Prepare a single-path SVG that can be used as a photo mask.

How to create templates using SVG shapes

Build a design template from an SVG shape, such as a phone case.