A PitchPrint Layout forms the HTML structure of the app and each store has the ability to customize this structure as they deem fit to suit their store’s style or taste. PitchPrint gives each store the ability to create different layout and assign them to different sets of designs on their unique need basis. For instance, you may want to create a layout with minimal elements for products that require quick edits like business cards while you maintain a full blown one for products that requires a more robust set of tools like a magazine layout. In this article, we will discuss how to create a layout in PitchPrint and assign it to a design or set of designs templates.
Kindly note, this article is for our latest version 10 upgrade. You can turn this version on in your settings page: Settings page It’s the first control and you can’t miss it 😉
This system is based on TAGS. A tag is simply a unique set of characters that you can use to identify and link resources across a platform like PitchPrint. You get to form your own tags as you deem fit. Remember, they are just arbitrary names you create to link things. For instance, you can decide to use “red” for your designs that have an element of red in them, or “cards” for your business cards. Could be anything. The idea is when you assign a tag, say “red” to your design and give a layout that same tag, the design is displayed with that layout.
1

Save the default layout

Navigate to your Layouts page: Layouts page and save the default Layout you find there.
2

Add a new layout

Then create a new Layout by clicking the Add New Layout button.
3

Edit and save the new layout

You can edit this new Layout a bit in order to differentiate it from your default one. Save your changes and reload the page.
4

Click Assign to..

You should find the red Assign to.. button:
Saved layout showing the red Assign to.. button
5

Open the tags panel

This pops up the tags panel:
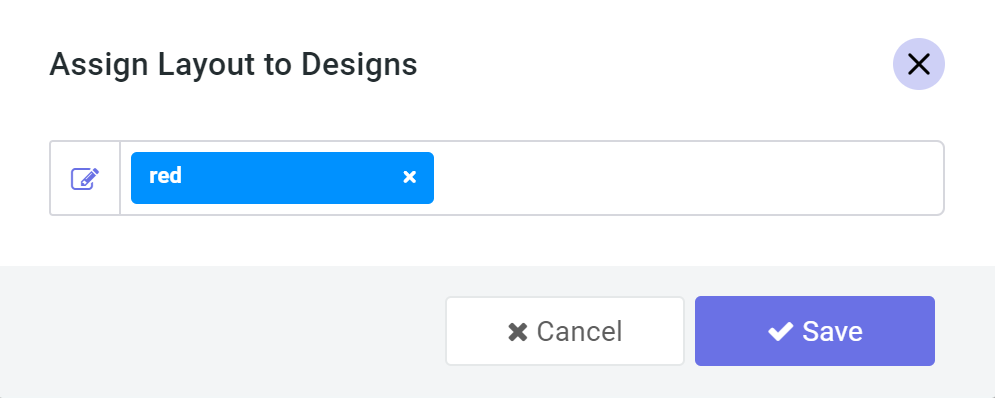
Tags panel for a layout with a tag entered and highlighted in blue
6

Enter your tag

Type in your unique tag and hit the enter key. It should turn blue as shown above.
7

Save your tags

Save your tags.
8

Open the design configuration

Next, navigate to your designs page and click the design configuration icon on that design.
9

Tag the design

Type in the same tag on that design’s Tags input and save the configuration.
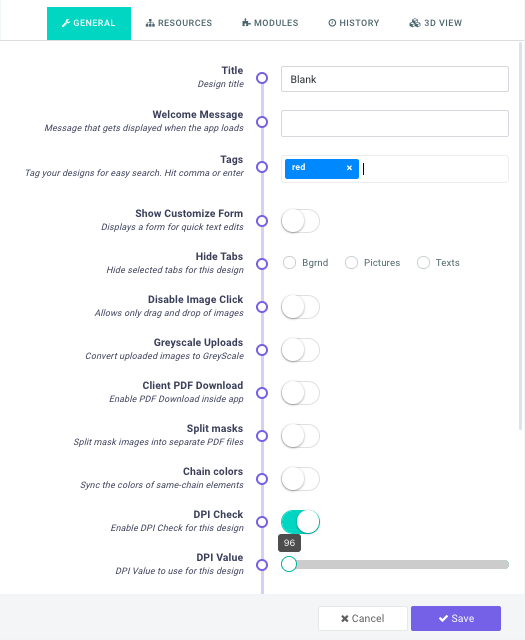
Design configuration panel with the matching tag typed into the Tags input
10

Check your product page

That’s all. Check your product page and you should see the new layout used for that product’s design. The other products will use your default layout. You can assign this same tag to as many designs as you like or to a whole category or categories of designs and they will all use that layout. Likewise you can add more than one tag to a layout.
If you encounter any issues while following the steps above, do contact us.