

1
Design the shape on the phone cover
You will need to design the shape on the phone cover, as seen below:
2
Save the design as an SVG
Now you can save this design as an SVG - ( How to save your SVGs for use in PitchPrint)
1
Start a new design
Select/create a category for your design and then click on New Design:
2
Name the design and submit
Next you will have to give the design a name and then click SUBMIT: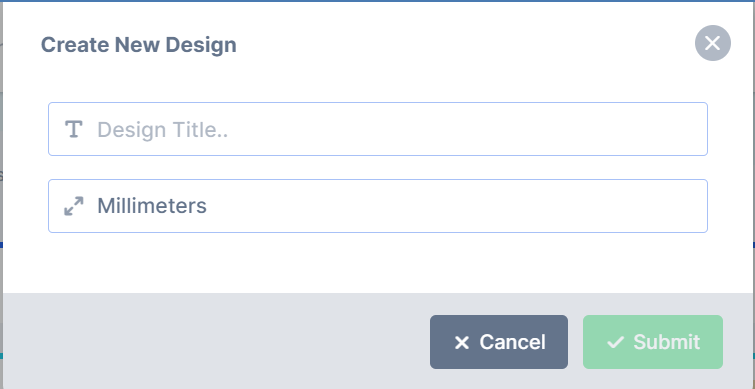
3
Set up your canvas
Now you need to set up your canvas: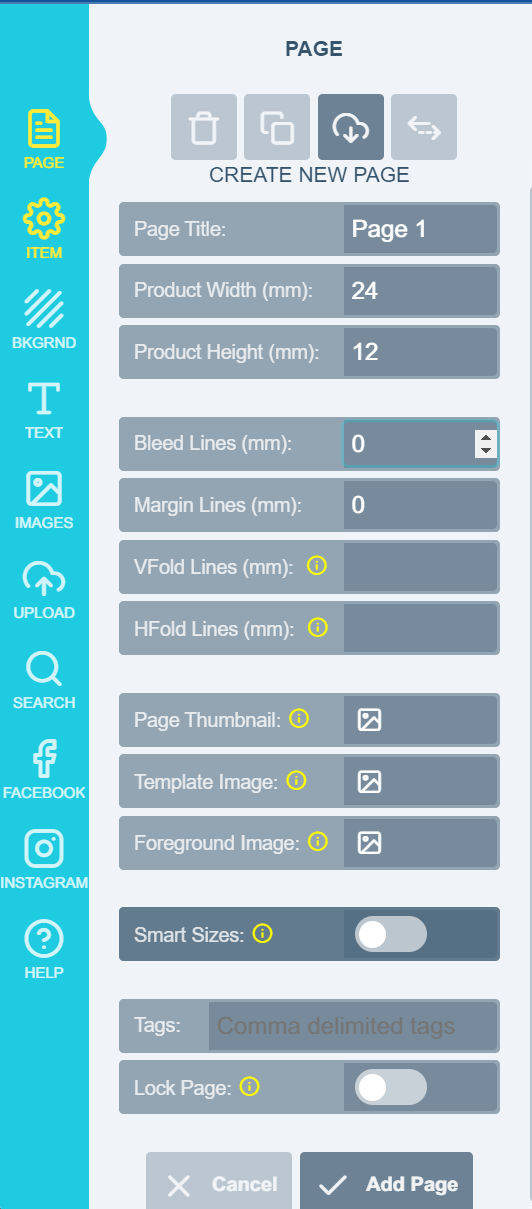
4
Upload the SVG and add it to the canvas
Now you can upload your SVG onto PitchPrint, Once its upload you can just click on it and it will appear on your canvas: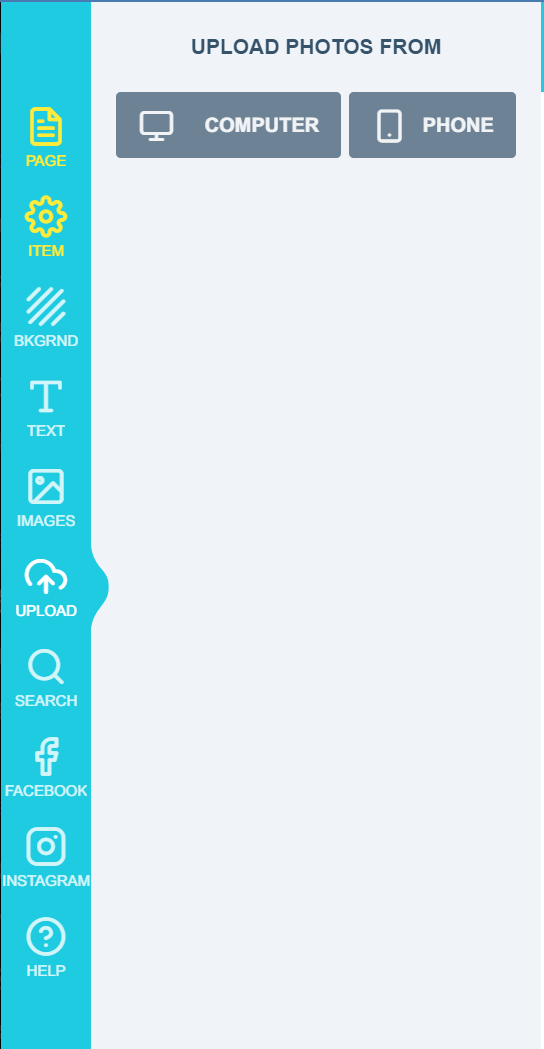 NOTE: By selecting the SVG on the canvas you can check the sizing and setting in the sidebar.
5
Enable Transform Lock and Clickable Image Mask
The last two things you will need to do: is to put Transform Lock on (so that the client can’t move the shape) and to put Clickable Image Mask on (Now your client can insert their design into the shape)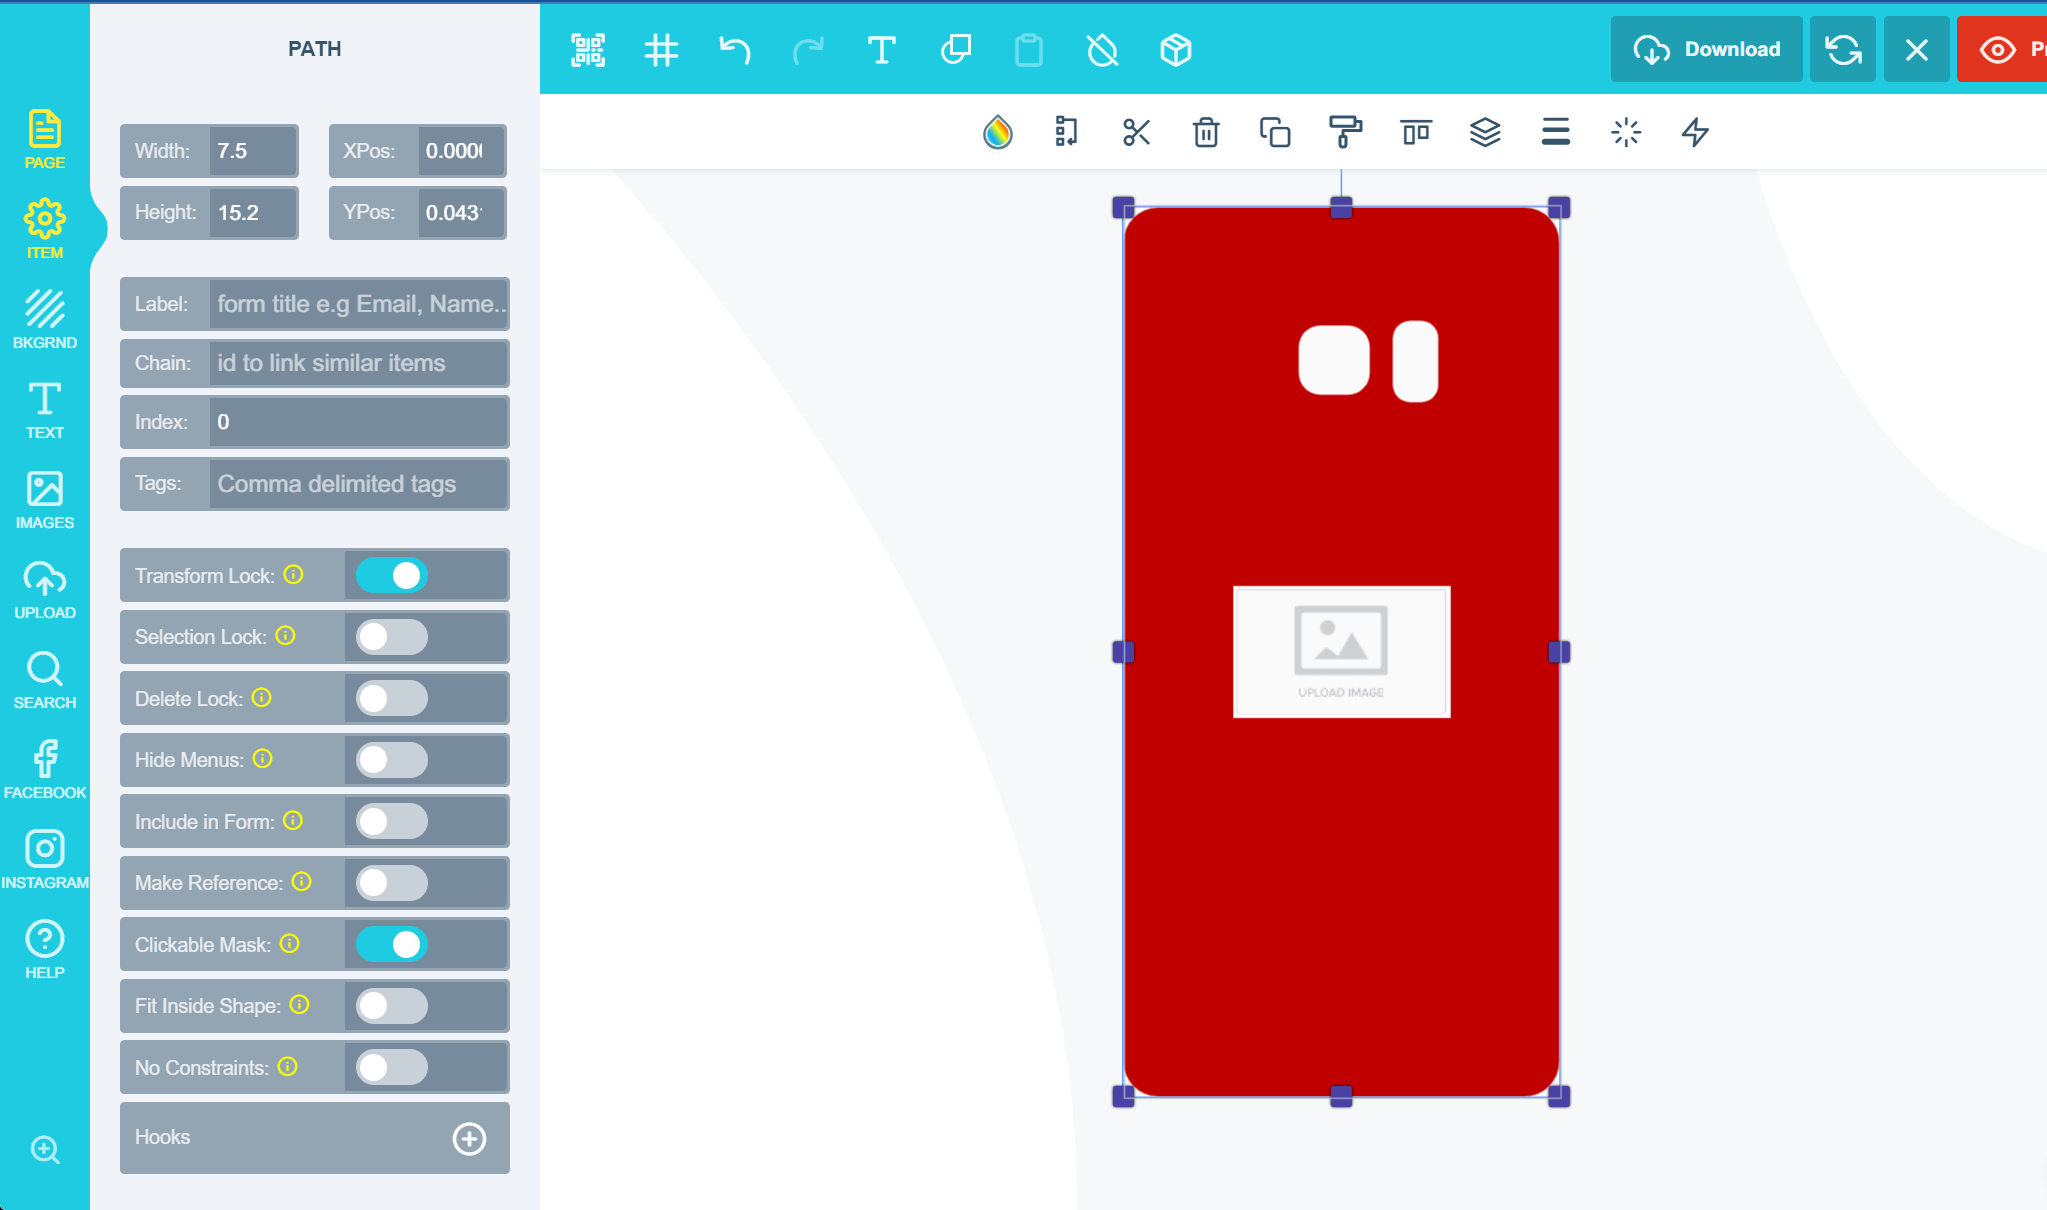
Related articles
Creating Designs Using SVGs
Get started with using SVG files to build designs in PitchPrint.
How to save your SVGs for use in PitchPrint
Export and save PitchPrint-optimized SVG files from Adobe Illustrator.
How to create an SVG for use as a Mask
Prepare a single-path SVG that can be used as a photo mask.
How to create a clickable mask
Turn a shape into an image placeholder customers can click to insert images.