Turn on Show Customize Form for a design and label its canvas items so customers get a quick-fill form the moment the app loads.
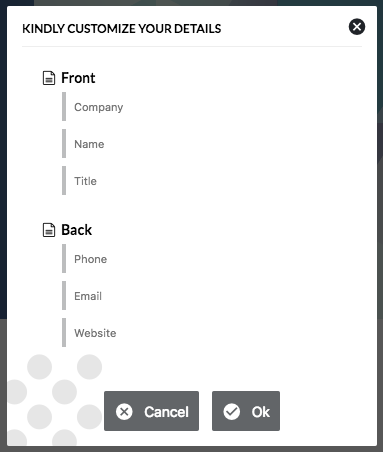
The customization form is a quick-fill form that is shown immediately the user loads the app. It basically reduces the time your customers have to click and edit items on the canvas by providing them with an overview of the demo texts that needs to be changed to their custom texts as well as images such as logos or fancy shapes. A sample is shown below:
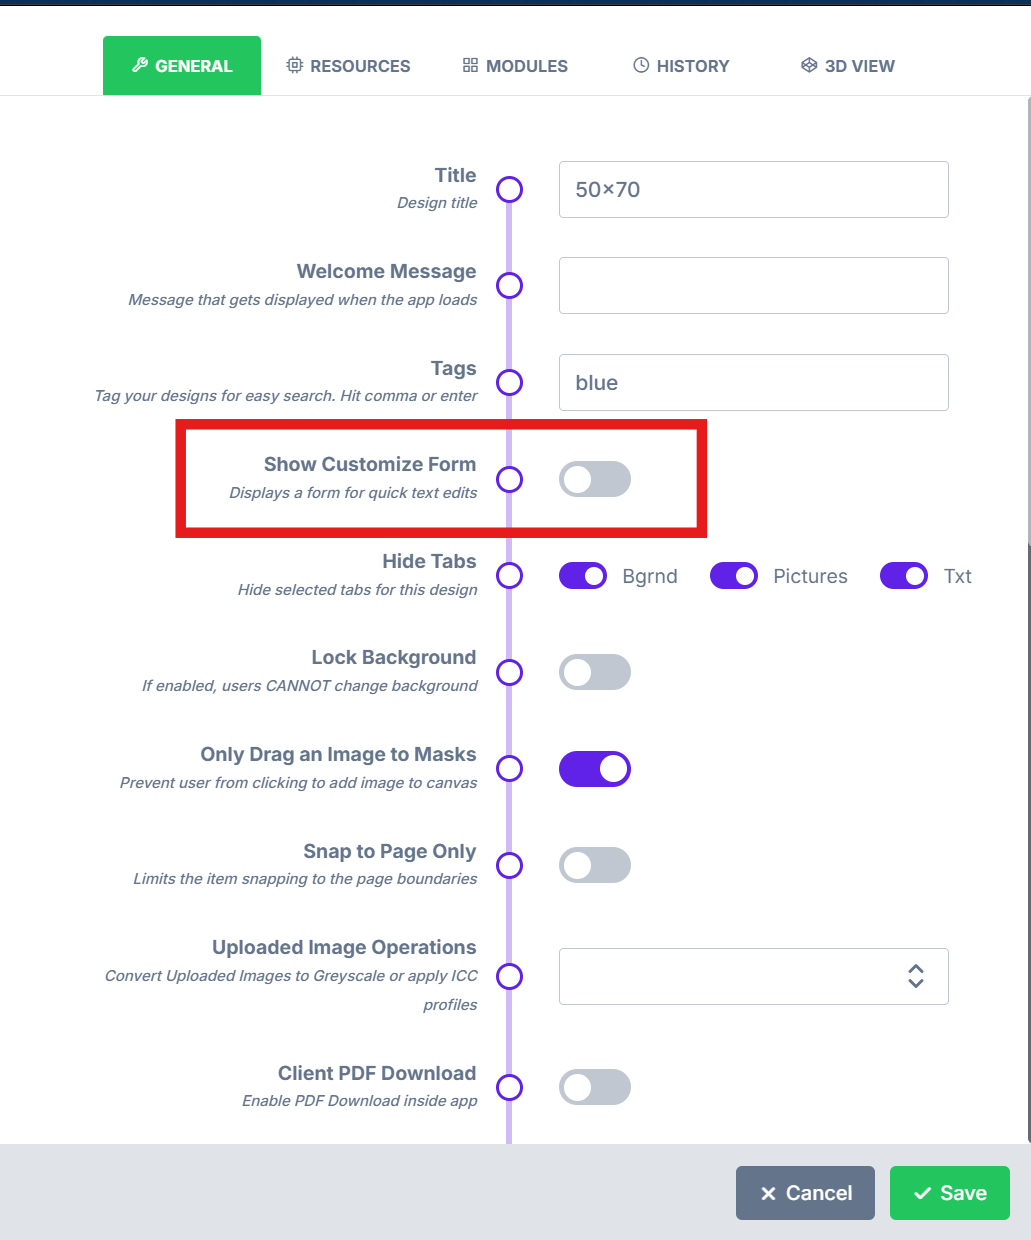
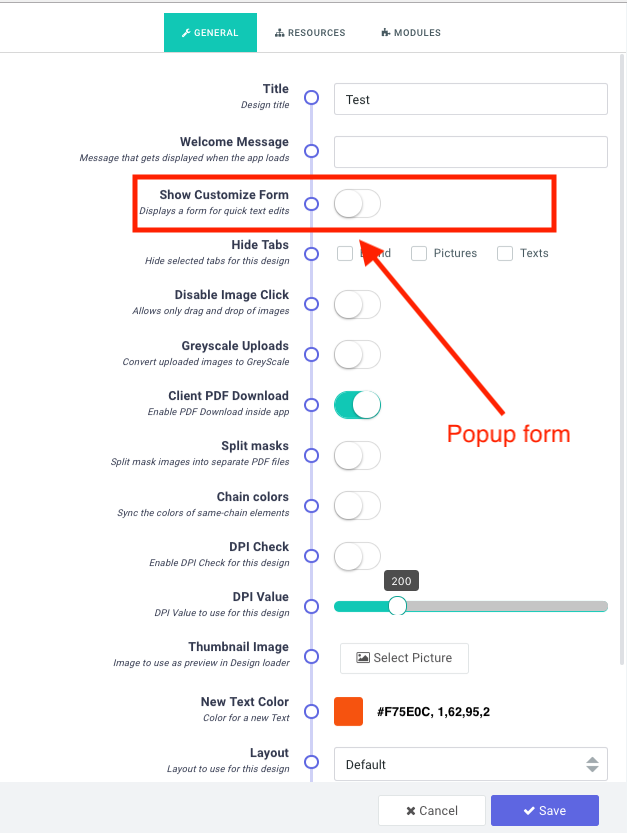
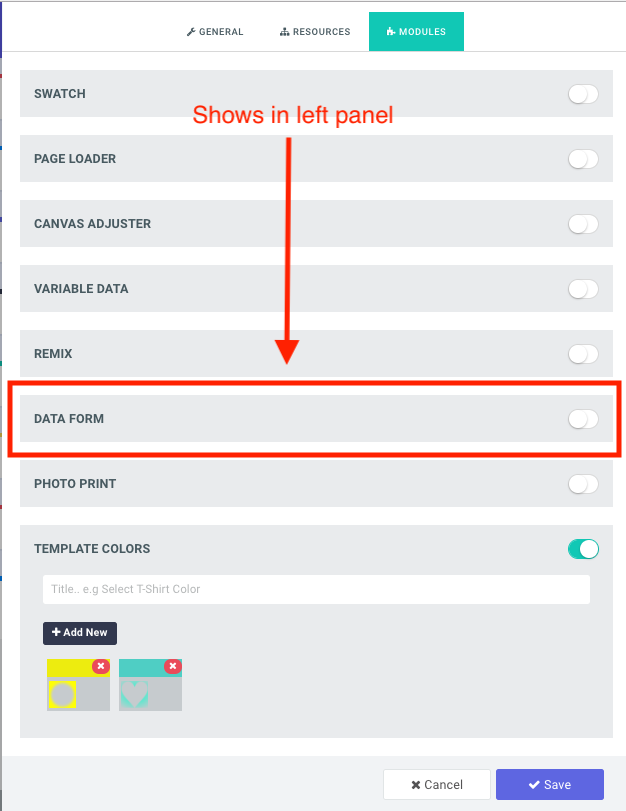
To enable this feature, we need to configure the design to “ Show Customization Form” as well as label the items on the canvas we will like shown.Enabling a Customization Form from admin panelTo enable this feature, navigate to the Designs section. Click the gear configuration button against your particular design.And in the popup window, enable “Show Customize Form” to true:
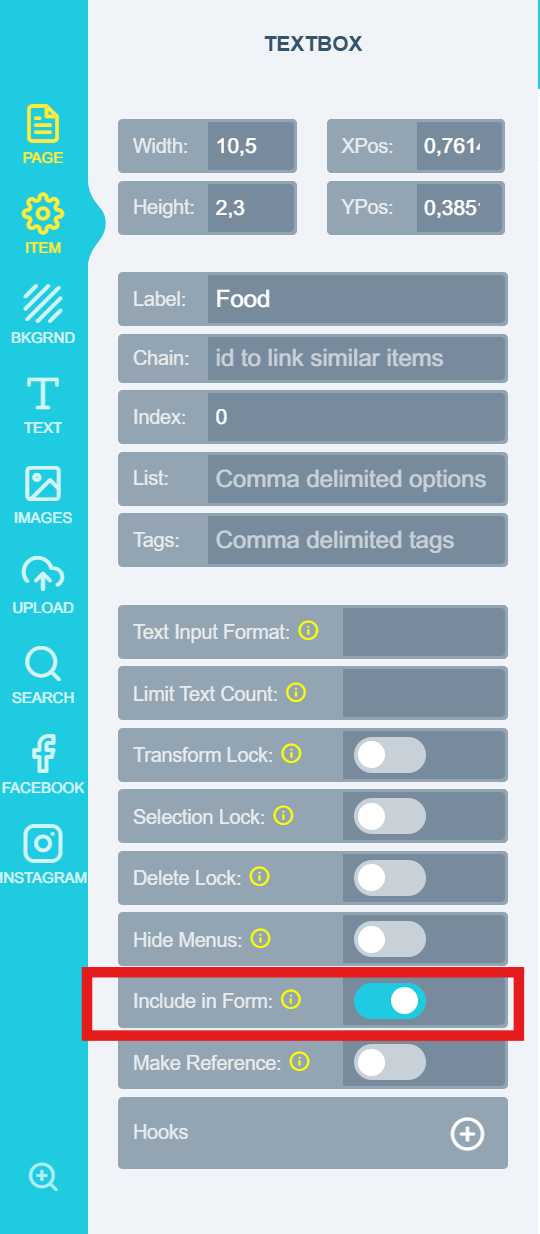
And Save! However, this alone does not show the form. You need to label and index your items in order for the form to show.How to Label ItemsThe application uses the item labels you have assigned during design to label the fields as well as identify items that needs to be included in the form. In essence, if your items are not labeled, they are not included in the form and if no item is labeled in the entire design, then the customization form is never displayed for that design.To label your items, simply click on the edit button against the design to launch the designer in edit mode.Once the app loads, click your item (Text, Shape or Picture). This is what you will see on the left panel:
Give your item a label. If needed, you can also give it a chain id. A chain simply means an id (without spacing) which can be assigned to two or more items to chain them together, such that when one is edited, all the rest follow suit. For instance, you may have a business card with company name on the front as well as on the back. Assigning the same chain “name” or any name without spacing to both will mean that if the company name was changed in the front one, all other ones too will change in value.
Index - A new feature also allows you to specify and index (priority) for each item. The default index is 0 for all items. To give an item a higher priority, you should give it a higher number so it’s displayed first. To display an item at the bottom, you can assign it a negative value, say -2 and like that..
Finally, set the Include in Form switch to a YesLikewise if two items have the same label, then only one is displayed while the other references the first. Same goes for Pictures and Shapes; if you have a logo on the front and back and you labelled them both as “Logo” for instance, only one is shown but on the design, every instances of item labeled “Logo” is replaced with the newly uploaded Picture or Shape.Submit your design and check to see it is displayed correctly.
You may also want to check out the Data Form module which does similar function but in a more inclusive manner