> ## Documentation Index
> Fetch the complete documentation index at: https://pitchprint.com/llms.txt
> Use this file to discover all available pages before exploring further.
# Variable Data Module
> Let customers mass-customise a design by uploading a CSV or Excel file, mapping its columns to design elements and generating one PDF page per record.
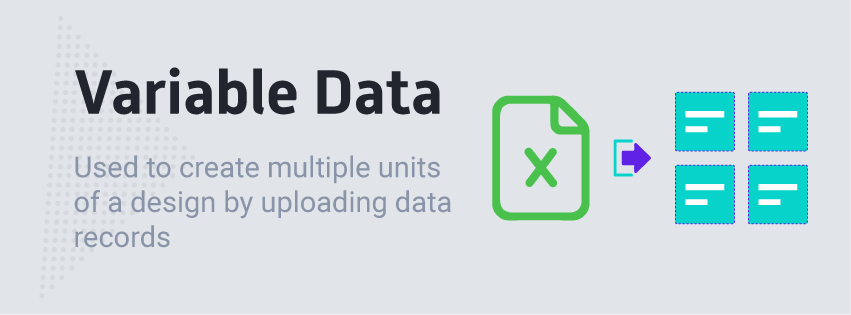 Variable data enables your customer to mass-customise a design by uploading a data sources such as Excel or CSV files.
When the design is customized, the number of items equals the number of records that have been manually created or uploaded by the customer.
When an upload is made, data columns can then be linked up with corresponding elements on the design
***Please note, this is a Premium Module and it is only available to Premium subscribers.***
### How to Enable Variable Data on a Design
To enable this feature, navigate to your [designs page](https://admin.pitchprint.io/designs), simply click the Configure button on the design you like to assign this to. Then navigate to the Modules Tab. There you will find the Variable Data module. Click to Enable it and submit the form.
Variable data enables your customer to mass-customise a design by uploading a data sources such as Excel or CSV files.
When the design is customized, the number of items equals the number of records that have been manually created or uploaded by the customer.
When an upload is made, data columns can then be linked up with corresponding elements on the design
***Please note, this is a Premium Module and it is only available to Premium subscribers.***
### How to Enable Variable Data on a Design
To enable this feature, navigate to your [designs page](https://admin.pitchprint.io/designs), simply click the Configure button on the design you like to assign this to. Then navigate to the Modules Tab. There you will find the Variable Data module. Click to Enable it and submit the form.
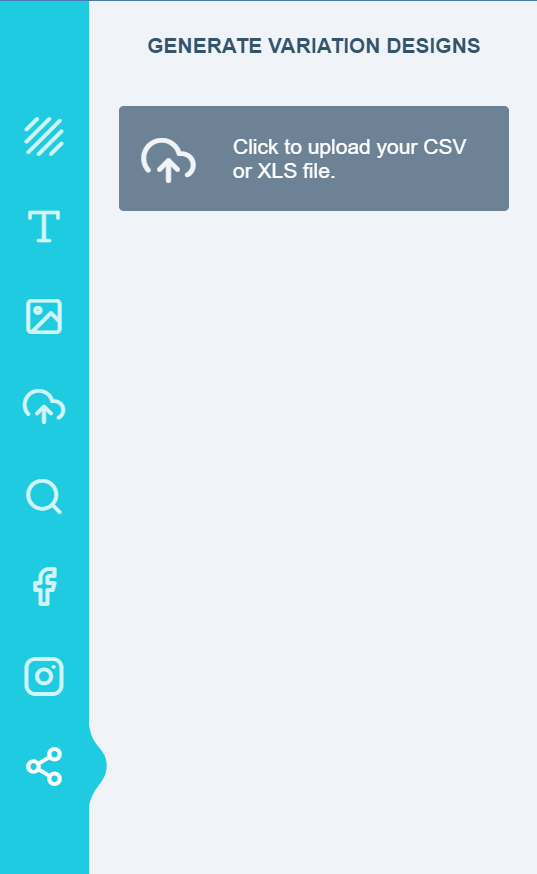
 Once enabled, the feature is available on the design app. It creates a tab with the button shown below please click the button to upload your CSV or Excel File as shown below.
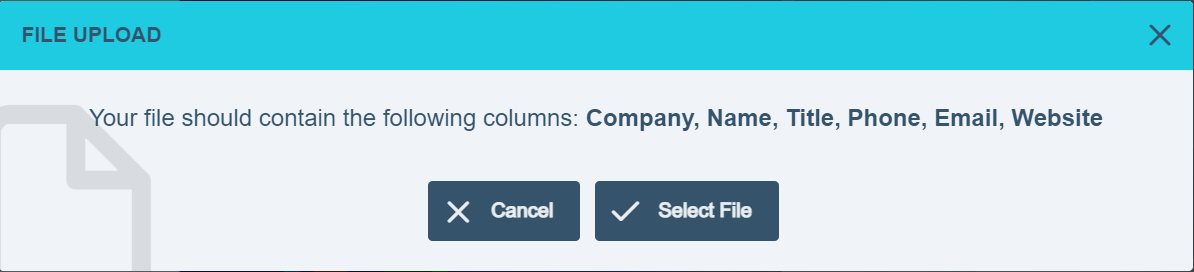
 After clicking the button you will see the pop up below to upload your file, click the select file button to upload your file.
 Now when a design is submitted with variable data, the PDF file will contain pages that correspond to the number of records contained in the uploaded file. The previews only generates the current page you're on to prevent having hundreds of preview images on the browser. If you would like to update the **QUANTITY** based on the number of records in your file you can do so by using our [Page Count Module](/docs/tutorial/how-to-use-page-count-module) alongside the variable data module.
Lastly, in the object data passed down to the saved function, a “records” value is passed which states the number of data records the design contains. This can be used for other purposes like updating other custom modules.
See demo: [Save the Date variable data demo](https://wp.demo.pitchprint.io/product/save-the-date-variable-data-module/)
**IMPORTANT NOTE:** For Variable Data form to display, it is required that at least one item in the design should have its **Include In Form** option enabled
Now when a design is submitted with variable data, the PDF file will contain pages that correspond to the number of records contained in the uploaded file. The previews only generates the current page you're on to prevent having hundreds of preview images on the browser. If you would like to update the **QUANTITY** based on the number of records in your file you can do so by using our [Page Count Module](/docs/tutorial/how-to-use-page-count-module) alongside the variable data module.
Lastly, in the object data passed down to the saved function, a “records” value is passed which states the number of data records the design contains. This can be used for other purposes like updating other custom modules.
See demo: [Save the Date variable data demo](https://wp.demo.pitchprint.io/product/save-the-date-variable-data-module/)
**IMPORTANT NOTE:** For Variable Data form to display, it is required that at least one item in the design should have its **Include In Form** option enabled
 ## Related articles
Add a quick-edit form that lets customers customize design elements without clicking around the canvas.
Watch a video walkthrough of the Data Form module.
Automatically reflect a signed-in customer's details in their design from your cart framework.
Set up a quick-fill form that appears as soon as the app loads for faster edits.
This documentation is built and hosted on [Mintlify](https://mintlify.com), a developer documentation platform.
## Related articles
Add a quick-edit form that lets customers customize design elements without clicking around the canvas.
Watch a video walkthrough of the Data Form module.
Automatically reflect a signed-in customer's details in their design from your cart framework.
Set up a quick-fill form that appears as soon as the app loads for faster edits.
This documentation is built and hosted on [Mintlify](https://mintlify.com), a developer documentation platform.