> ## Documentation Index
> Fetch the complete documentation index at: https://pitchprint.com/llms.txt
> Use this file to discover all available pages before exploring further.
# Smart Sizes
> Hold several canvas sizes and layouts in one design, then let customers pick a size in the app or from a product page selector.
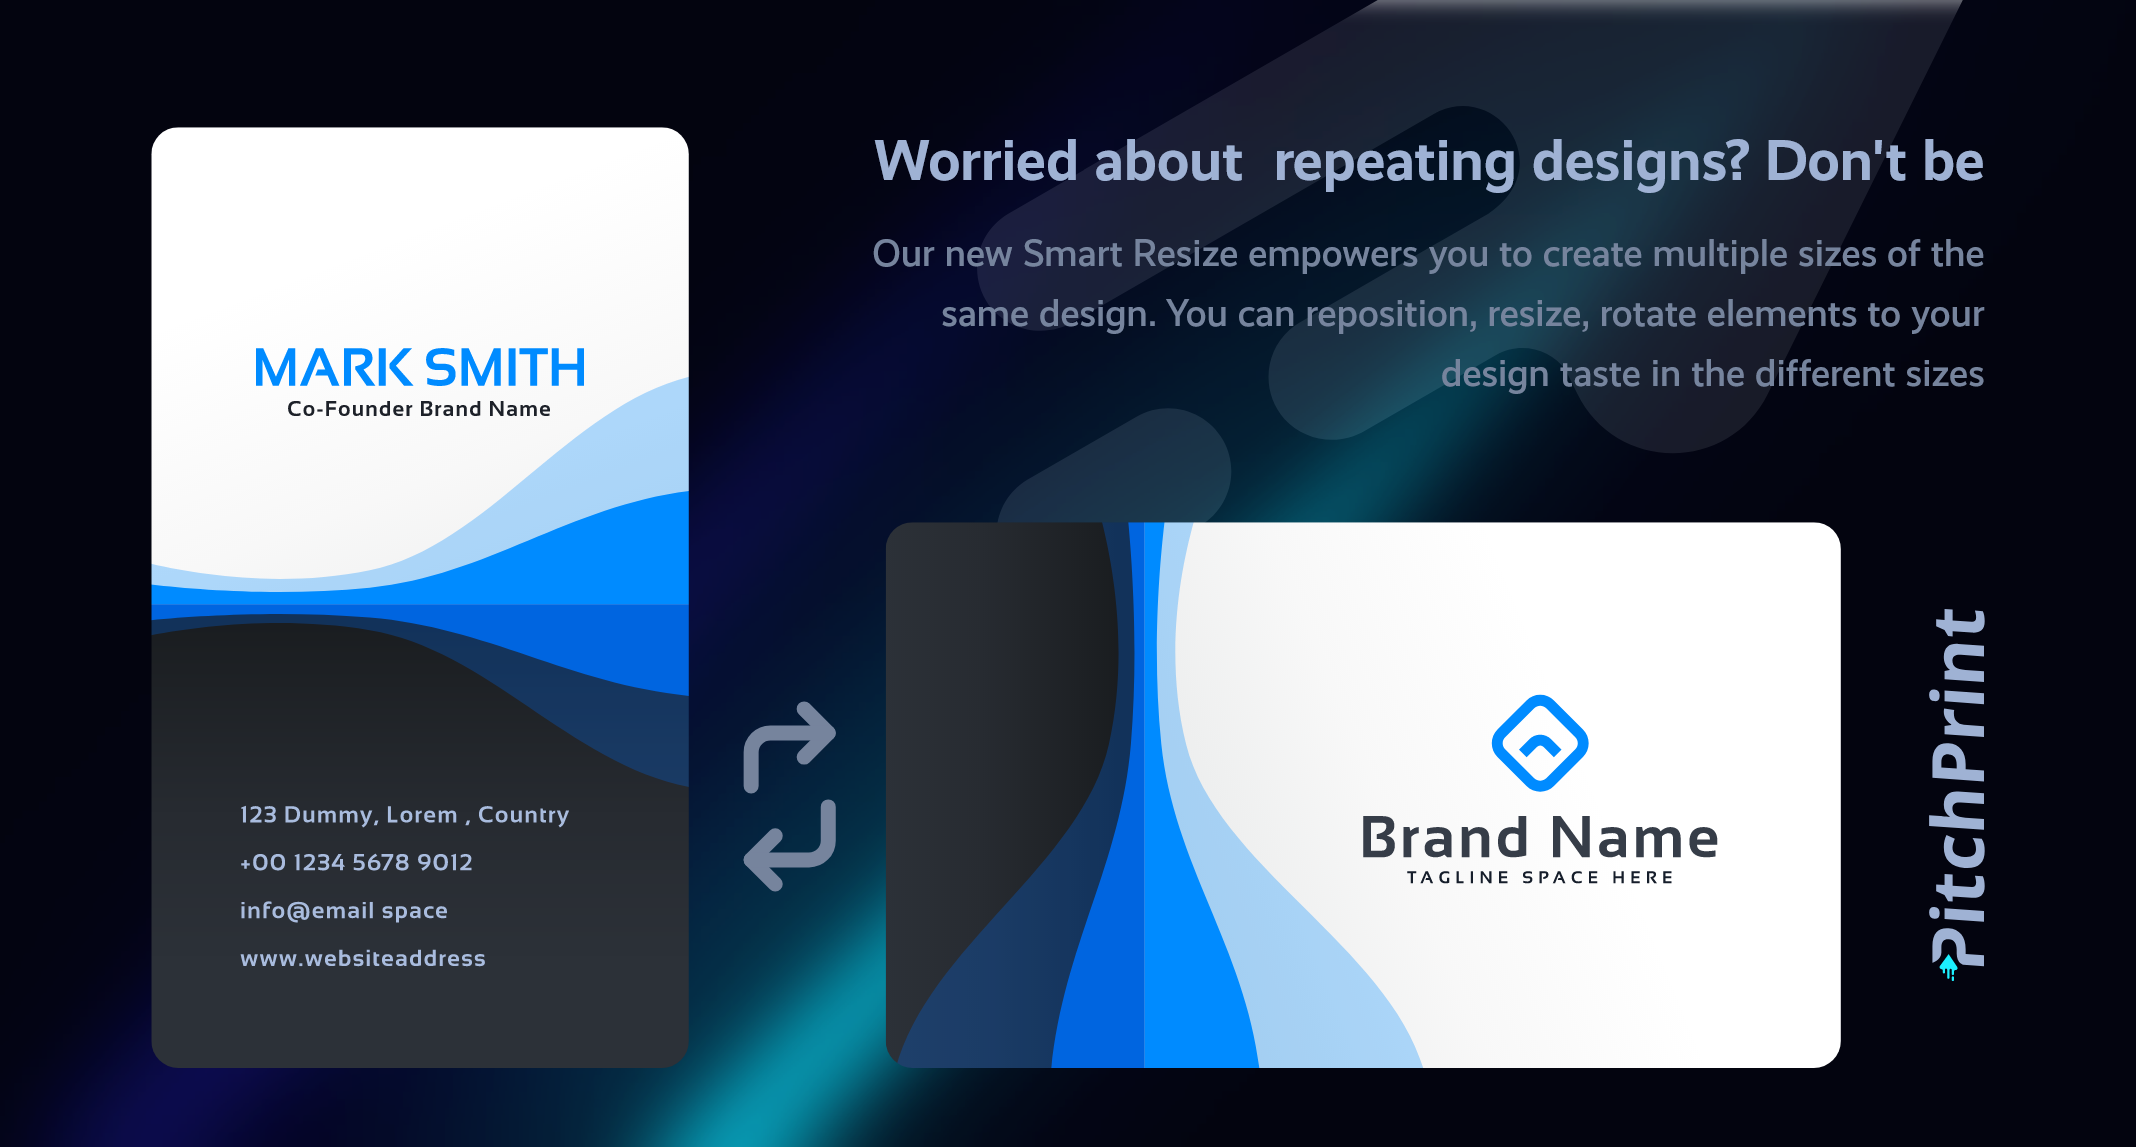 This is a feature that allows a designer to create multiple variations of a single design by varying the canvas size and elements' properties to come up with entirely different looking layouts.
So, imagine you have a card product in three sizes: Landscape, Portrait and Square. In the past you would have to create these as three separate designs and find ways to wire them to a single product.
Well, using this feature, you start by creating the first size, placing every element nicely to your taste.
This is a feature that allows a designer to create multiple variations of a single design by varying the canvas size and elements' properties to come up with entirely different looking layouts.
So, imagine you have a card product in three sizes: Landscape, Portrait and Square. In the past you would have to create these as three separate designs and find ways to wire them to a single product.
Well, using this feature, you start by creating the first size, placing every element nicely to your taste.
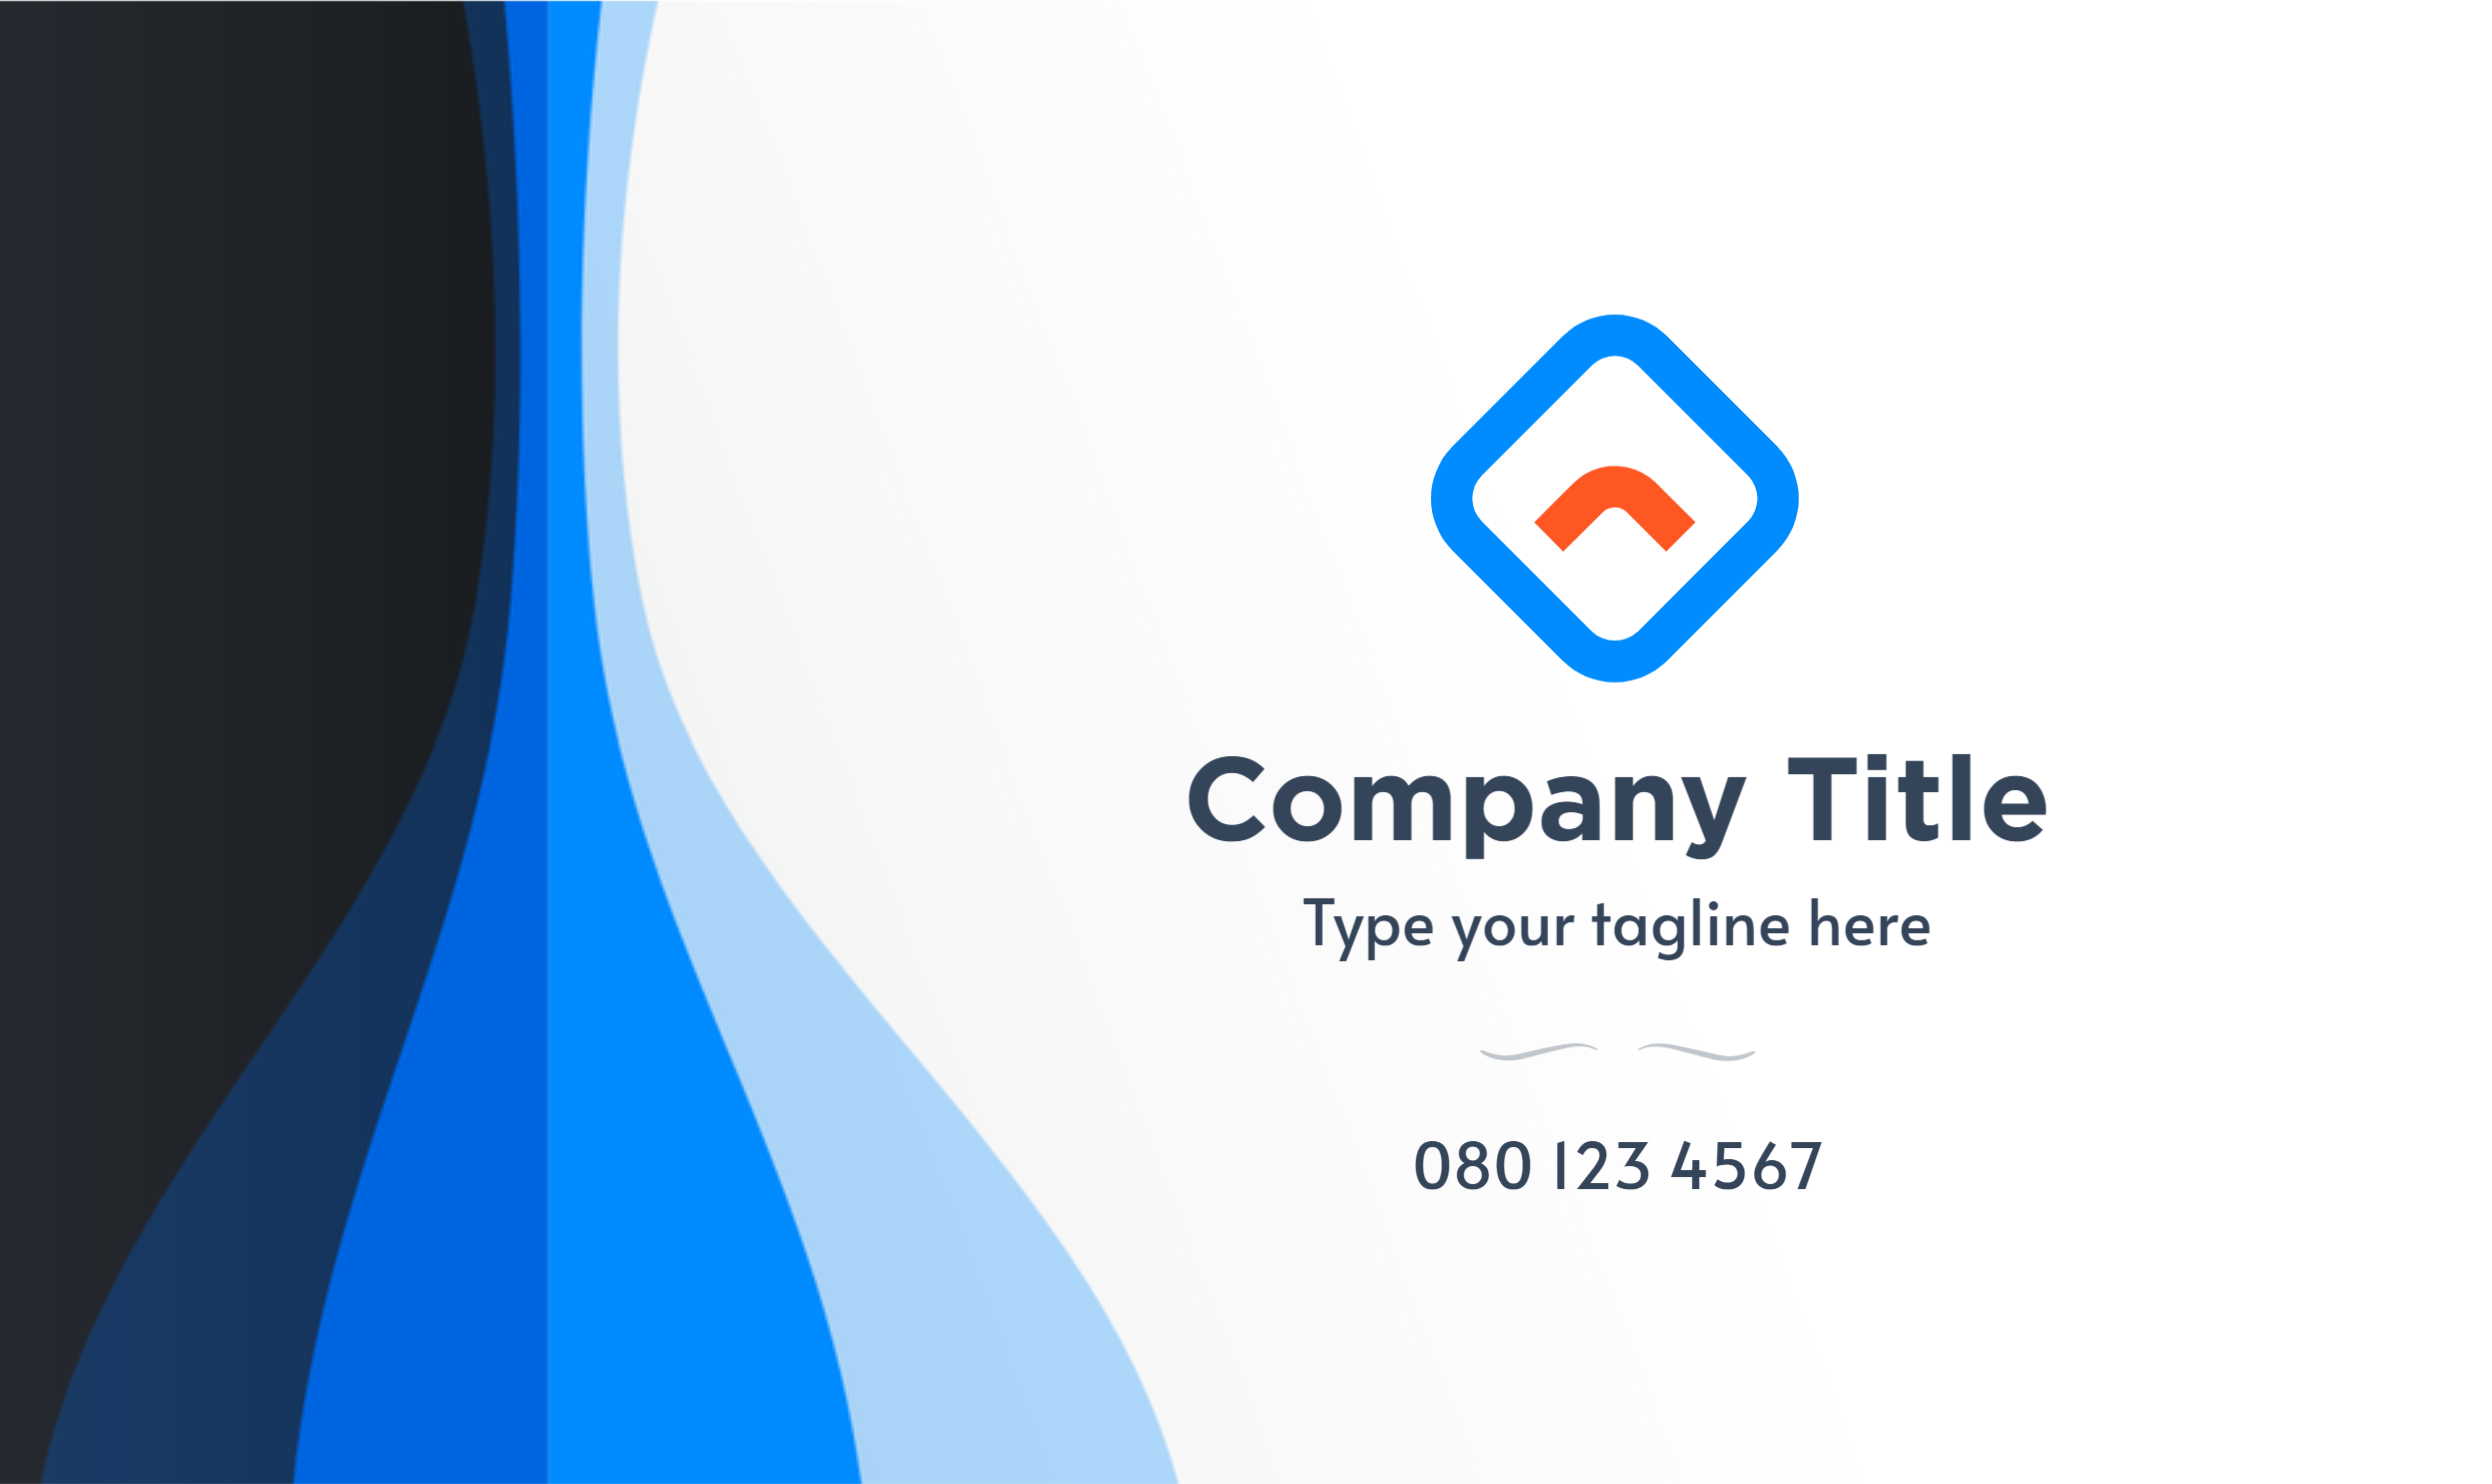 ***Size 1 -*** *8.6cm by 5.4cm*
Next, you simply enable the Smart Sizes on that page and click the plus sign to add a new size:
***Size 1 -*** *8.6cm by 5.4cm*
Next, you simply enable the Smart Sizes on that page and click the plus sign to add a new size:
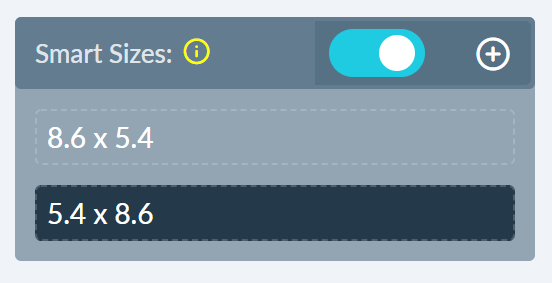 By design, the next size is a swap of the Width and Height but you can always adjust the values in the page configuration as you would resize a page.
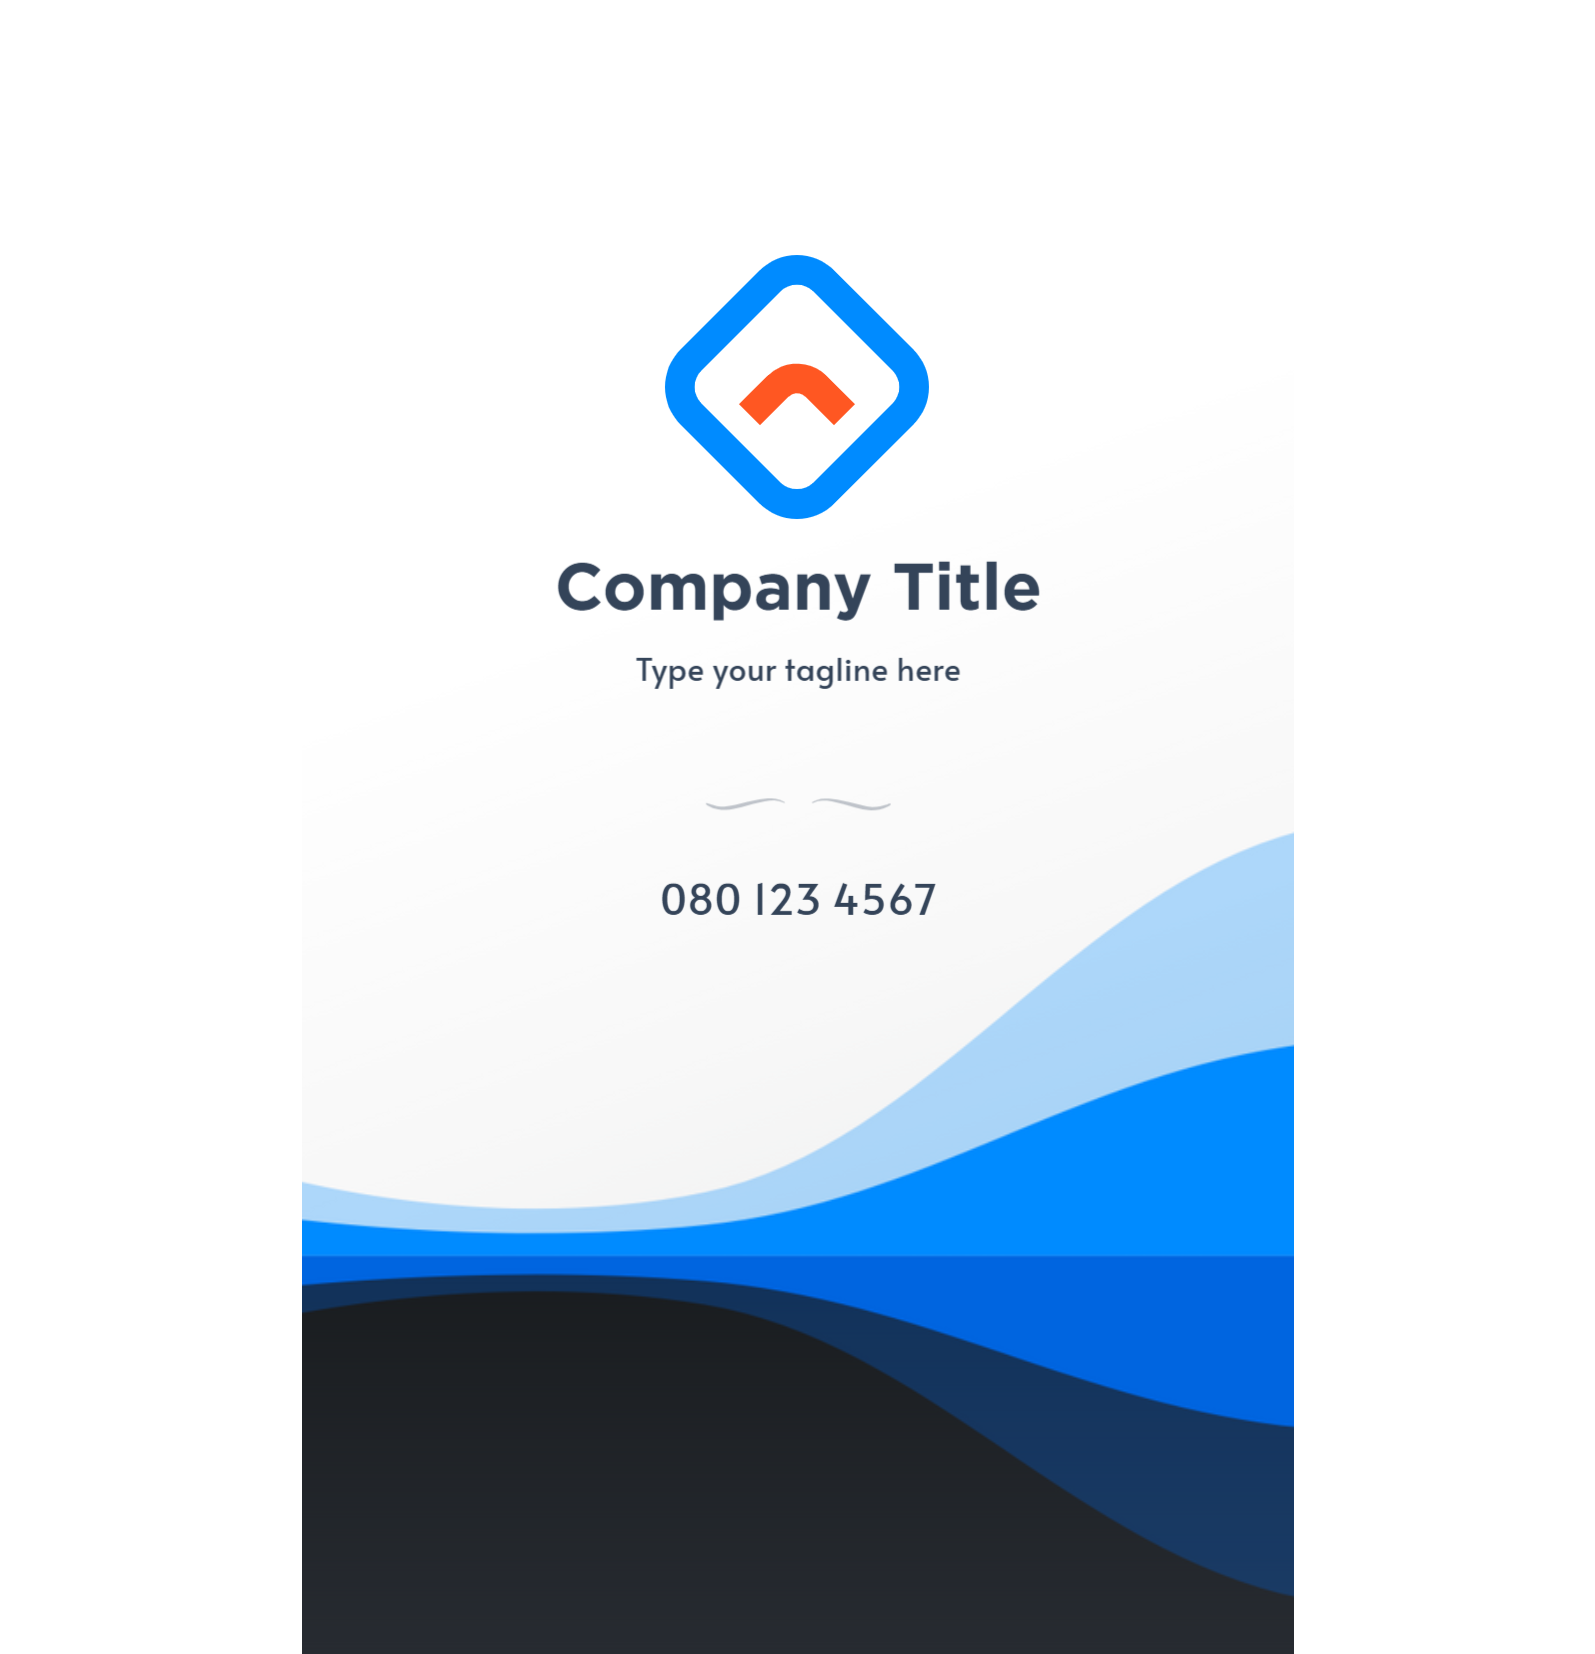 ***Size 2 -*** *5.4cm by 8.6cm*
After adding a new size, it's necessary to reposition or resize the elements to fit well with the new size.
And you can add a third or forth size as you wish.
### In-App Size Selection
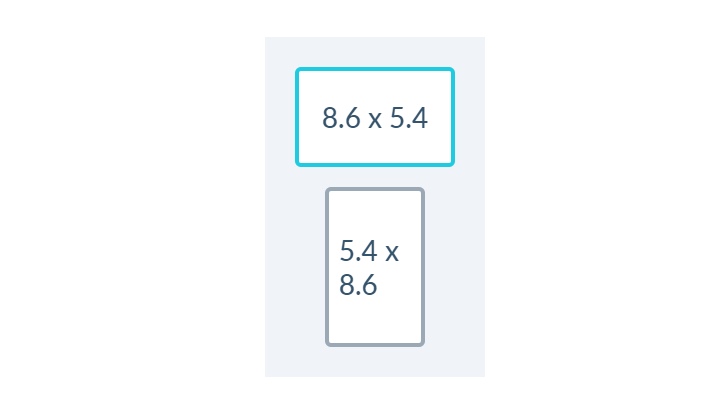
The panel below will be shown on the App product page if Smart Canvas is enabled. With this, your customers can pick which design layout they love.
***Size 2 -*** *5.4cm by 8.6cm*
After adding a new size, it's necessary to reposition or resize the elements to fit well with the new size.
And you can add a third or forth size as you wish.
### In-App Size Selection
The panel below will be shown on the App product page if Smart Canvas is enabled. With this, your customers can pick which design layout they love.
 ### Product-side Size Selection
You can also have your customers change sizes from the product page, by providing the selector to an element that provides the list of sizes that your customers can choose from, example:
PPCLIENT.smartSizeSelector = '#dimensions';
The above should be inserted in your PitchPrint Admin Settings, under Custom Javascript. Note '#dimesnoins' is just an example, you would need to provide your own selector that can be found on your product page, if it has a size selection.
### Positioning
When adding new elements to the canvas they need to be positioned in both instances, for it to display correctly.
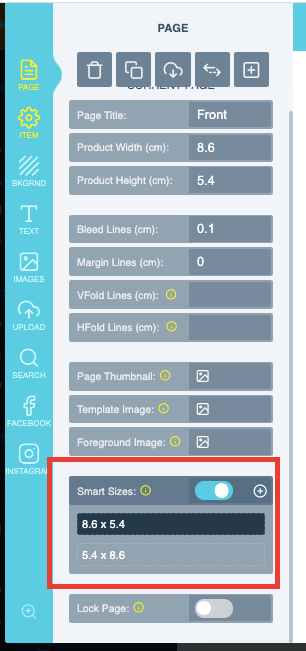
To enable Smart Canvas go to your [designs](https://admin.pitchprint.com/designs) page in the admin, open the design where you would like to enable Smart Canvas. You should see the below option on your left enable it and start by adding a new smart page by clicking the plus icon⊕
### Product-side Size Selection
You can also have your customers change sizes from the product page, by providing the selector to an element that provides the list of sizes that your customers can choose from, example:
PPCLIENT.smartSizeSelector = '#dimensions';
The above should be inserted in your PitchPrint Admin Settings, under Custom Javascript. Note '#dimesnoins' is just an example, you would need to provide your own selector that can be found on your product page, if it has a size selection.
### Positioning
When adding new elements to the canvas they need to be positioned in both instances, for it to display correctly.
To enable Smart Canvas go to your [designs](https://admin.pitchprint.com/designs) page in the admin, open the design where you would like to enable Smart Canvas. You should see the below option on your left enable it and start by adding a new smart page by clicking the plus icon⊕
 And for it to appear in the Front App, you will need to update your [Layout](https://admin.pitchprint.com/layouts) to the latest.
 A sample demo can be seen here [Smart Sizes demo product](https://wp.demo.pitchprint.io/product/smart-sizes/).
Do give it a try and be sure to let us know if you require any assistance setting this feature up on your products.
## Related articles
Create multiple size variations of a single design from one layout.
This documentation is built and hosted on [Mintlify](https://mintlify.com), a developer documentation platform.
A sample demo can be seen here [Smart Sizes demo product](https://wp.demo.pitchprint.io/product/smart-sizes/).
Do give it a try and be sure to let us know if you require any assistance setting this feature up on your products.
## Related articles
Create multiple size variations of a single design from one layout.
This documentation is built and hosted on [Mintlify](https://mintlify.com), a developer documentation platform.