> ## Documentation Index
> Fetch the complete documentation index at: https://pitchprint.com/llms.txt
> Use this file to discover all available pages before exploring further.
# How to create templates using SVG shapes
> Draw and save a phone case shape as an SVG, then upload it to a new design and lock it as a clickable image mask.
From this article you will learn how to create a design template using an SVG shape.
\[Lets use a cellphone case as example.]
**Part 1: Creating the SVG**
You will need to design the shape on the phone cover, as seen below:
 Now you can save this design as an SVG - ( [How to save your SVGs for use in PitchPrint](/docs/tutorial/how-to-save-your-svgs-for-use-in-pitchprint))
**Part 2: Creating the design template on PitchPrint**
Select/create a category for your design and then click on **New Design**:
Now you can save this design as an SVG - ( [How to save your SVGs for use in PitchPrint](/docs/tutorial/how-to-save-your-svgs-for-use-in-pitchprint))
**Part 2: Creating the design template on PitchPrint**
Select/create a category for your design and then click on **New Design**:
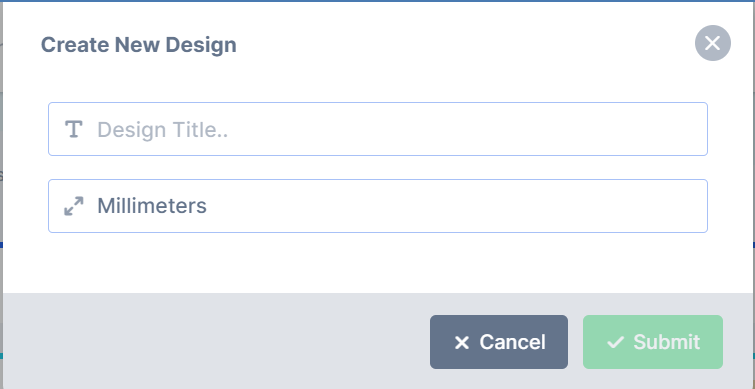
 Next you will have to give the design a name and then click **SUBMIT**:
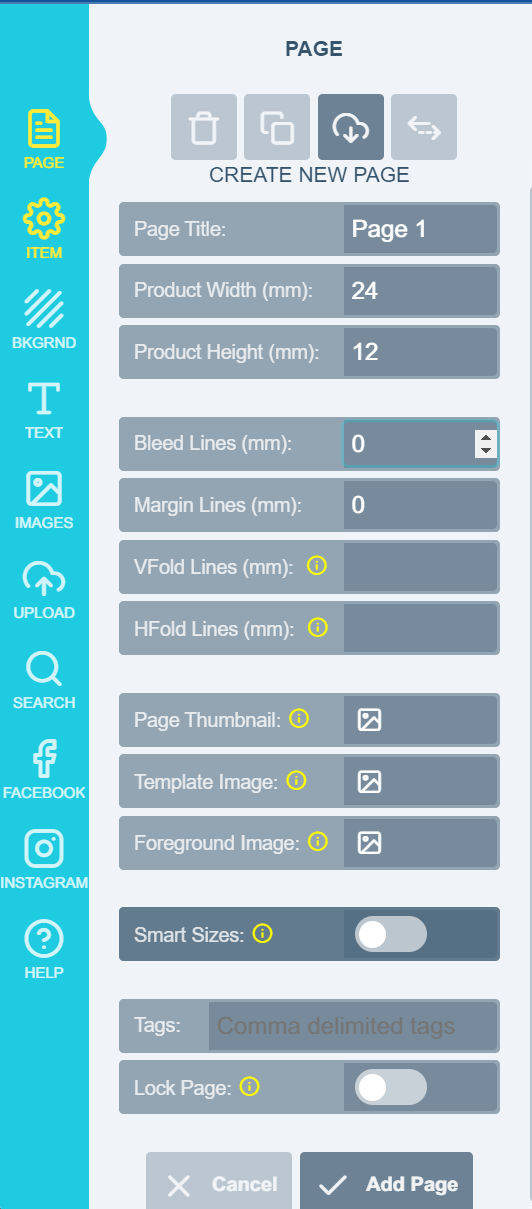
 Now you need to set up your canvas:
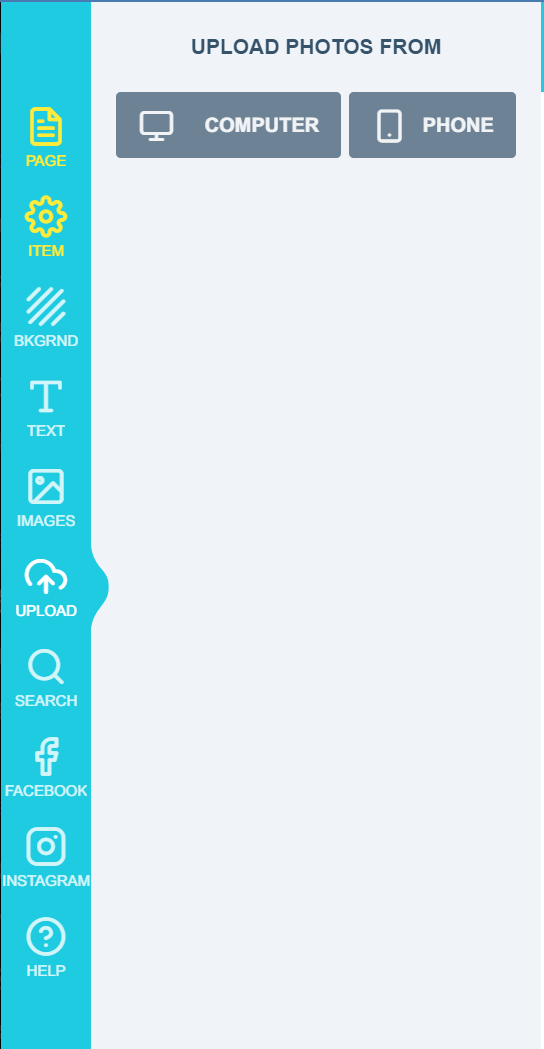
 Now you can upload your SVG onto PitchPrint, Once its upload you can just click on it and it will appear on your canvas:
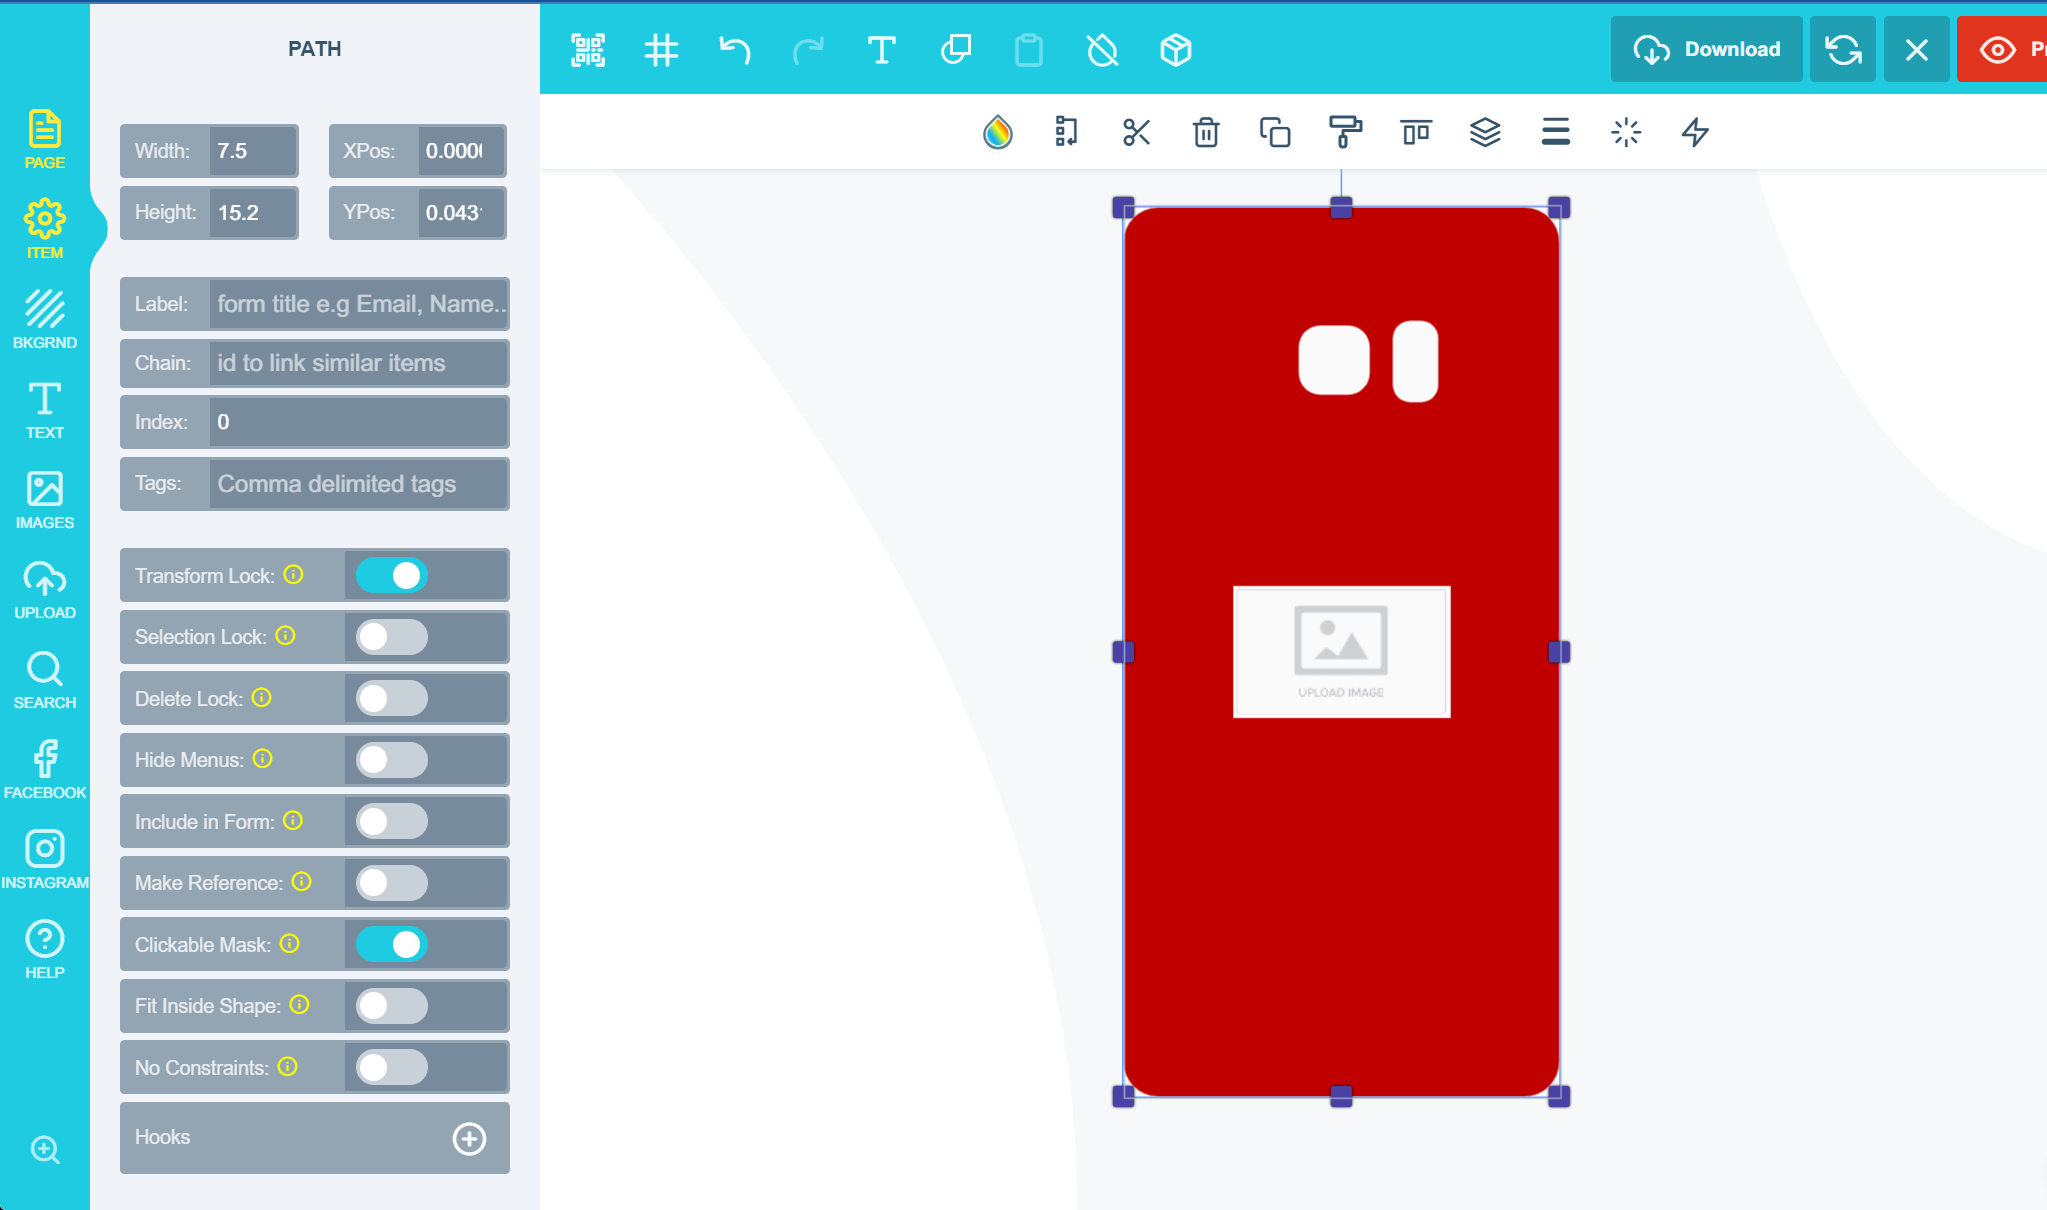
 NOTE: By selecting the SVG on the canvas you can check the sizing and setting in the sidebar.
The last two things you will need to do: is to put Transform Lock on (so that the client can't move the shape) and to put Clickable Image Mask on (Now your client can insert their design into the shape)
NOTE: By selecting the SVG on the canvas you can check the sizing and setting in the sidebar.
The last two things you will need to do: is to put Transform Lock on (so that the client can't move the shape) and to put Clickable Image Mask on (Now your client can insert their design into the shape)
 ## Related articles
Get started with using SVG files to build designs in PitchPrint.
Export and save PitchPrint-optimized SVG files from Adobe Illustrator.
Prepare a single-path SVG that can be used as a photo mask.
Turn a shape into an image placeholder customers can click to insert images.
This documentation is built and hosted on [Mintlify](https://mintlify.com), a developer documentation platform.
## Related articles
Get started with using SVG files to build designs in PitchPrint.
Export and save PitchPrint-optimized SVG files from Adobe Illustrator.
Prepare a single-path SVG that can be used as a photo mask.
Turn a shape into an image placeholder customers can click to insert images.
This documentation is built and hosted on [Mintlify](https://mintlify.com), a developer documentation platform.