> ## Documentation Index
> Fetch the complete documentation index at: https://pitchprint.com/llms.txt
> Use this file to discover all available pages before exploring further.
# How to Add a Placeholder image for Mask Shapes
> Upload a guide image that tells customers to click a clickable mask shape and drop their own picture inside it.
This doc is a guide on how to add a placeholder image for a mask shape (also known as a clickable mask.)
Have a look at the following doc for more on clickable mask: [How to create templates using SVG shapes](/docs/tutorial/how-to-create-templates-using-svg-shapes)
Demo store: [Photo prints demo product](https://wp.demo.pitchprint.io/product/photo-prints/)
Now that you have a better understanding, I can show you how to change the placeholder image.
So why would you want a placeholder image?
Placeholder images function as a guide for your clients to know to click on the shape to place an image inside.
Below is an example of our placeholder image:
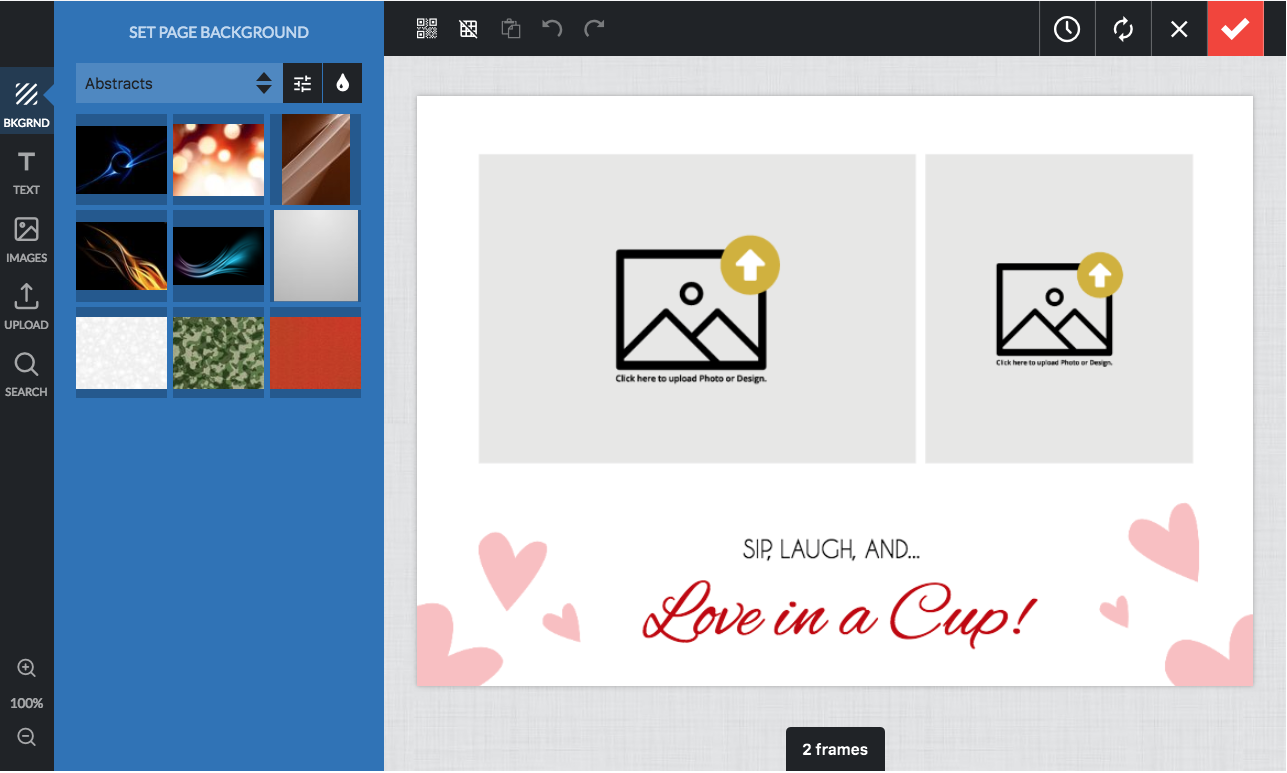 Steps:
You will have to source a image or design you'd like to use, I'd recommend PNG files.
**(Attached are 2 sample placeholder images)**
Steps:
You will have to source a image or design you'd like to use, I'd recommend PNG files.
**(Attached are 2 sample placeholder images)**

 Go to the PitchPrint Admin Settings: [Settings page](https://admin.pitchprint.io/settings)
Scroll until you see the Mask upload indicator setting (it's in the editor section.)
Go to the PitchPrint Admin Settings: [Settings page](https://admin.pitchprint.io/settings)
Scroll until you see the Mask upload indicator setting (it's in the editor section.)
 Click the 'Change Picture' button it will open a browser window, find your image and upload it.
Lastly click the 'Save Settings' button (top right.)
Make sure to test it from your store front.
## Related articles
Turn a shape into an image placeholder customers can click to insert images.
Use any shape as a clipping area to trim content in the final PDF.
Prepare a single-path SVG that can be used as a photo mask.
Build a design template from an SVG shape, such as a phone case.
This documentation is built and hosted on [Mintlify](https://mintlify.com), a developer documentation platform.
Click the 'Change Picture' button it will open a browser window, find your image and upload it.
Lastly click the 'Save Settings' button (top right.)
Make sure to test it from your store front.
## Related articles
Turn a shape into an image placeholder customers can click to insert images.
Use any shape as a clipping area to trim content in the final PDF.
Prepare a single-path SVG that can be used as a photo mask.
Build a design template from an SVG shape, such as a phone case.
This documentation is built and hosted on [Mintlify](https://mintlify.com), a developer documentation platform.