> ## Documentation Index
> Fetch the complete documentation index at: https://pitchprint.com/llms.txt
> Use this file to discover all available pages before exploring further.
# 3D Business card
> Build a two page design, prepare a 1024x1024 texture file and map it to a business card mesh so customers see both sides in 3D.
PitchPrint 3D View allows you to view a model from a front and back perspective. In order to do this a two page design template design needs to be created and assigned to a 3D model. Page 1 will be the front of the business card and page 2 will be the back of the business card.
### Creating a two page design in PitchPrint
Navigate to [Designs](https://admin.pitchprint.com/designs) in the PitchPrint admin.
Select the new design button and create a design that consists of two pages.
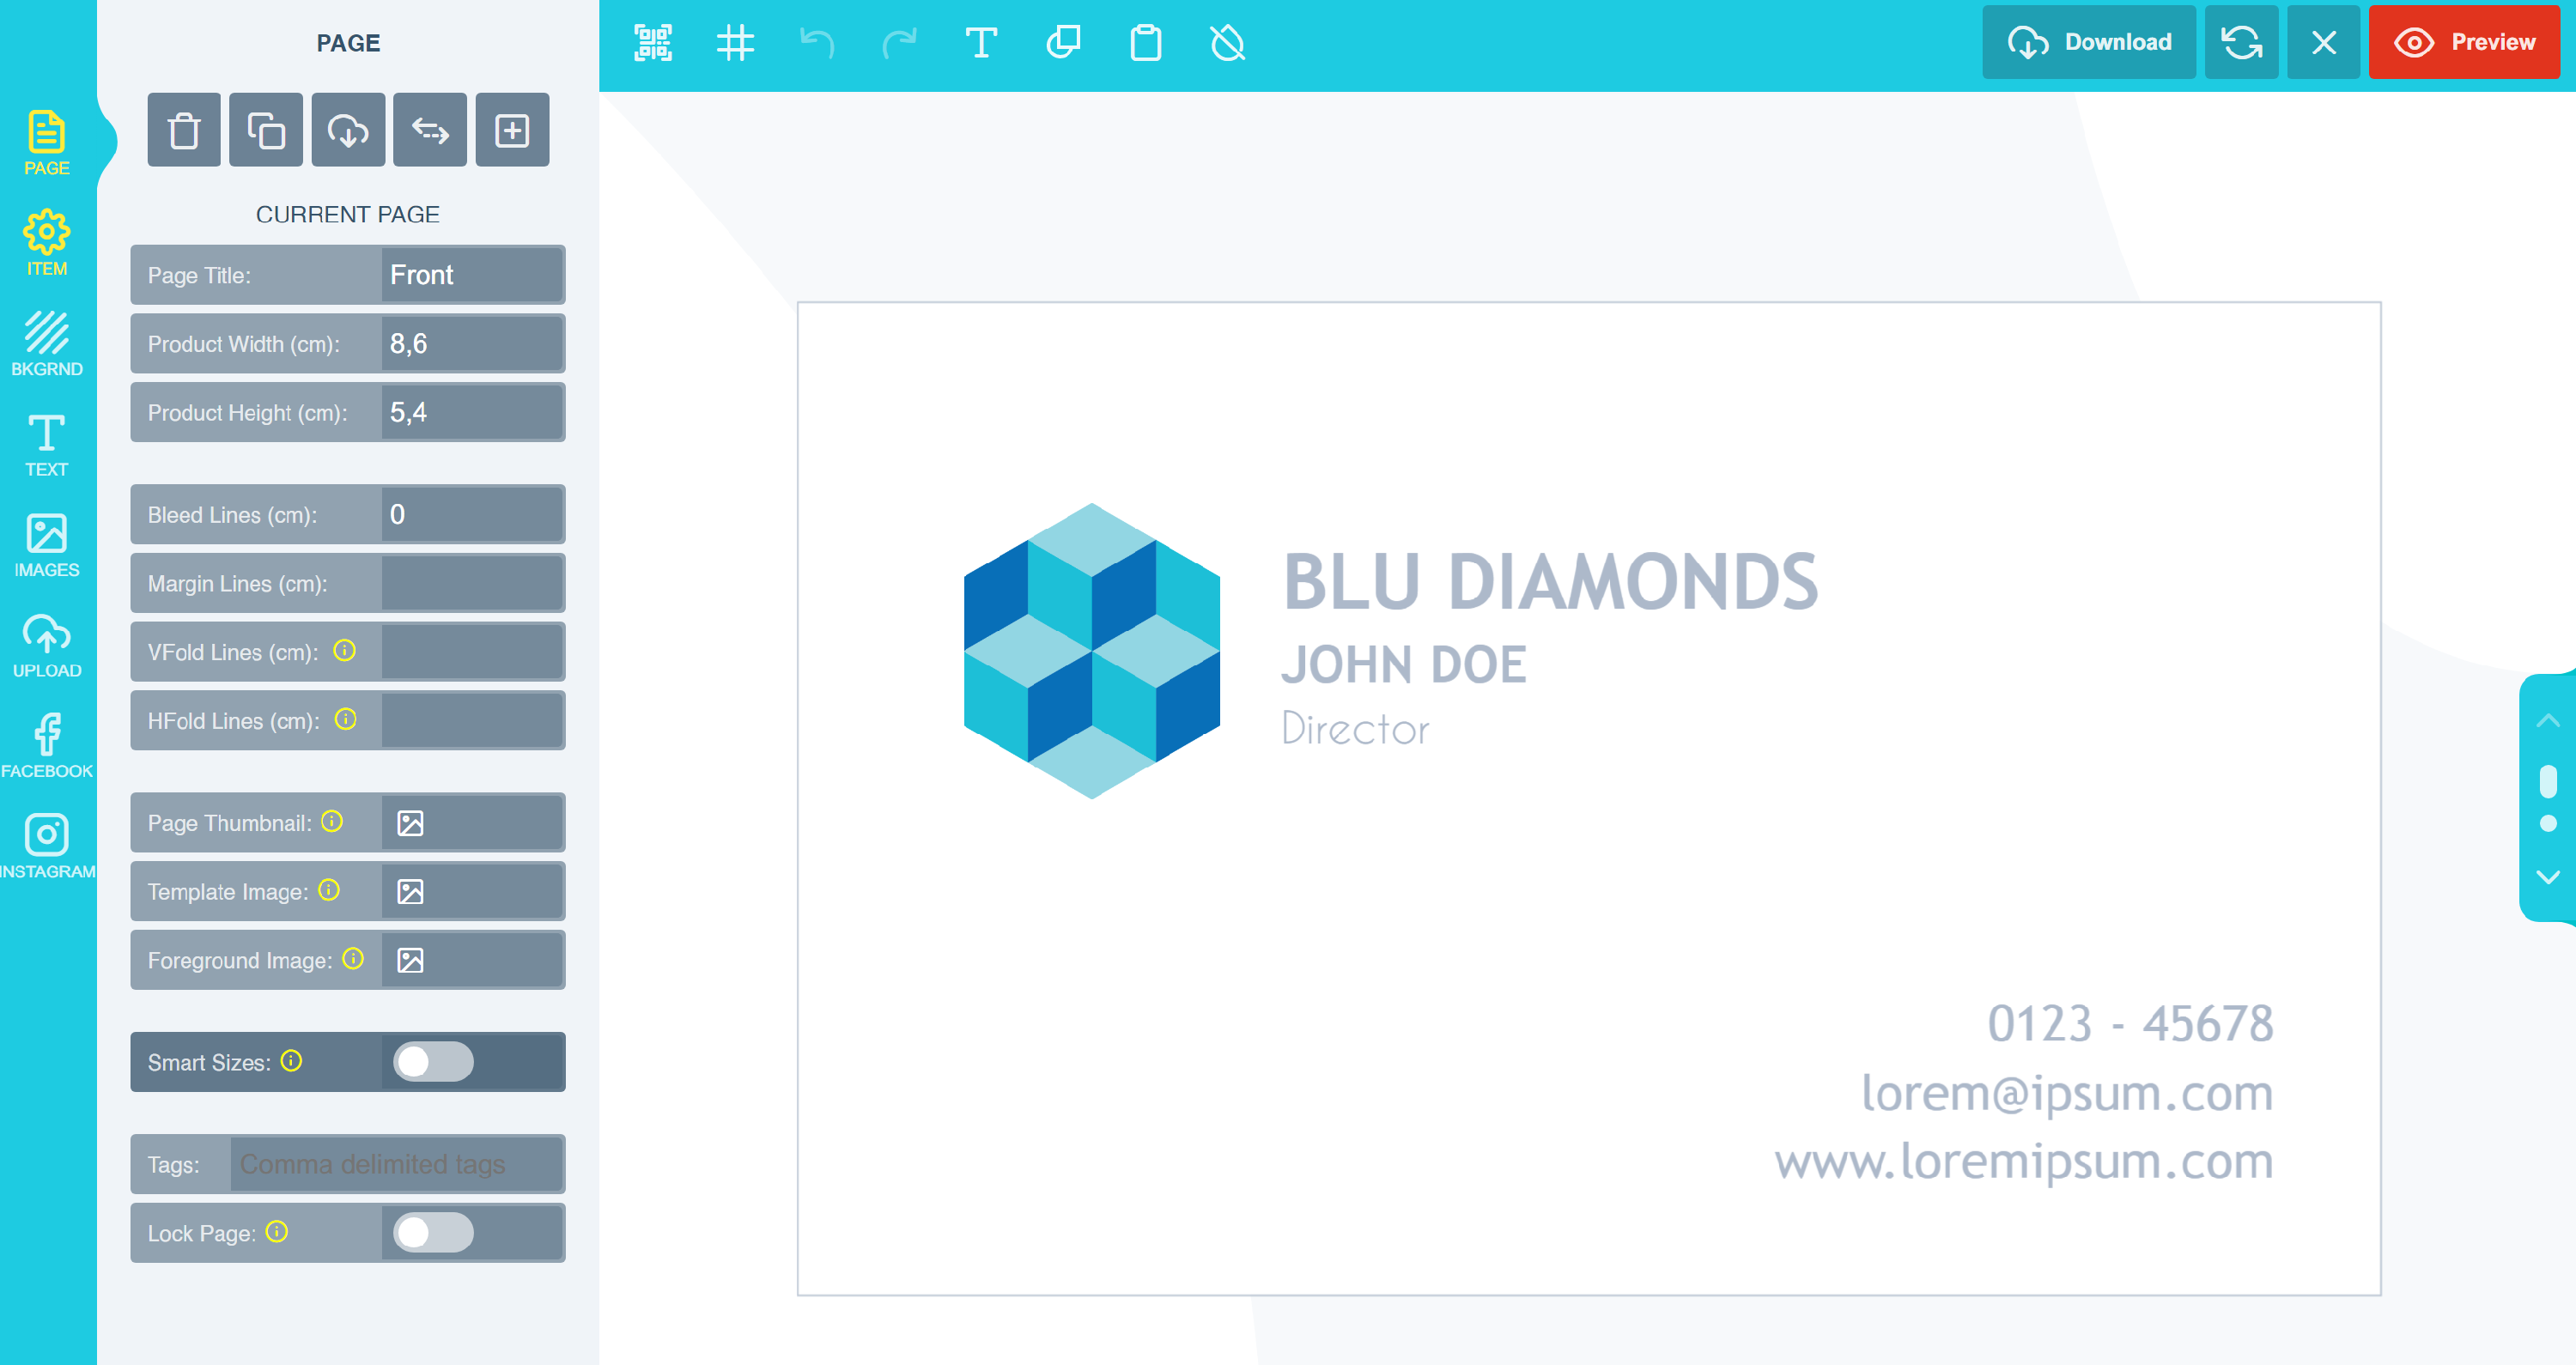 Page 1 will be the front of the business card.
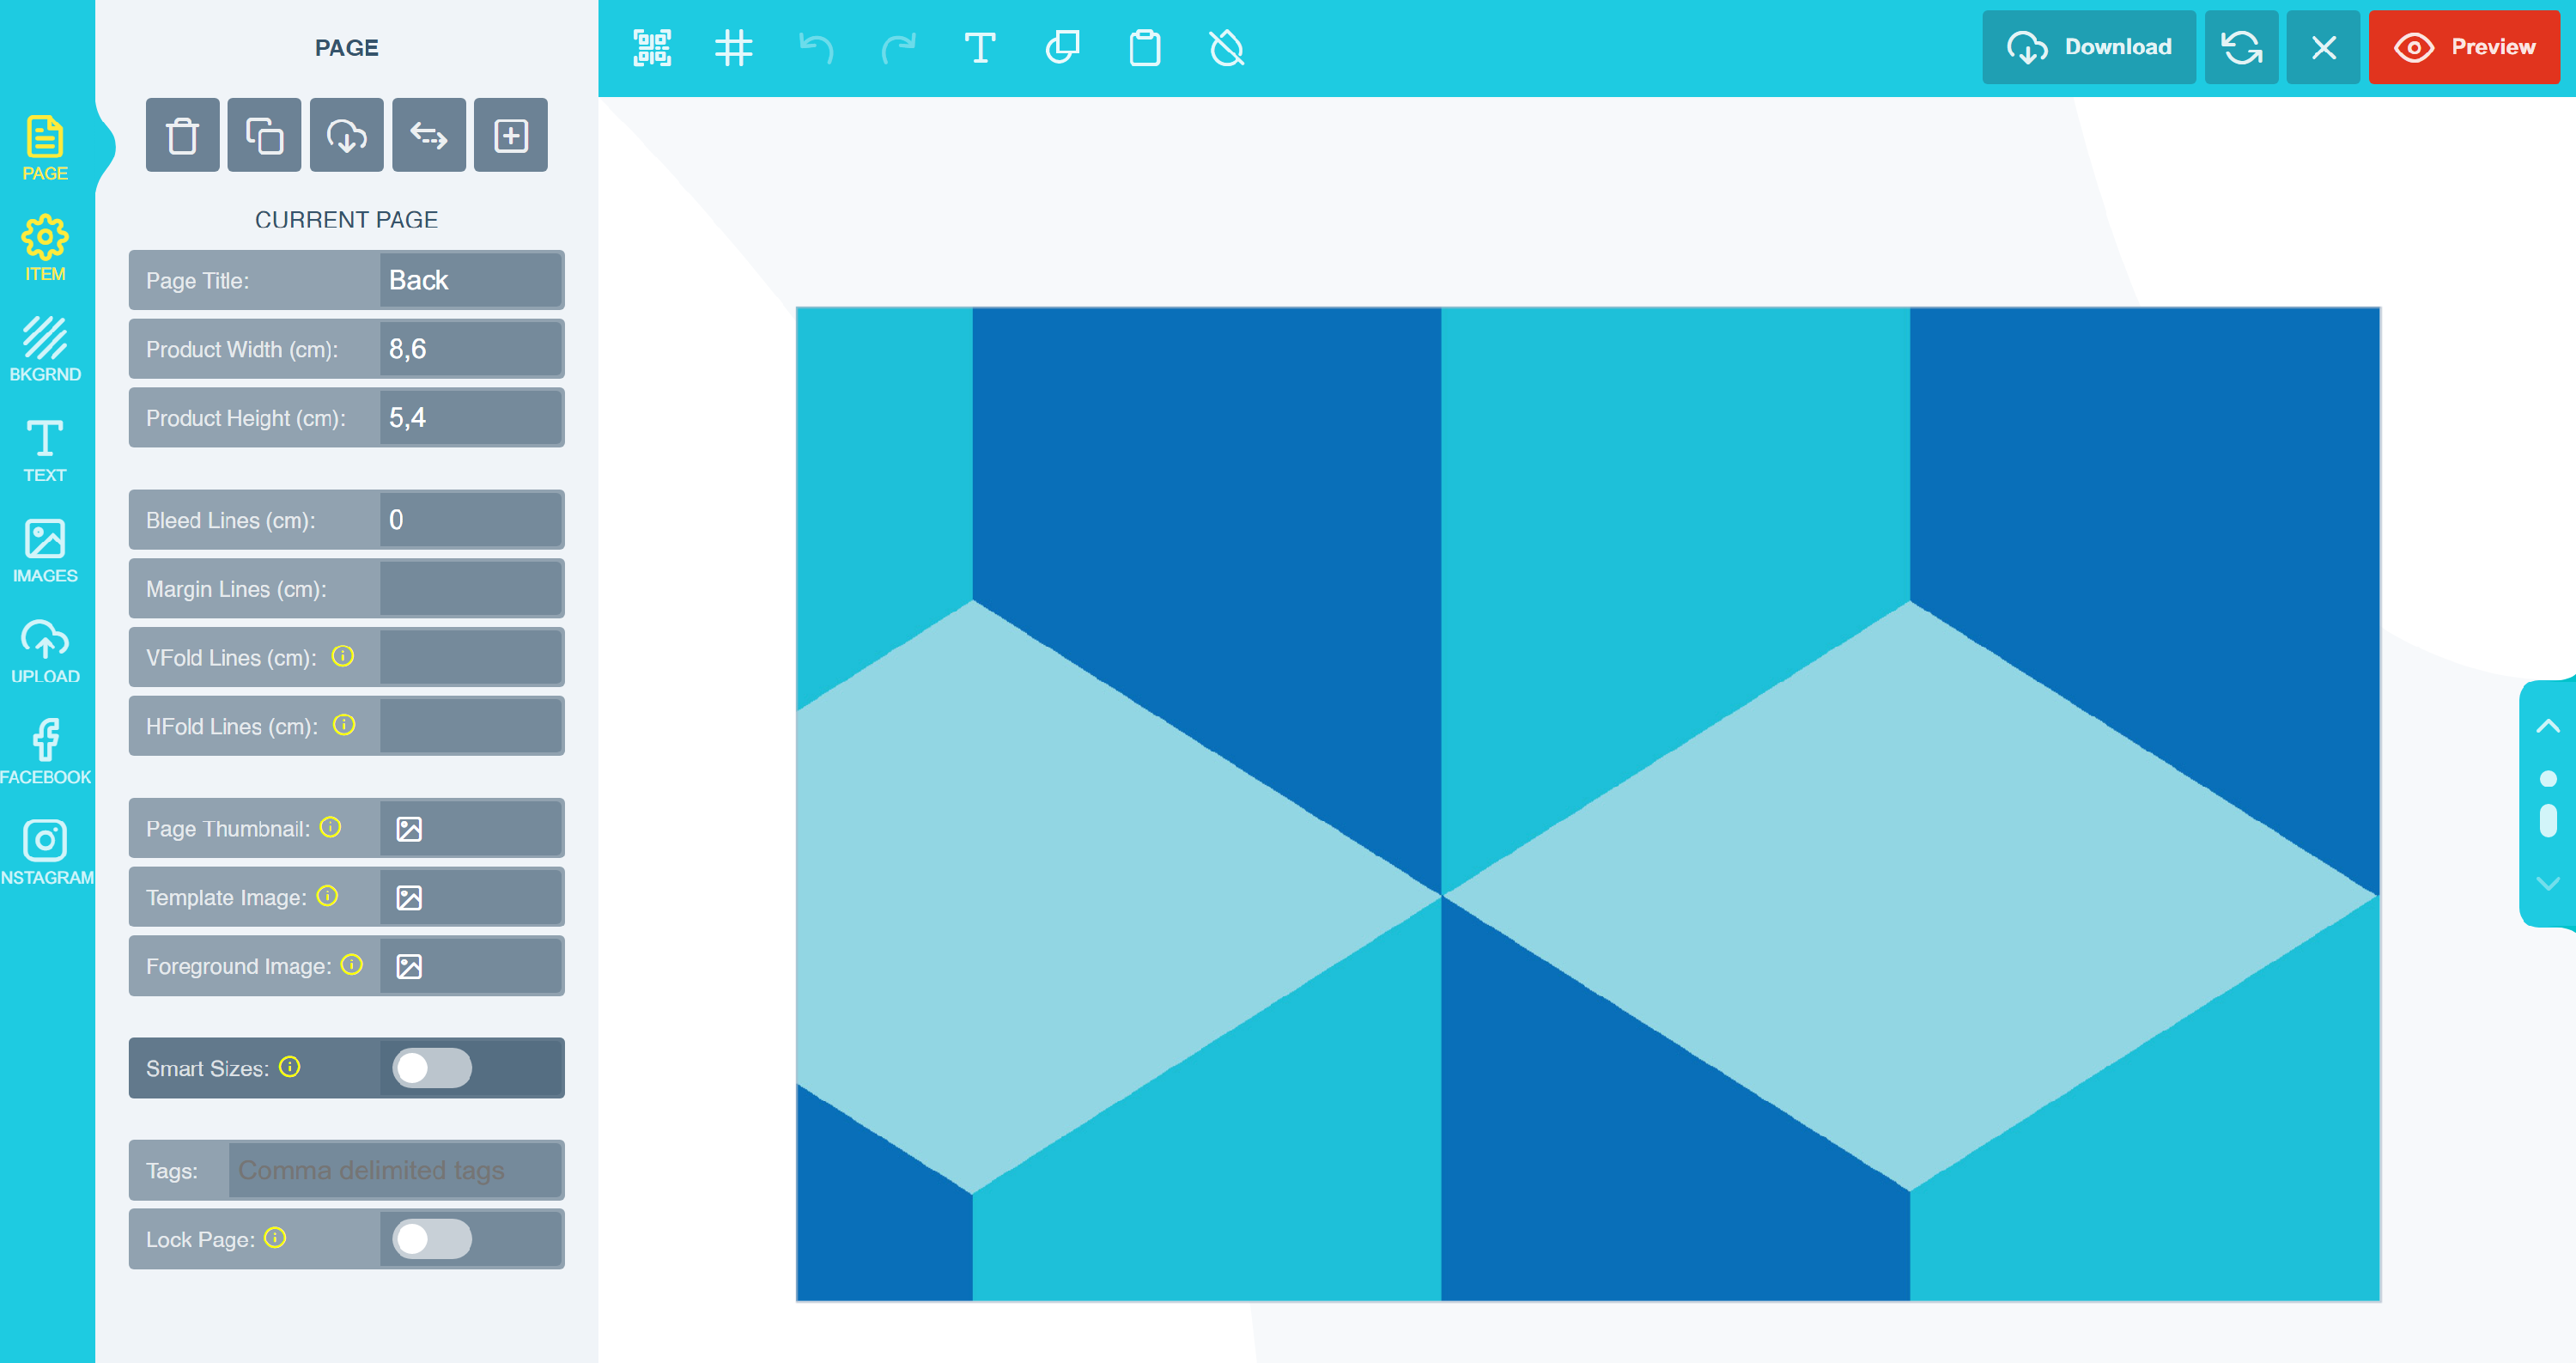 Page 2 will be the back of the business card. Select the Preview button on the top right and submit the design.
### Creating a texture image for a business card
Create a canvas of 1024x1024 in any design software such as Adobe Illustrator, Photoshop etc.
Page 2 will be the back of the business card. Select the Preview button on the top right and submit the design.
### Creating a texture image for a business card
Create a canvas of 1024x1024 in any design software such as Adobe Illustrator, Photoshop etc.
 The canvas needs to be divided into two sections, a top and bottom section.
Create two rectangular blocks of equal size.
The front of the business card design will be placed on the top half of the canvas and the back of the business card will be placed on the bottom half of the canvas.
Open the artwork you want to apply to the 3D model in a design program and place the front of the business card design on the top half of the canvas and the back of the business card design at the bottom of the canvas.
Save the file as a PNG.
This texture file will replace the default image when selecting the change texture file button.
### UV Mapping the 3D model
The canvas needs to be divided into two sections, a top and bottom section.
Create two rectangular blocks of equal size.
The front of the business card design will be placed on the top half of the canvas and the back of the business card will be placed on the bottom half of the canvas.
Open the artwork you want to apply to the 3D model in a design program and place the front of the business card design on the top half of the canvas and the back of the business card design at the bottom of the canvas.
Save the file as a PNG.
This texture file will replace the default image when selecting the change texture file button.
### UV Mapping the 3D model
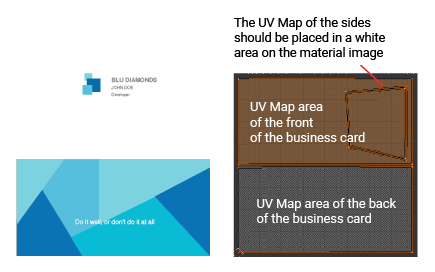 The UV Mapping of the model should be identical to the texture file created in the above step.
**Uploading your Mesh**
Navigate to the [3D studio](https://admin.pitchprint.io/three) and select the upload your mesh button. Select the obj file of your choice.
The UV Mapping of the model should be identical to the texture file created in the above step.
**Uploading your Mesh**
Navigate to the [3D studio](https://admin.pitchprint.io/three) and select the upload your mesh button. Select the obj file of your choice.
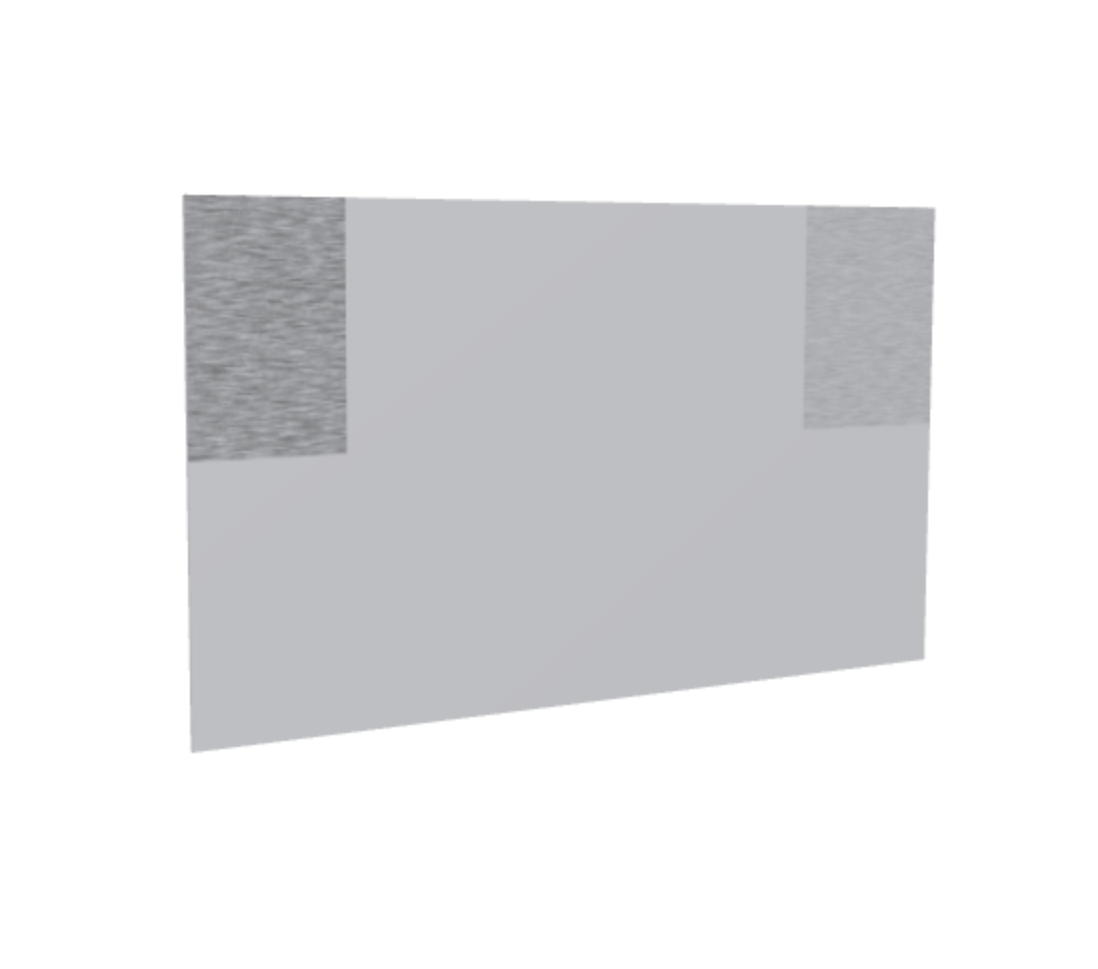 Once the mesh is uploaded select the change texture file button and replace the default image with the texture file of 1024x1024.
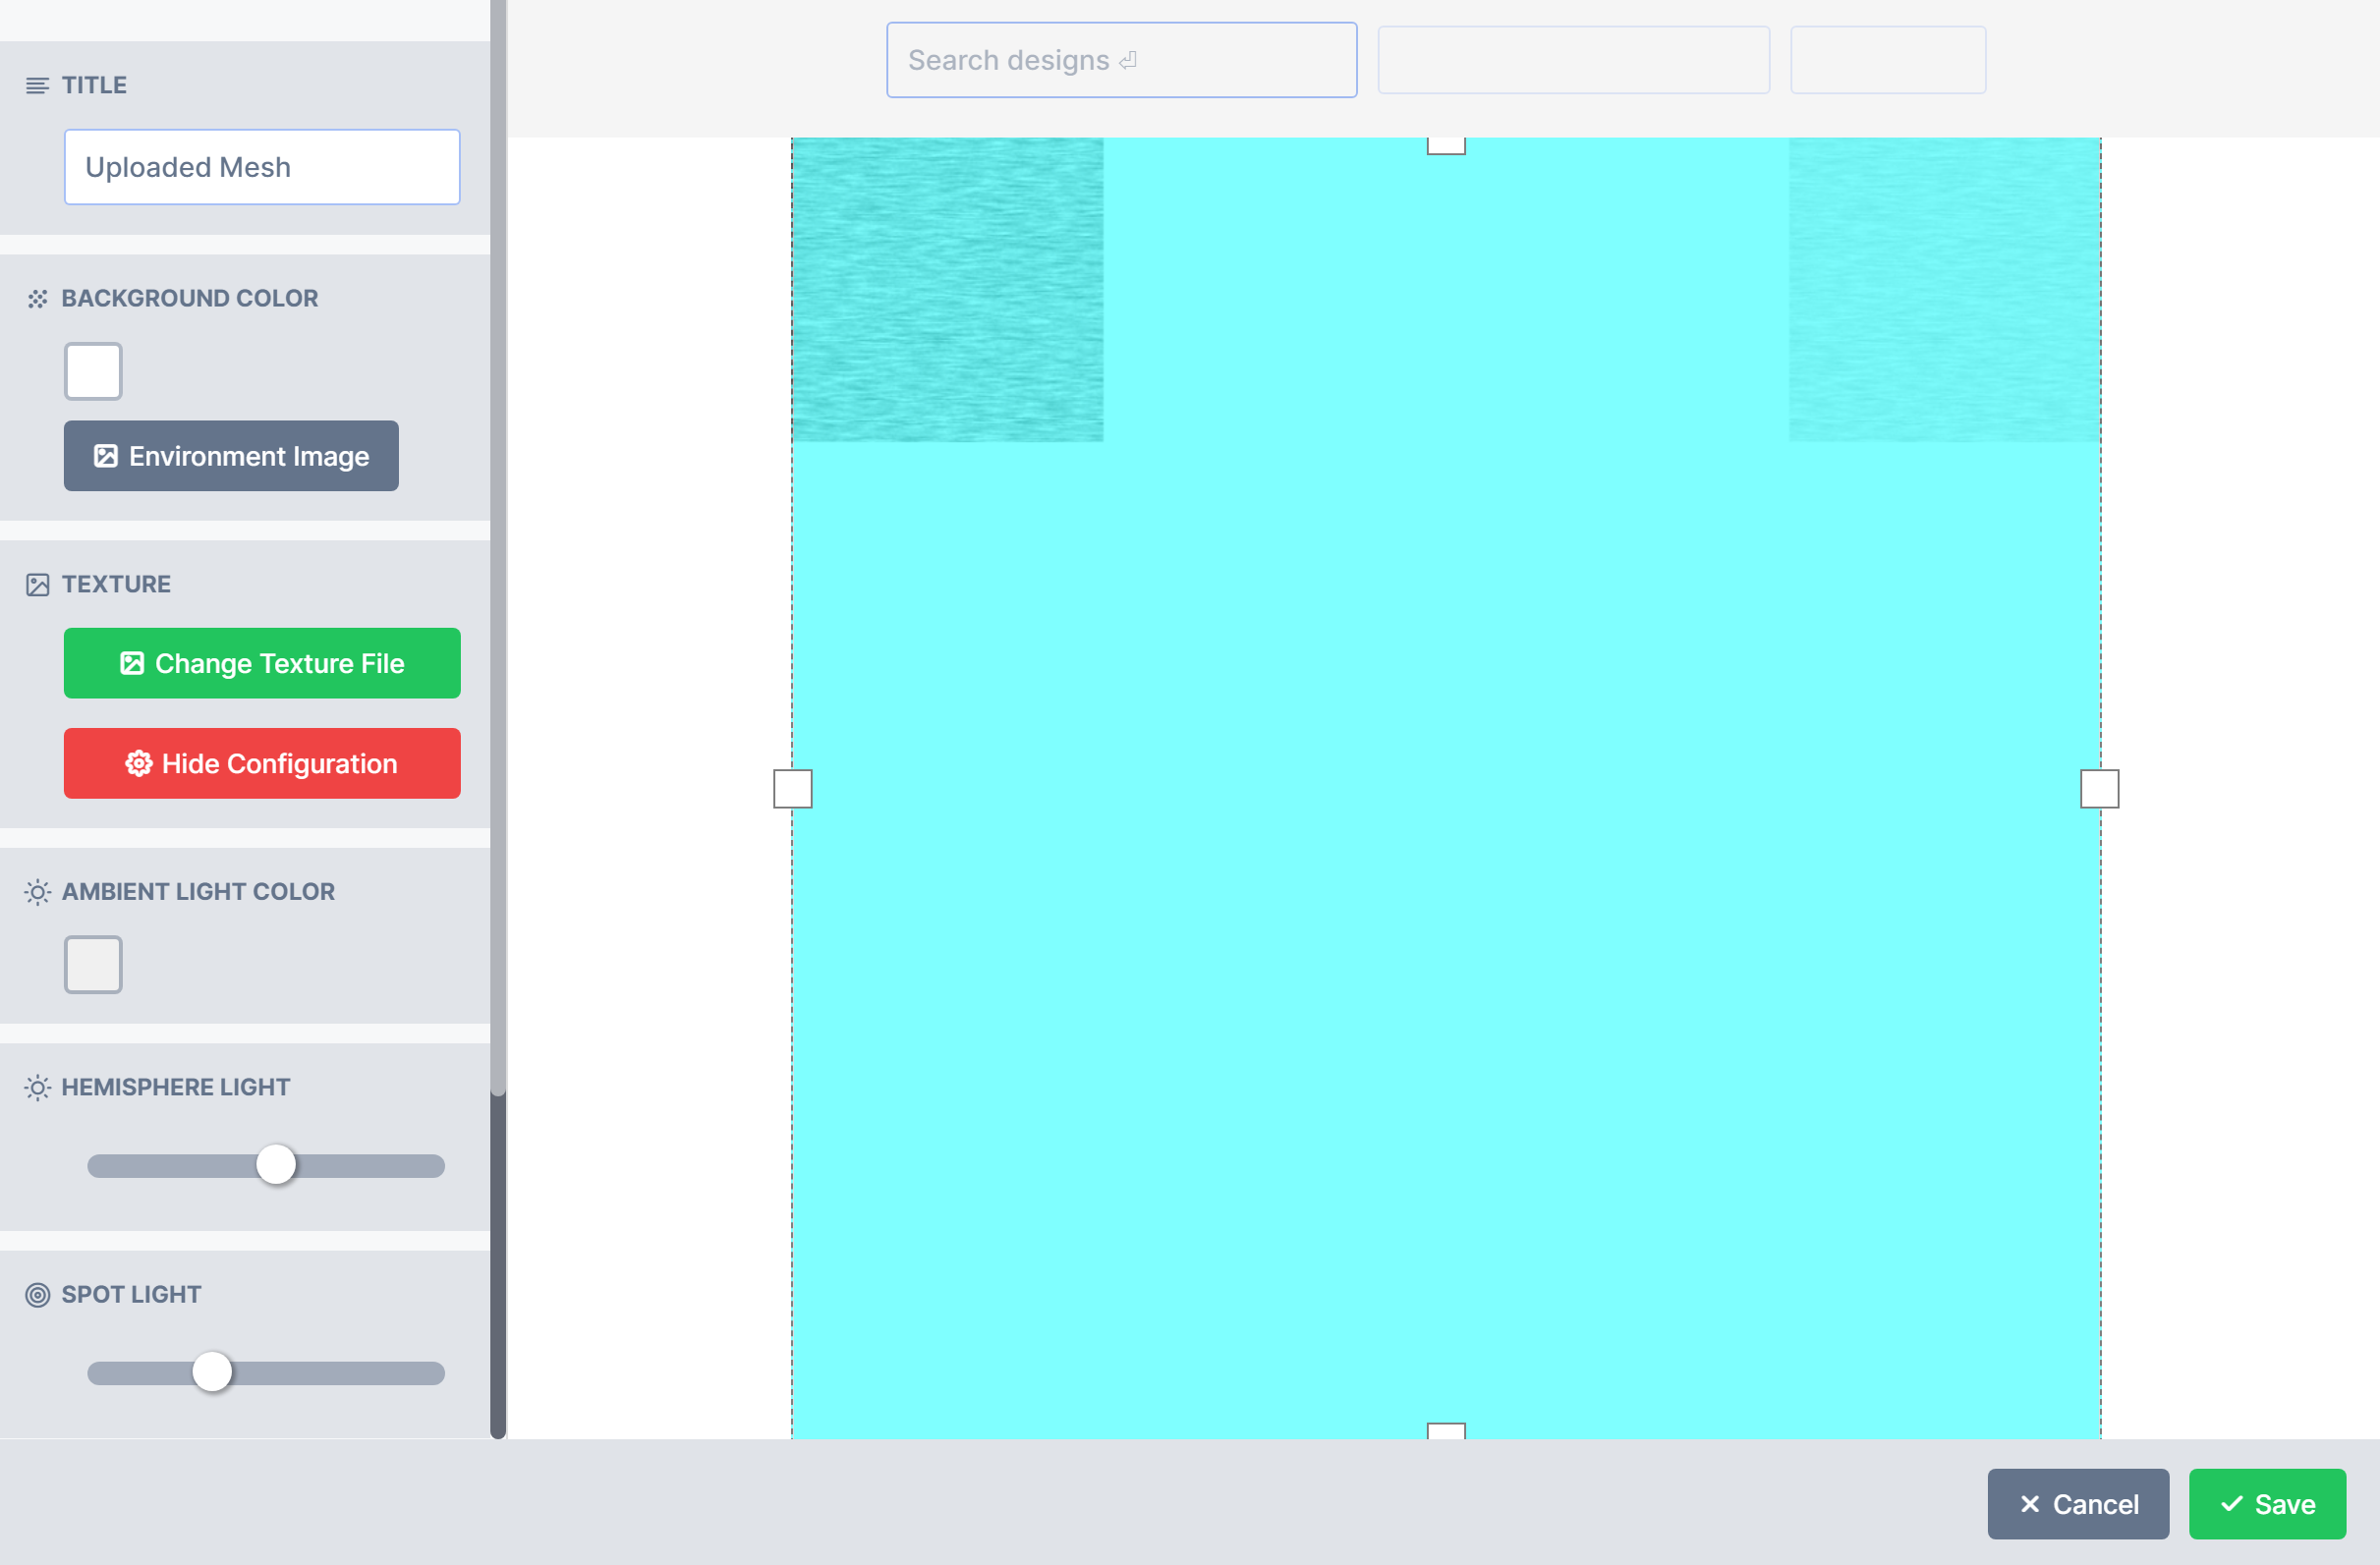 Once the texture file is uploaded it will display as below. Click save 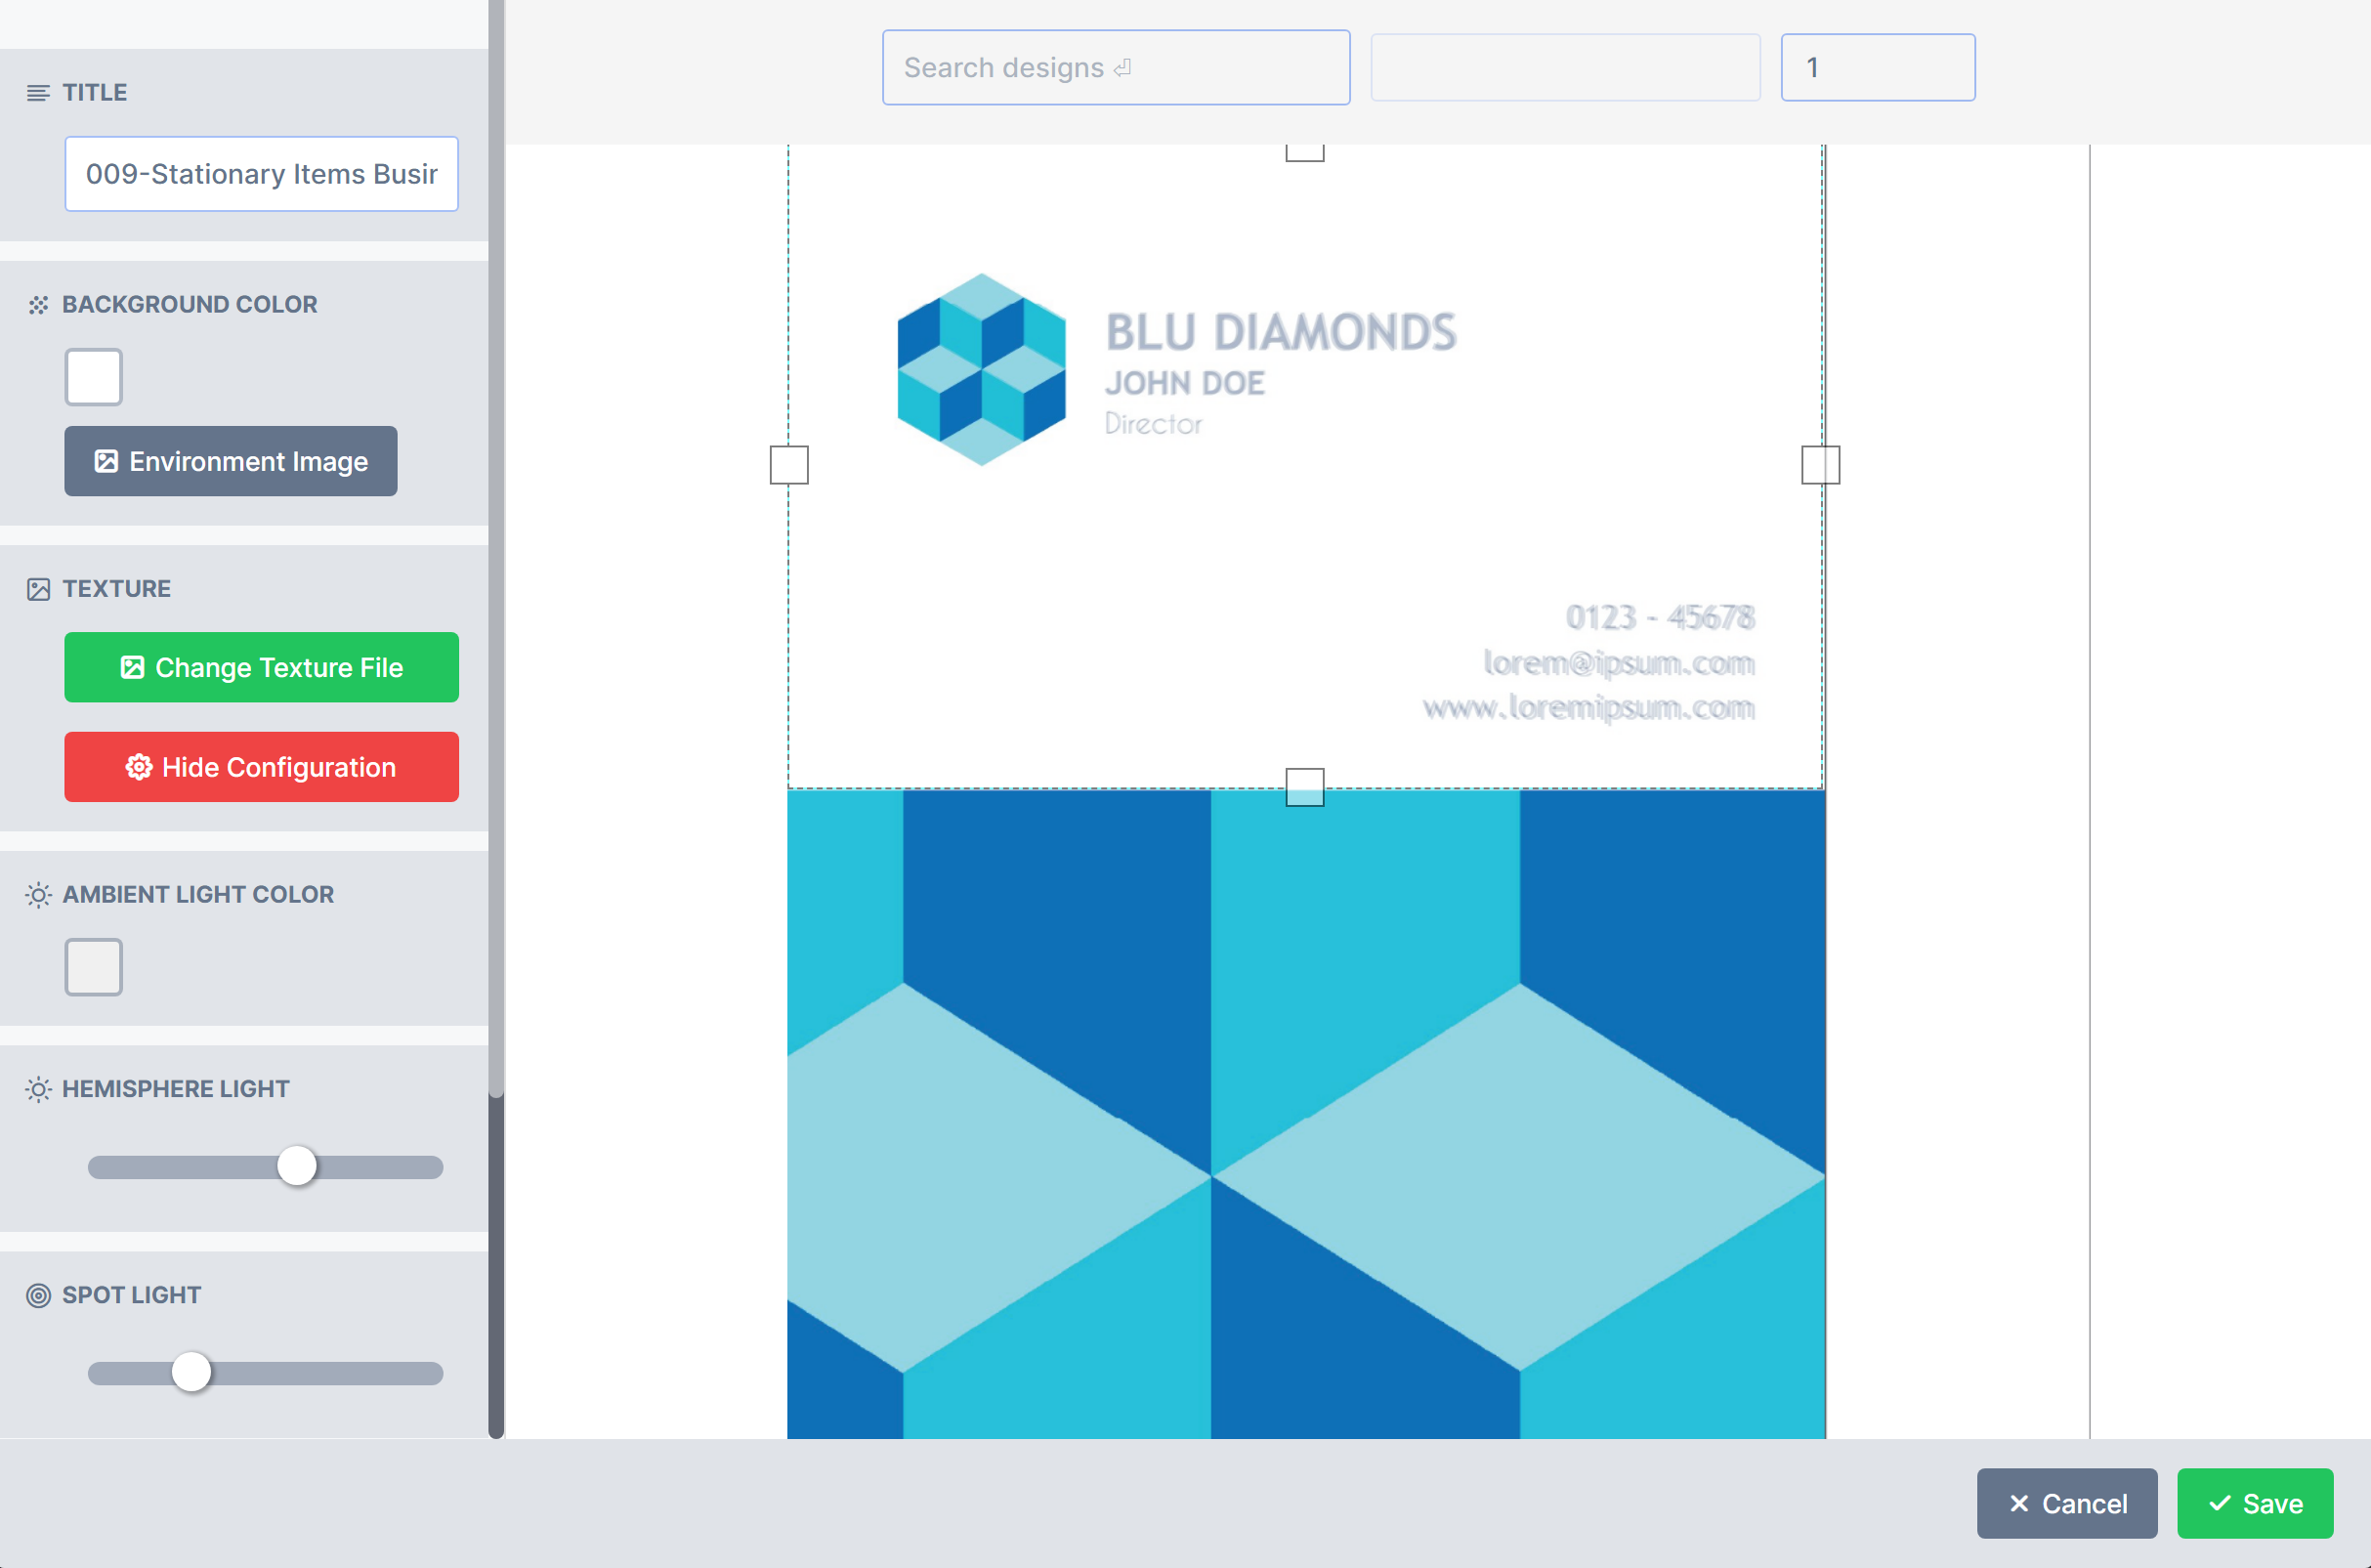
### Assigning a design to the model
Navigate to [Designs](https://admin.pitchprint.com/designs) in the PitchPrint admin and hover over the 2 page design you created for the business card and select the configuration button.
Once the texture file is uploaded it will display as below. Click save 
### Assigning a design to the model
Navigate to [Designs](https://admin.pitchprint.com/designs) in the PitchPrint admin and hover over the 2 page design you created for the business card and select the configuration button.
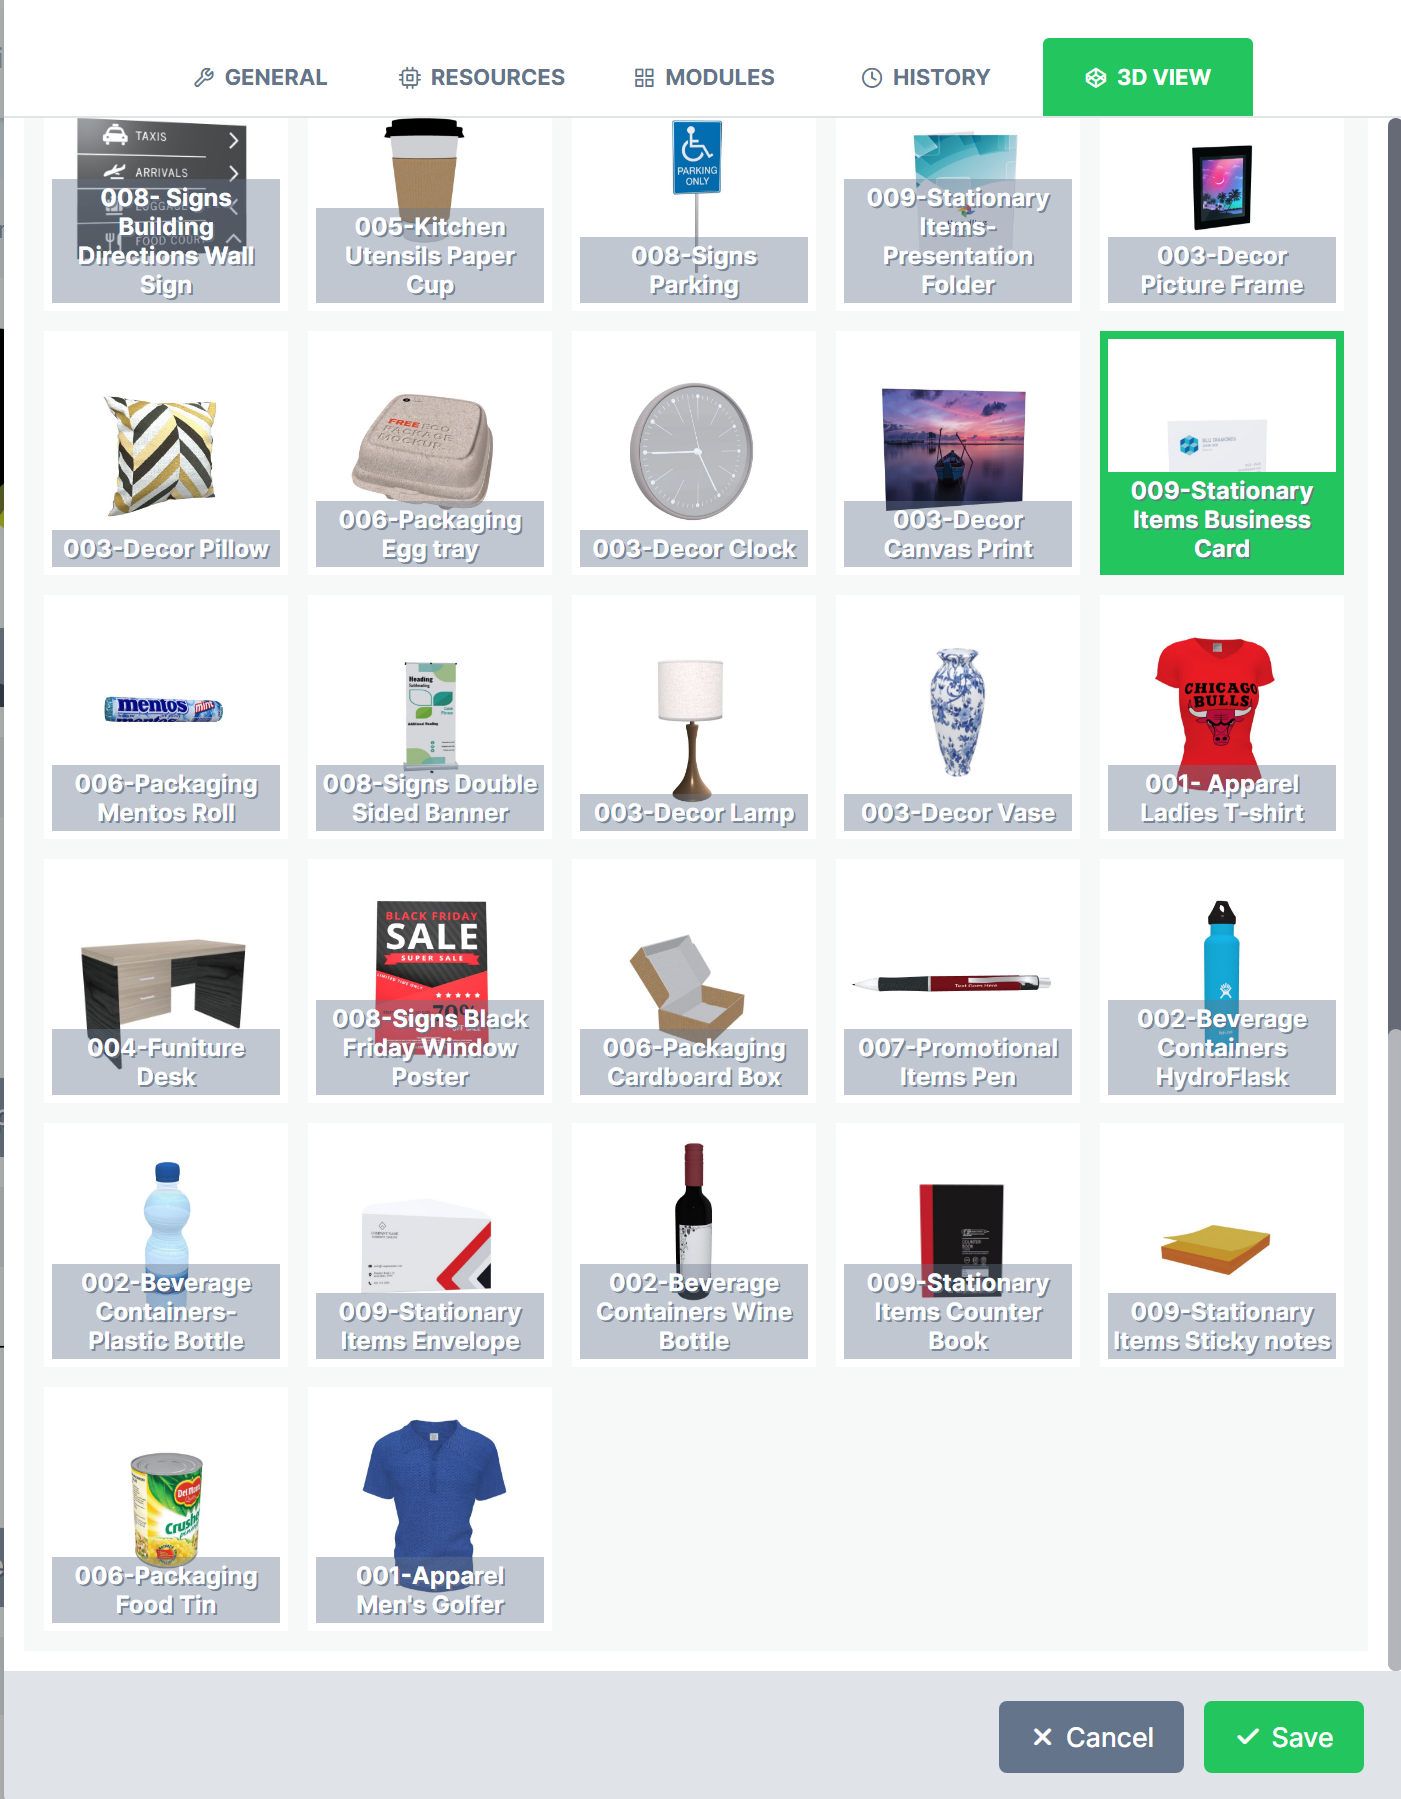
 Select 3D view and select the model you want to assign the design to and save.
 ### **Configuring the model**
Navigate to [3D studio](https://admin.pitchprint.io/three) and click on the uploaded model and select the edit button.
Once the editor is displayed select the show configuration button.
### **Configuring the model**
Navigate to [3D studio](https://admin.pitchprint.io/three) and click on the uploaded model and select the edit button.
Once the editor is displayed select the show configuration button.
 The below image will be displayed once selecting the button. This helps to set the artwork boundary areas of the design.
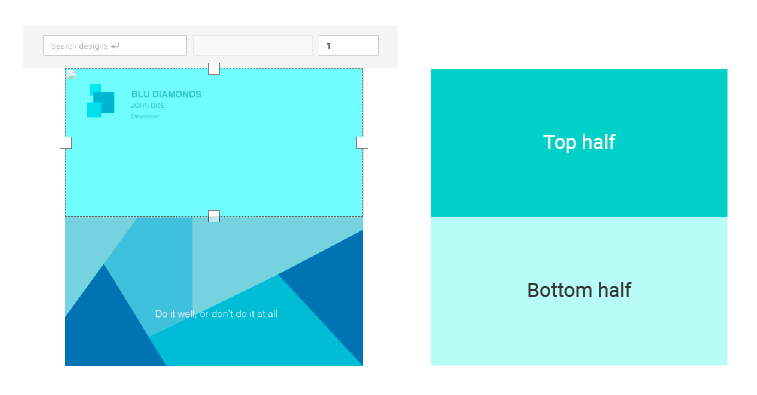 In the Search designs tab. Copy the name of the 2 page design you assigned to the model and press enter.
 Once you press enter the design name will show by the selection box. Select the design of your choice and select page 1 and set the boundary boxes to the top half of the texture file.
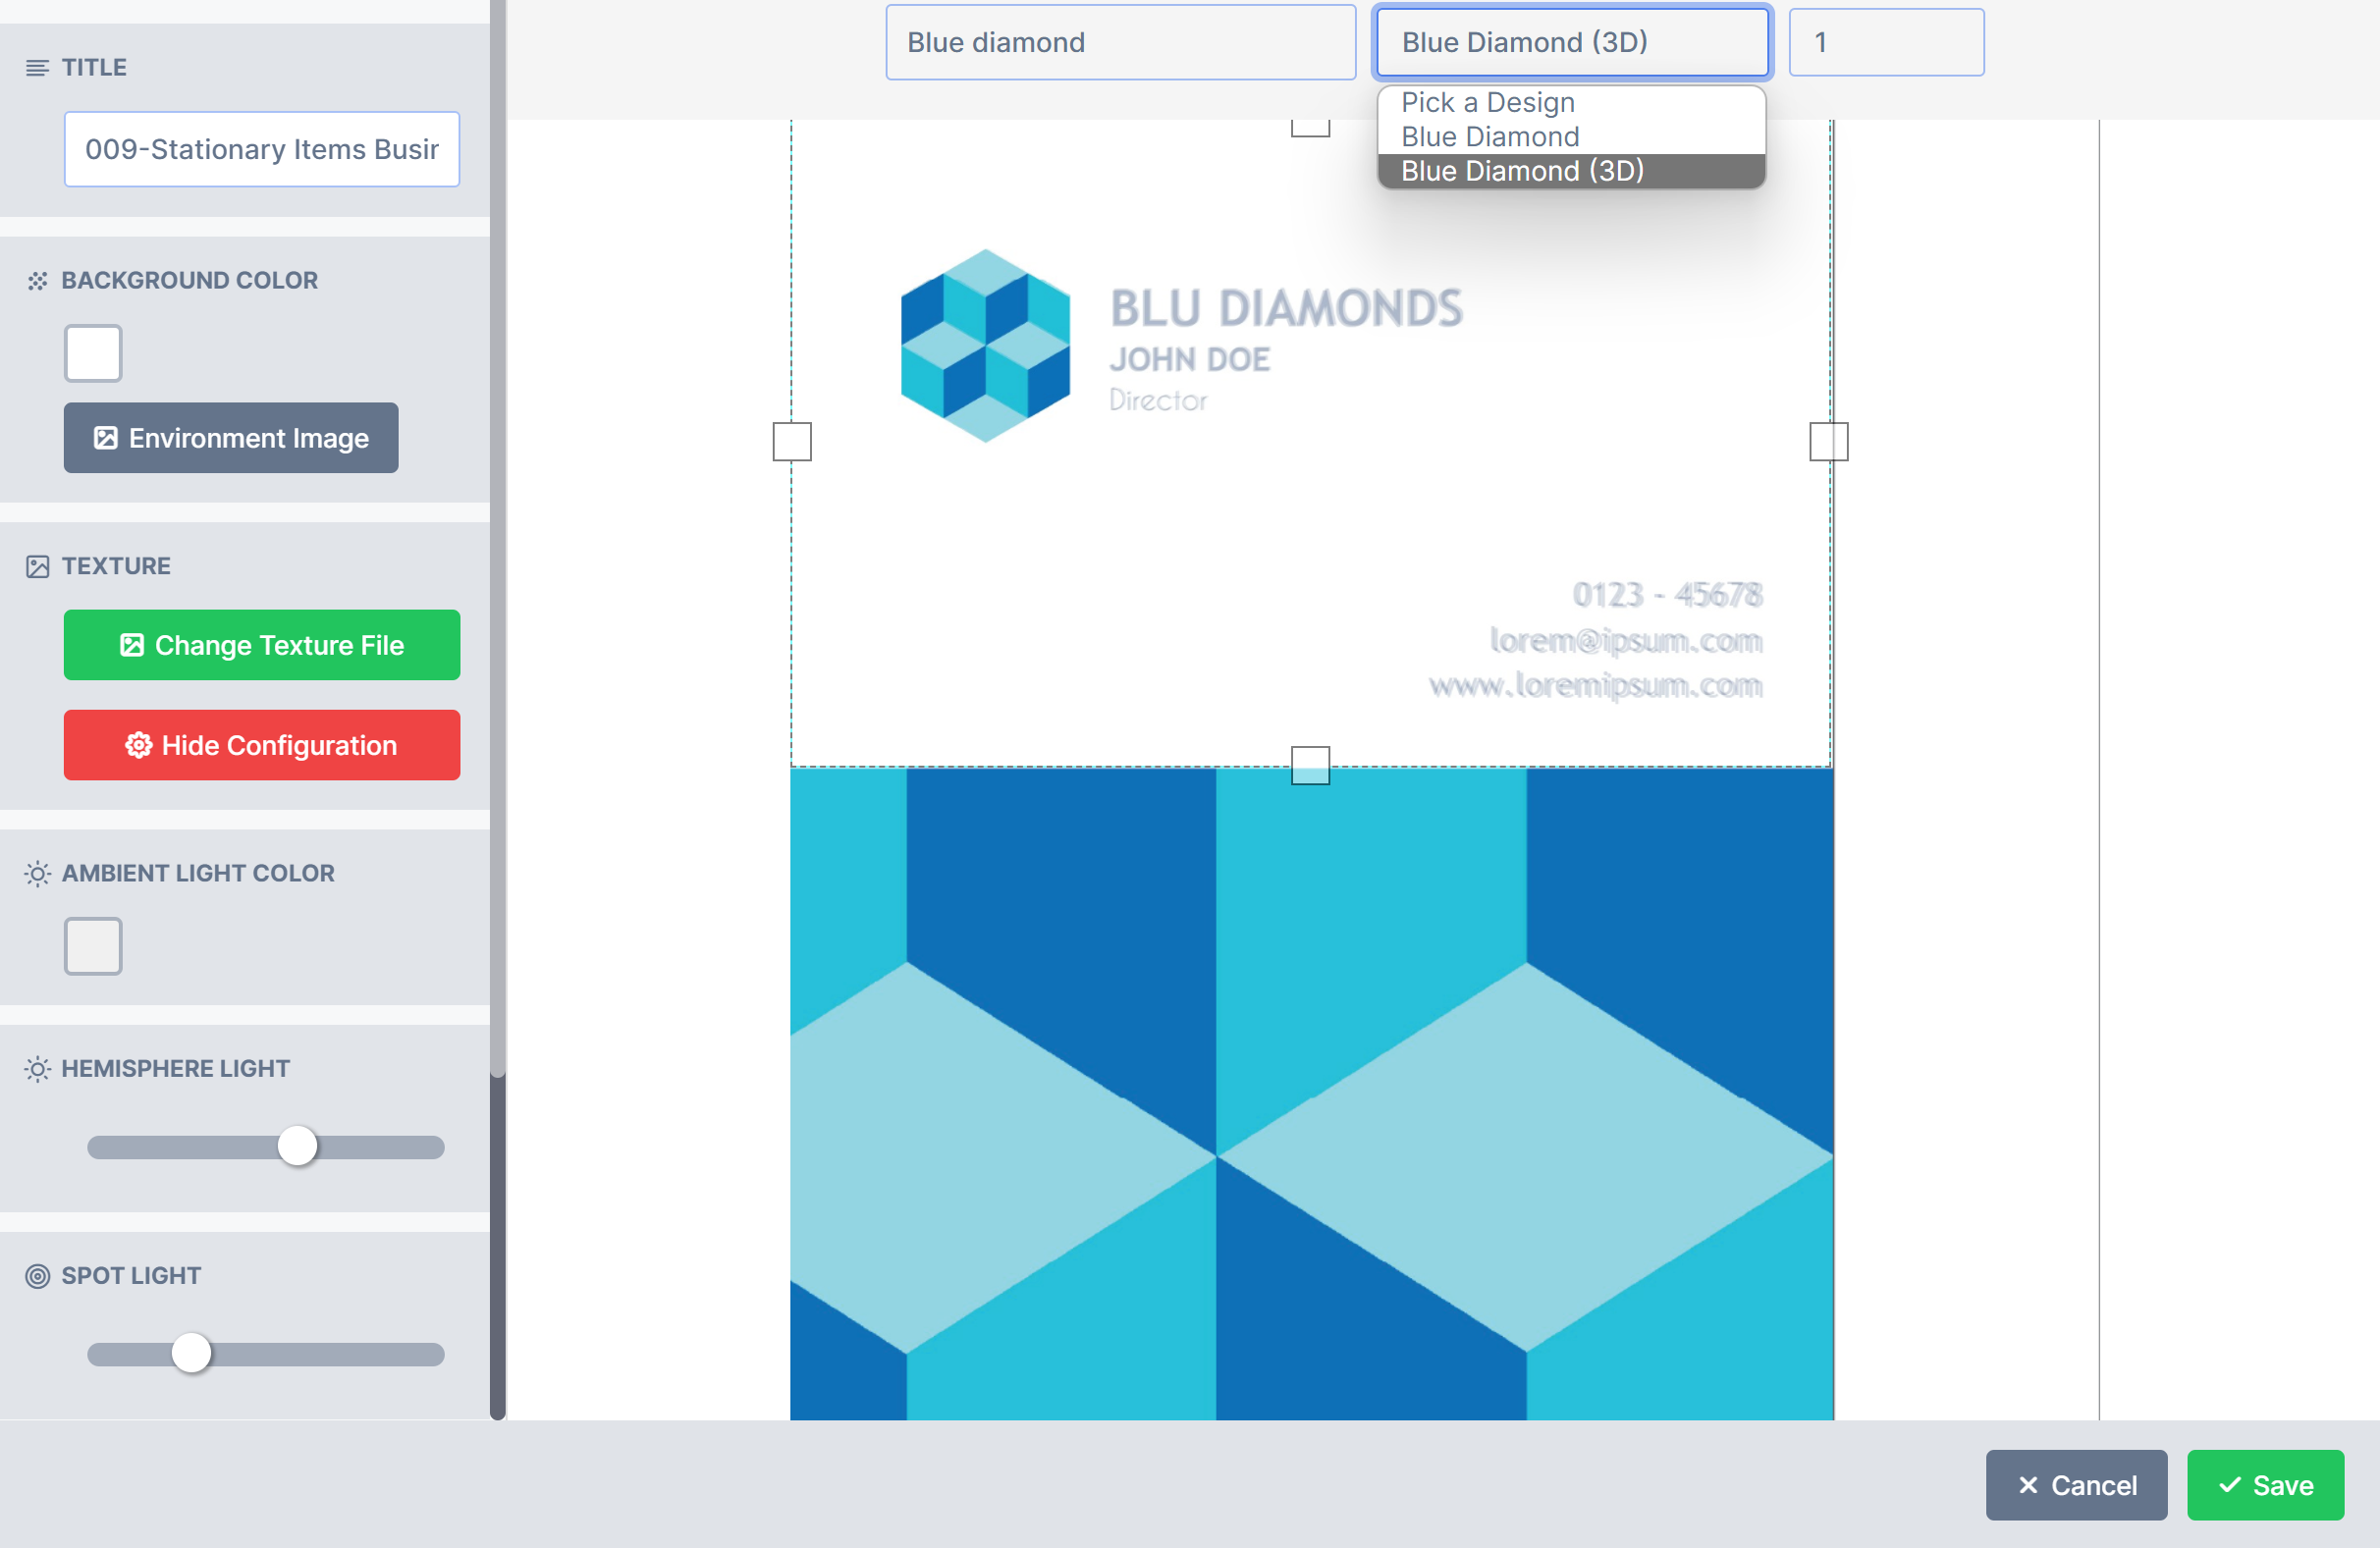 Select Page 2 and set the boundary boxes to the bottom half of the texture file.
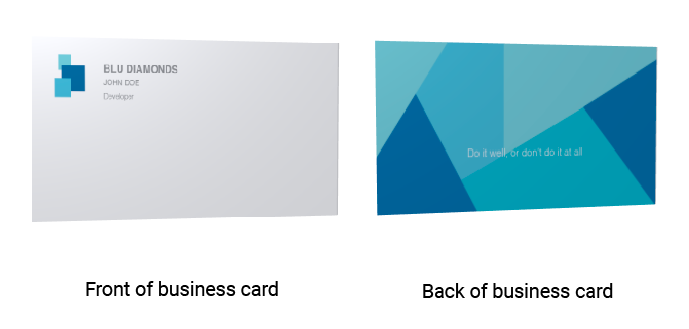
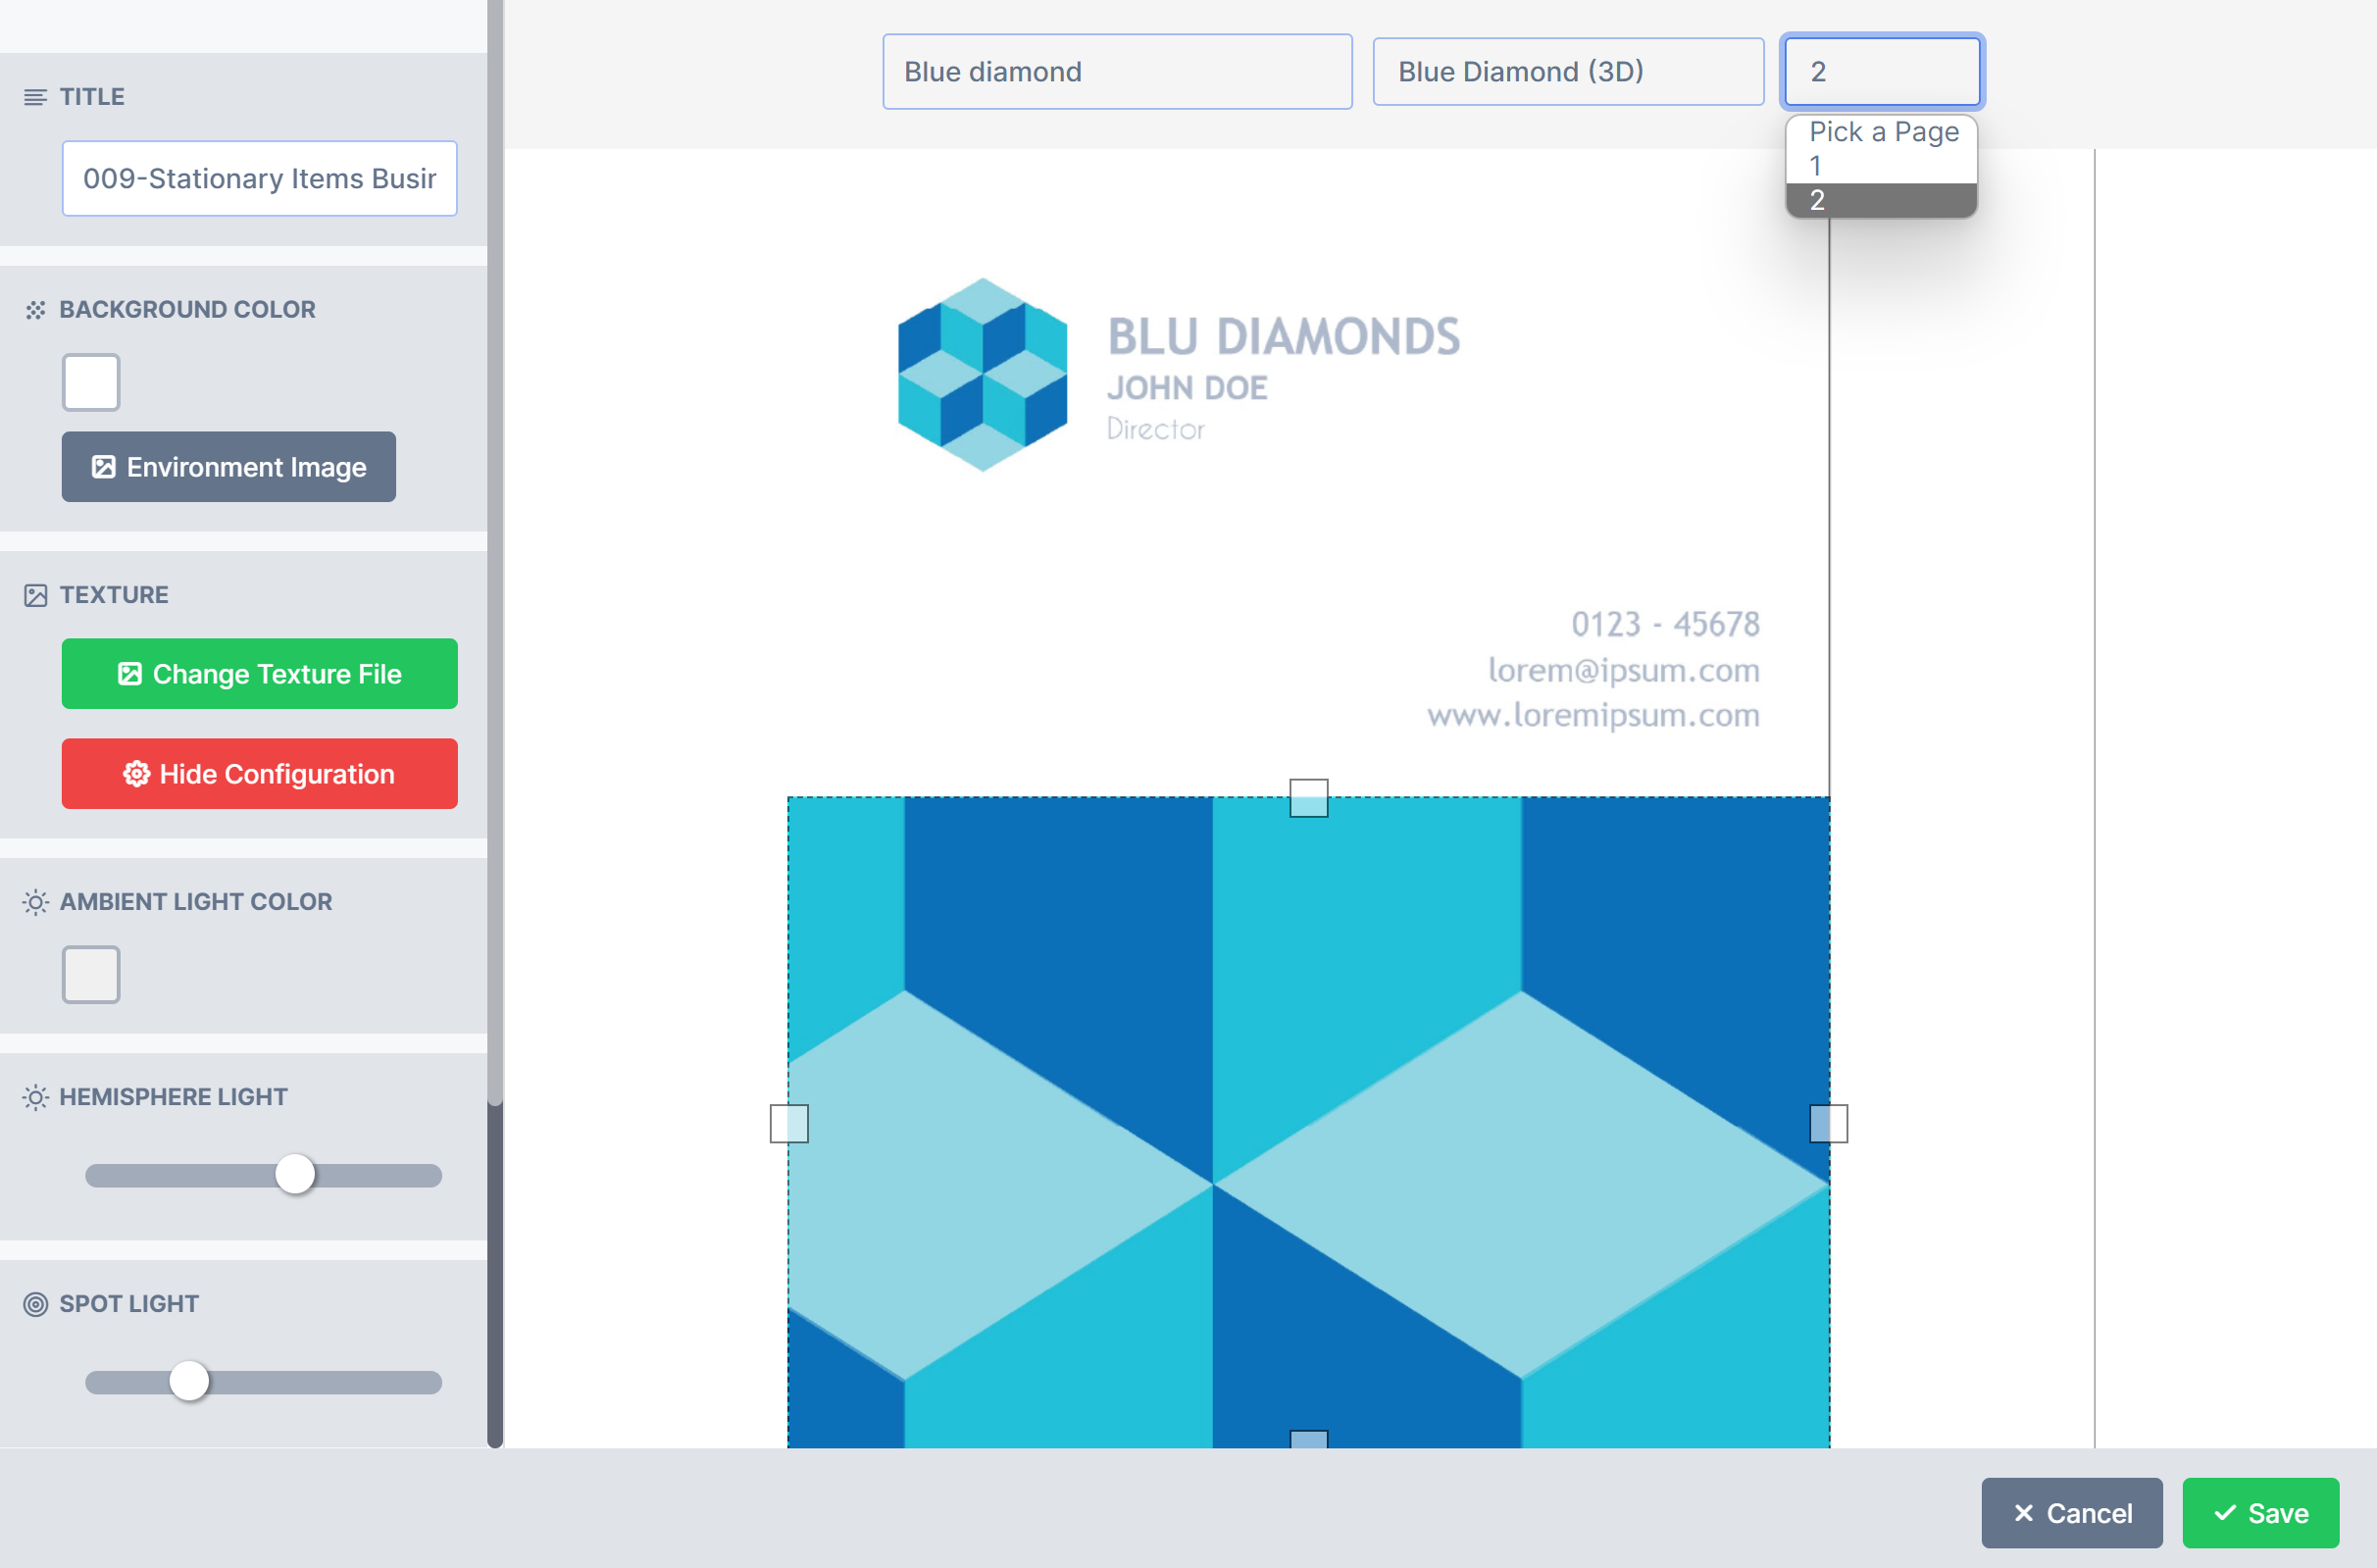 Select the hide configuration button and you will be able to see how the texture file displays on the front and back of the model. Auto rotate allows you to see the model from various perspectives. Click save on completion.
 ## Related articles
Overview of PitchPrint 3D View, uploading a mesh and assigning designs to a model.
Learn what 3D Studio is and which model file types you can upload.
End-to-end tutorial on creating a 3D model and assigning it to a design.
How to UV map a model so your design displays correctly on its surface.
This documentation is built and hosted on [Mintlify](https://mintlify.com), a developer documentation platform.
## Related articles
Overview of PitchPrint 3D View, uploading a mesh and assigning designs to a model.
Learn what 3D Studio is and which model file types you can upload.
End-to-end tutorial on creating a 3D model and assigning it to a design.
How to UV map a model so your design displays correctly on its surface.
This documentation is built and hosted on [Mintlify](https://mintlify.com), a developer documentation platform.